Welcome to the third and final installment of my Simple Knit Series to teach beginners how to knit! In Part 1 we learned how to knit the garter stitch and make the “Simple Garter Stitch Scarf“. In Part 2 we learned how to knit the stockinette stitch and make the “Simple Stockinette Hat“. In Part 3 we will learn how to knit the seed stitch and also slip a stitch knitwise! We learned how to work purl stitches in the last installment, and the stockinette stitch was created by working one whole row of purl stitches and alternating it with one whole row of knit stitches. The seed stitch is created by alternating knit stitches and purl stitches within the same row (i.e. knit 1, purl 1, knit 1, purl 1). Then on the subsequent row, you knit all the purl stitches and purl all the knit stitches from the previous row! The seed stitch is one of my favourite stitches with its gorgeous texture!
![]()
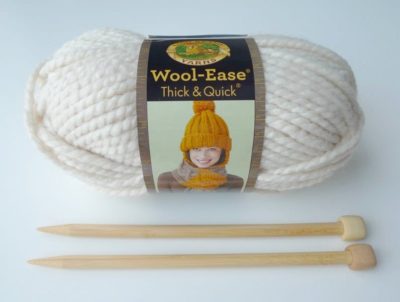
For this tutorial, we will be using we will be using Lion Brand Yarn’s Wool-Ease Thick & Quick Yarn and Clover Takumi 9 mm needles.
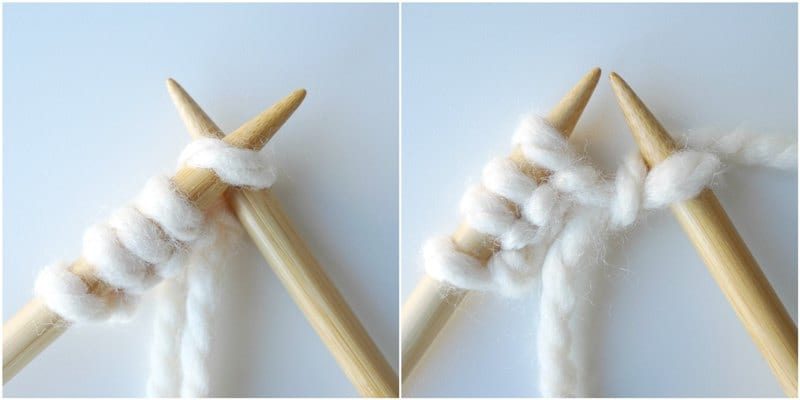
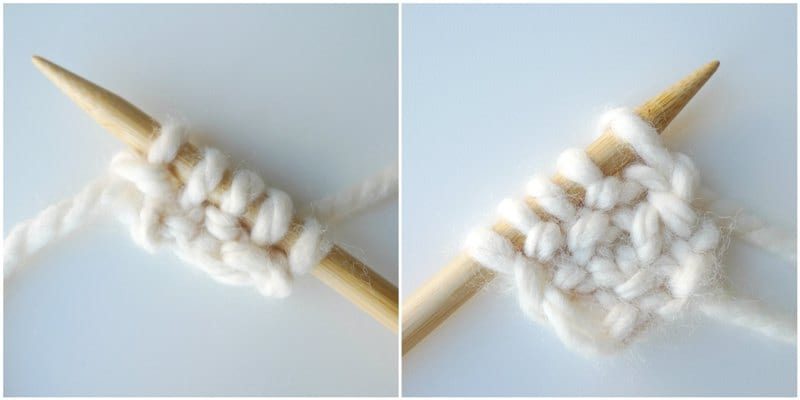
This tutorial assumes that you already know how to cast on stitches, cast off stitches, and work the knit and purl stitches. However, the video tutorial will walk you through these steps again! After casting on stitches using the long tail cast-on, it is time to do our first row of the seed stitch. First, we will slip a stitch knitwise to create lovely side borders. To slip a stitch knitwise, you insert your right needle behind the left needle as if you were going to complete a knit stitch. However, instead of yarning over and actually completing a knit stitch, you simply pass the first stitch from the left needle onto the right needle.
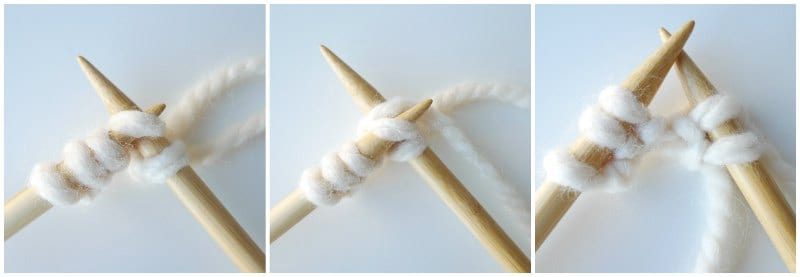
Next, you work a knit stitch. The right needle is inserted behind the left needle and the working yarn is behind both needles. Yarn over and complete the knit stitch.
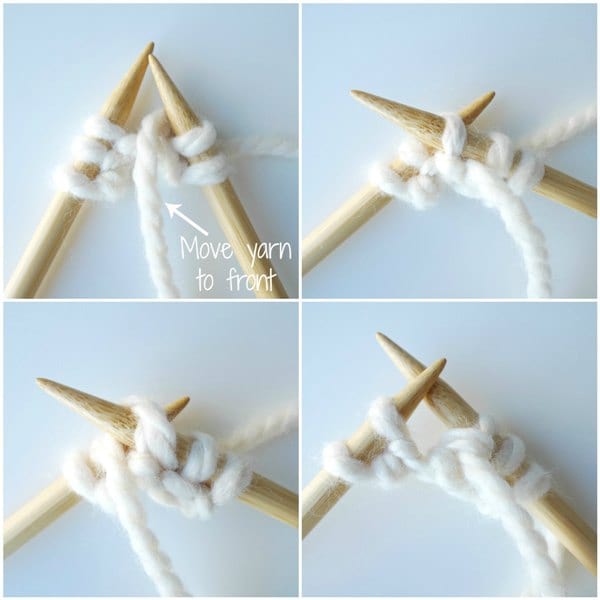
Now it is time to work a purl stitch. To prepare for the purl stitch, you need to bring your working yarn to the front. Insert your right needle in front of the left needle, yarn over, and complete the purl stitch.
You keep alternating a knit stitch with a purl stitch across the entire row. Once you are done the first row, it is time to flip your work and start the next row. Always slip the first stitch knitwise at the beginning of each row and then alternate knit stitches and purl stitches. If you are working with an odd number of stitches, slipping the first stitch will help you offset the pattern so that you are always knitting the purl stitches from the previous row and purling the knit stitches from the previous row. The tricky part is moving your working yarn back and forth, in front and behind the needles. This takes some getting used to but you will fall into a rhythm once you get the hang of it!
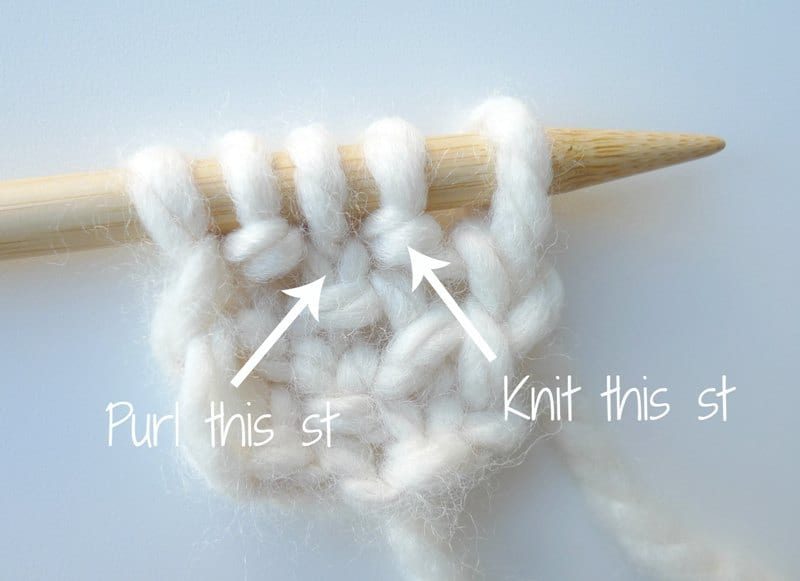
If you ever forget what stitch you are supposed to do, look for these clues: if there is a “bump” from the previous row, then you need to do a knit stitch. If there is a V from the previous row, then you need to do a purl stitch. You always want to do the opposite stitch from the previous row. If you do the same stitch (purl stitch ontop of a bump and knit stitch ontop of a V), then you will create a ribbed pattern!
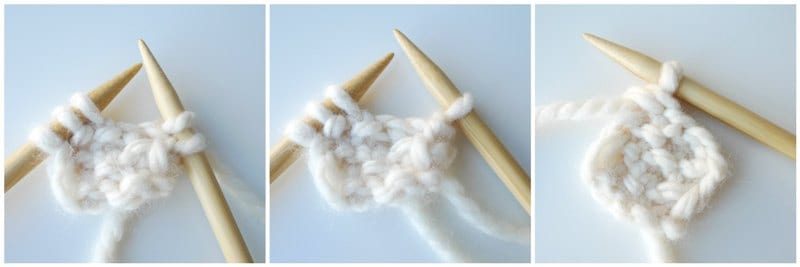
When it is time to cast off stitches, you work the seed stitch pattern as normal. First you slip a stitch knitwise, and then work a knit stitch. Since two stitches are on the right needle, you pull the bottom stitch over the top stitch. Next, you work a purl stitch. Since there are two stitches on the right needle again, you pull the bottom stitch over the top stitch. You keep repeating this pattern until all the stitches have been casted off!
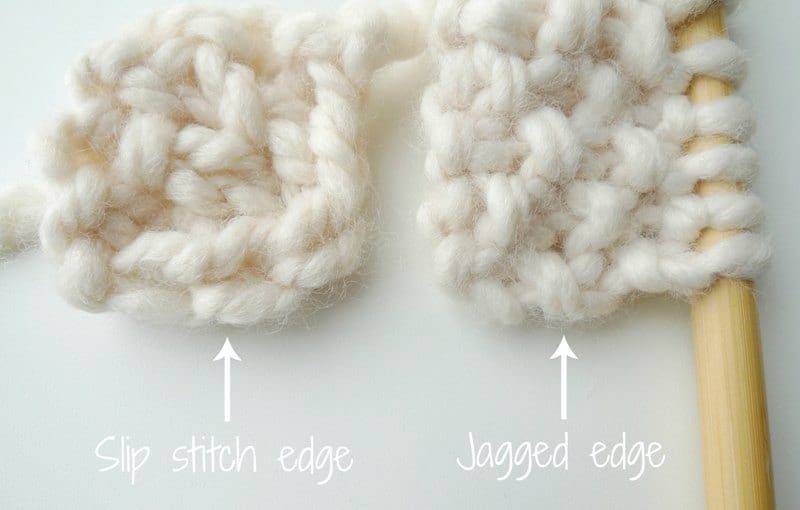
By slipping a stitch at the beginning of every row, it creates a lovely clean edge on both sides as you can see in the picture below. The work on the needle (right side) has been completed with only knit and purl stitches and NO slip stitches, and you can see the edge is bumpy and not smooth. The other piece (left side) has V’s along the edge that give it a very clean look!
Now you know how to knit the seed stitch by alternating knit stitches and purl stitches within the same row! Check out my detailed video below to see how to cast on stitches using the long tail cast-on, slip a stitch, work alternating knit stitches and purl stitches within the same row, and cast off! You can also view this video on YouTube HERE!
Once you know how to knit the seed stitch, you can knit my “Simple Seed Stitch Headbands” that are a great transitional piece from winter to spring, and they look so chic! The FREE PATTERN can be found HERE!
![]()
Note: Thank you to Lion Brand Yarn for sponsoring the yarn and Clover USA for sponsoring the knitting needles for this series!