A couple of months ago, my friend bought a gorgeous knitted blanket and I could not believe how luxurious and soft it looked and felt! I was intrigued by the idea of knitting my own blanket since I had taken up knitting again through We Are Knitters, and I knew the blanket would be simple enough since it used the stockinette stitch. I went down the rabbit hole of researching merino wool and large knitting needles over the following weeks and found some vendors on Etsy. However, most were in Europe and shipping seemed astronomical. I worked on other projects in the meantime and kept the idea of knitting my own blanket tucked away for future reference.
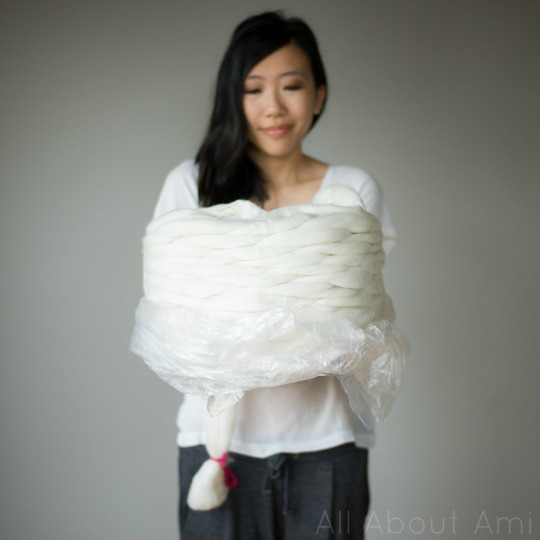
Fast forward a couple of months, and I became connected with the wonderful Sarah of Mama Knows Luxury! She sells the supplies for extreme knitting and crocheting in her Etsy store and she is actually local to me in Edmonton, Alberta, Canada. In her shop you will find ethically sourced, top quality ultra thick merino wool roving that is sourced from Ashland Bay. I am so thankful that we now have a Canadian supplier of this luxurious wool! I blogged about my Extreme Knitting and Crochet Haul from her store HERE! I knew the first project I wanted to tackle was my Extreme Knitted Blanket!
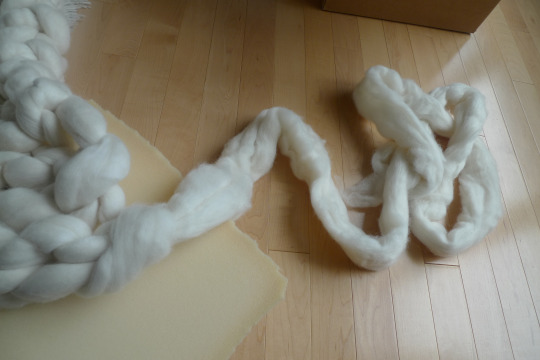
For this blanket, I used 3 kg of undyed cream 100% merino wool! I actually had no idea how large the resulting throw blanket would be, but I knew 3 kg would make a decent size. This merino wool is unspun wool roving- it was my first time working with this type of fiber! Since it has not been spun, it you pull hard enough, it will rip, so it is definitely more delicate than typical yarn and requires more care.
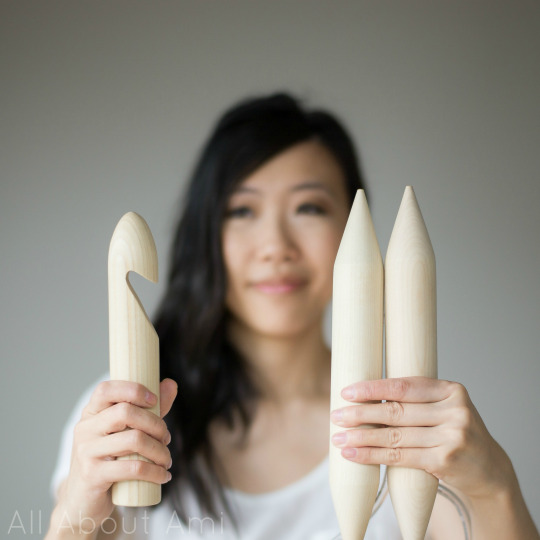
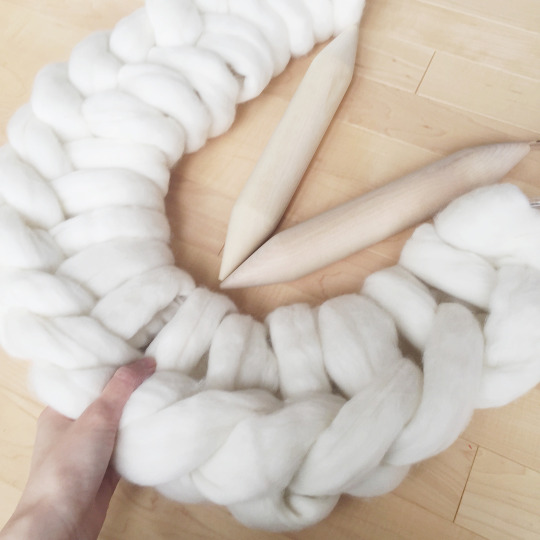
Sarah was kind enough to lend me her 50 mm (US size 200) birch circular knitting needles to make my blanket! [Update: Sarah now sells Premium Extreme Circular Knitting Needles that she designed and had locally made in her shop HERE!]. Another option would be to use your arms and do arm knitting if you are unsure about investing in these tools!
I was sooo incredibly excited to begin knitting my blanket! To begin, I casted on 21 stitches using the long tail cast on method (see HERE). It was tricky knowing how long of a tail to leave as I did not want to waste any of my precious wool. I probably went through 3-4 trials before I was happy with the cast on. However, as I was knitting my blanket, I could see that 21 stitches was probably too wide for the amount of wool that I had, so I frogged the entire thing! I was extremely scared of frogging this unspun wool roving at first but I pulled the wool very delicately with great care and it was actually more resilient than I thought. This made me feel better knowing that I could frog my work in case something went wrong. I ended up casting on 16 stitches for my finished blanket!
It was so neat seeing how huge each stitch was! This wool is definitely the softest and most luxurious I’ve ever worked with!
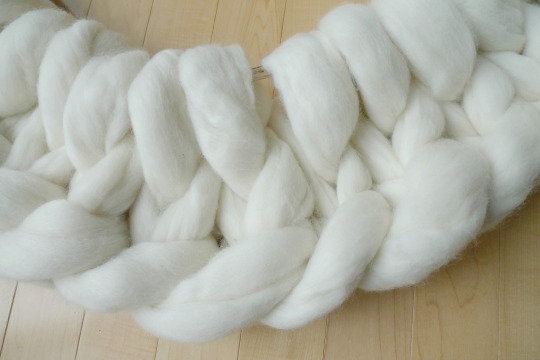
Working with these jumbo knitting needles was not as hard as I thought it would be, and it greatly helped that they were circular needles since I wasn’t carrying the weight of the blanket throughout the process. I worked on a couple of rows at a time and had so much fun seeing my gorgeous blanket build up. I really looked forward to every time I could work on this project and was a little sad when it was done! In total, the blanket probably only took about a couple of hours to knit since each stitch is so large!
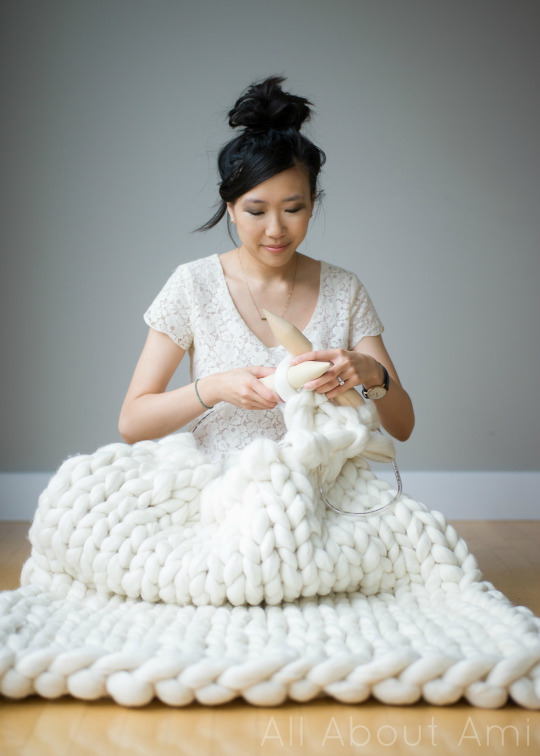
Some people recommend trying to make your whole blanket in one sitting so that you can better keep your gauge and tension consistent. I tried to knit very loosely and not pull too hard on the wool. I worked on this blanket over a couple of days and was able to keep my tension pretty consistent. When I posted the photo below to social media, some people said that I looked like a little doll who had stolen some yarn and knitting needles! Haha, the relative proportions and perspectives certainly are interesting when you’re working with such oversized and jumbo materials!

I posted a video of me knitting my blanket to Facebook and Instagram (see below), and I was astounded by how popular it became! I love the sound of the birch knitting needles and you can get a sense of how fluffy the wool is as I work with it. Even though I did not mean for it to be a knitting tutorial, some mentioned that it was a great how-to video since you can easily see how I’m doing the knit stitch with such large knitting needles and wool!
Another tricky part was knowing how many rows I could complete and how much wool was needed for my cast off as my 3 kg began to dwindle. After some trial and error and after completing 29 rows, this was how much wool was left!
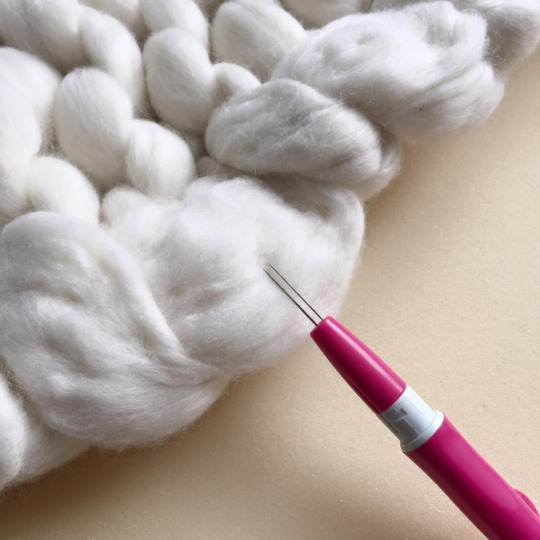
Weaving in super bulky ends can sometimes be troublesome, and I really was not sure how I was going to weave in my ends when I first started knitting my blanket! Sarah of Mama Knows Luxury suggests splitting the wool into five strands and weaving them all in separately (see her pic HERE). Chantal of Knitatude provided a great tip on social media: she suggested felting the ends!
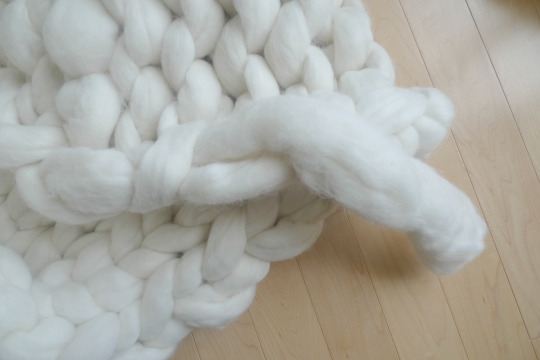
I was completely new to felting but wanted to learn more about the technique and process. After some research, I found out that felting is the process of shrinking and bonding wool fibers together through heat, agitation and moisture. This causes the microscopic scales on wool fibers to interlock and tighten together, forming a dense cloth/felt with a soft texture. Felting needles have barbs/notches on them, and when you repeatedly jab at the wool (agitation), it causes the fibers to interlock together! After watching some felting videos on YouTube (e.g. see HERE), I went out and bought this Clover felting needle and some dense foam for my felting board!
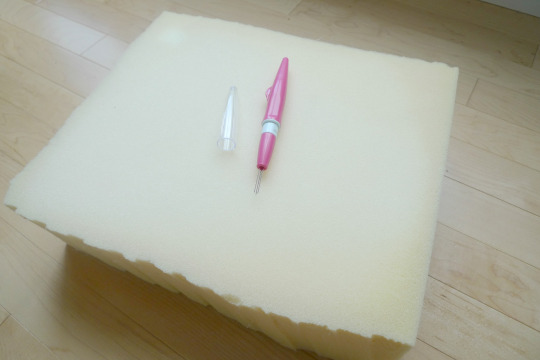
I was amazed to see the wool melding together as I jabbed at it with my felting needle and was so happy that I had invested in these supplies. I can also make cute animals with my leftover wool as I do not want to waste a single bit given how pricey it is! You can read my detailed blog post on “How To Felt Yarn Ends Together” HERE!
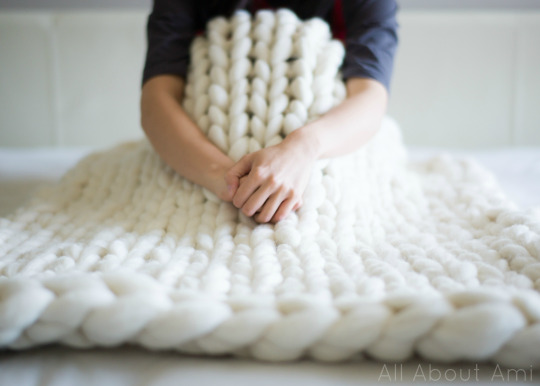
Once the ends had been felted, my blanket was complete! I couldn’t wait to get cozy in it!
********************************
Here is the simple free pattern for my Extreme Knitted Blanket!
Materials:
- 3 kg of unspun wool roving – mine is from Mama Knows Luxury
- 50 mm knitting needles (US size 200) – See Sarah’s Premium Extreme Circular Knitting Needles HERE
- Optional: Felting needle, felting board/foam
Using long tail cast on method, cast on 16 stitches (I left a tail of 145 inches).
Row 1: Purl 16
Row 2: Knit 16
R3-28: Repeat Row 1 and Row 2
Cast off stitches.
Felt end to body of blanket using felting needle and foam board. Alternatively, split end into five different strands and weave in each strand separately. Note that stitch and row counts may vary depending on your tool (e.g. 40 or 50 mm knitting needles or arm knitting) and gauge!
Finished dimensions: 35″/89 cm by 48″/122 cm
********************************
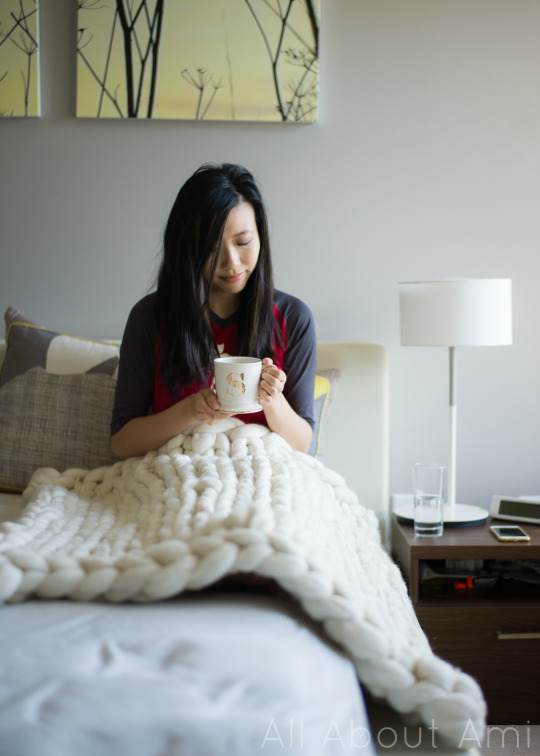
My merino wool blanket is more of a throw blanket or lapghan, and I plan to use it to cuddle on the couch when we’re watching a movie. If you want a larger size, you would definitely need more kilograms of wool!
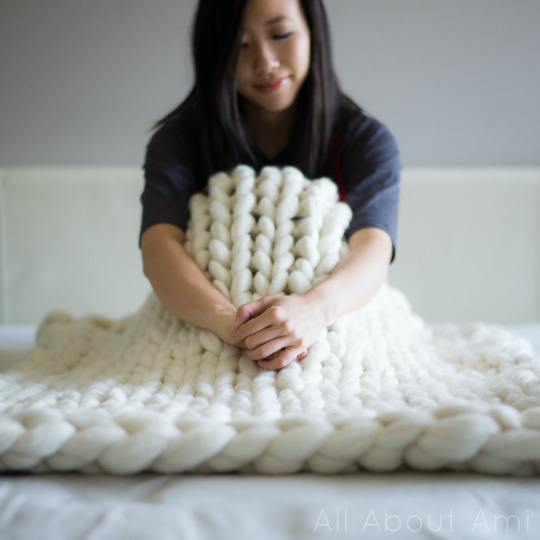
It is incredibly soft and warm, and I am so proud of my handmade, luxurious knitted blanket! The stitches kind of look like hearts, don’t they?
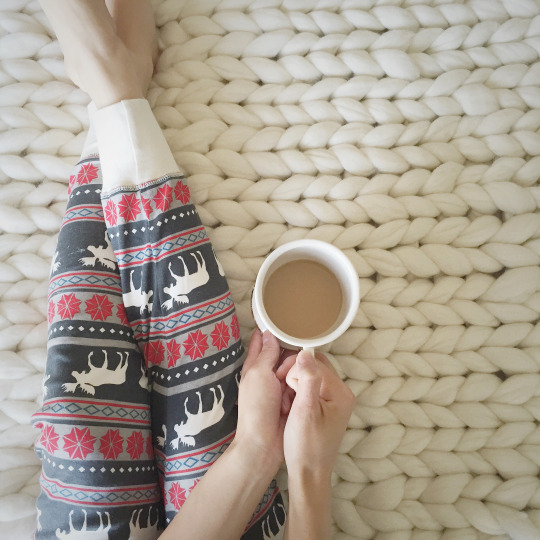
I just love the classic look of stockinette stitches! My wool blanket paired with my moose fair isle leggings and milk tea brings ultimate coziness and warmth!
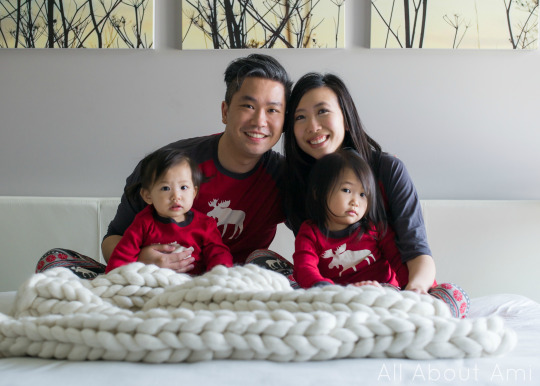
Every Christmas we have a tradition of wearing our Bear Cheeks onesies (see HERE). Lazy One was kind enough to send us some more matching pajamas, and they let me choose which style I wanted! I went with their Moose Fair Isle set as they have sizes for the whole family! They are very good quality and incredibly soft, and I love that we can wear them year round. It sort of feels like Christmas in July!
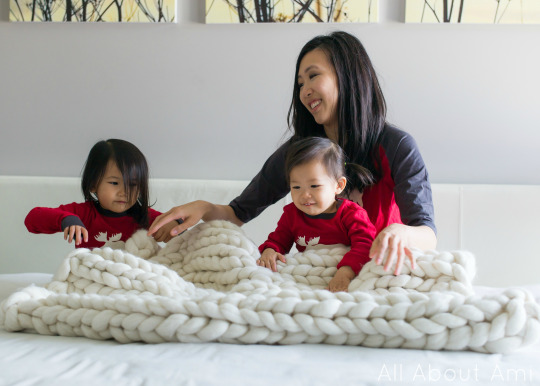
The girls had fun playing and hiding under the blanket! With its light colour and delicate nature, I’ll probably be keeping this blanket tucked away for my use only until the girls are less prone to spilling drinks and dropping crumbs everywhere!
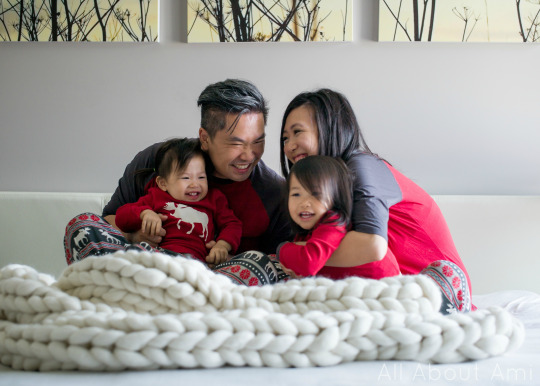
We actually haven’t taken a family photo in a while, so I’m glad we got to snap some with our matching pajamas and wool blanket! Brie is 18 months old and Myla is 3! How quickly they’ve grown!
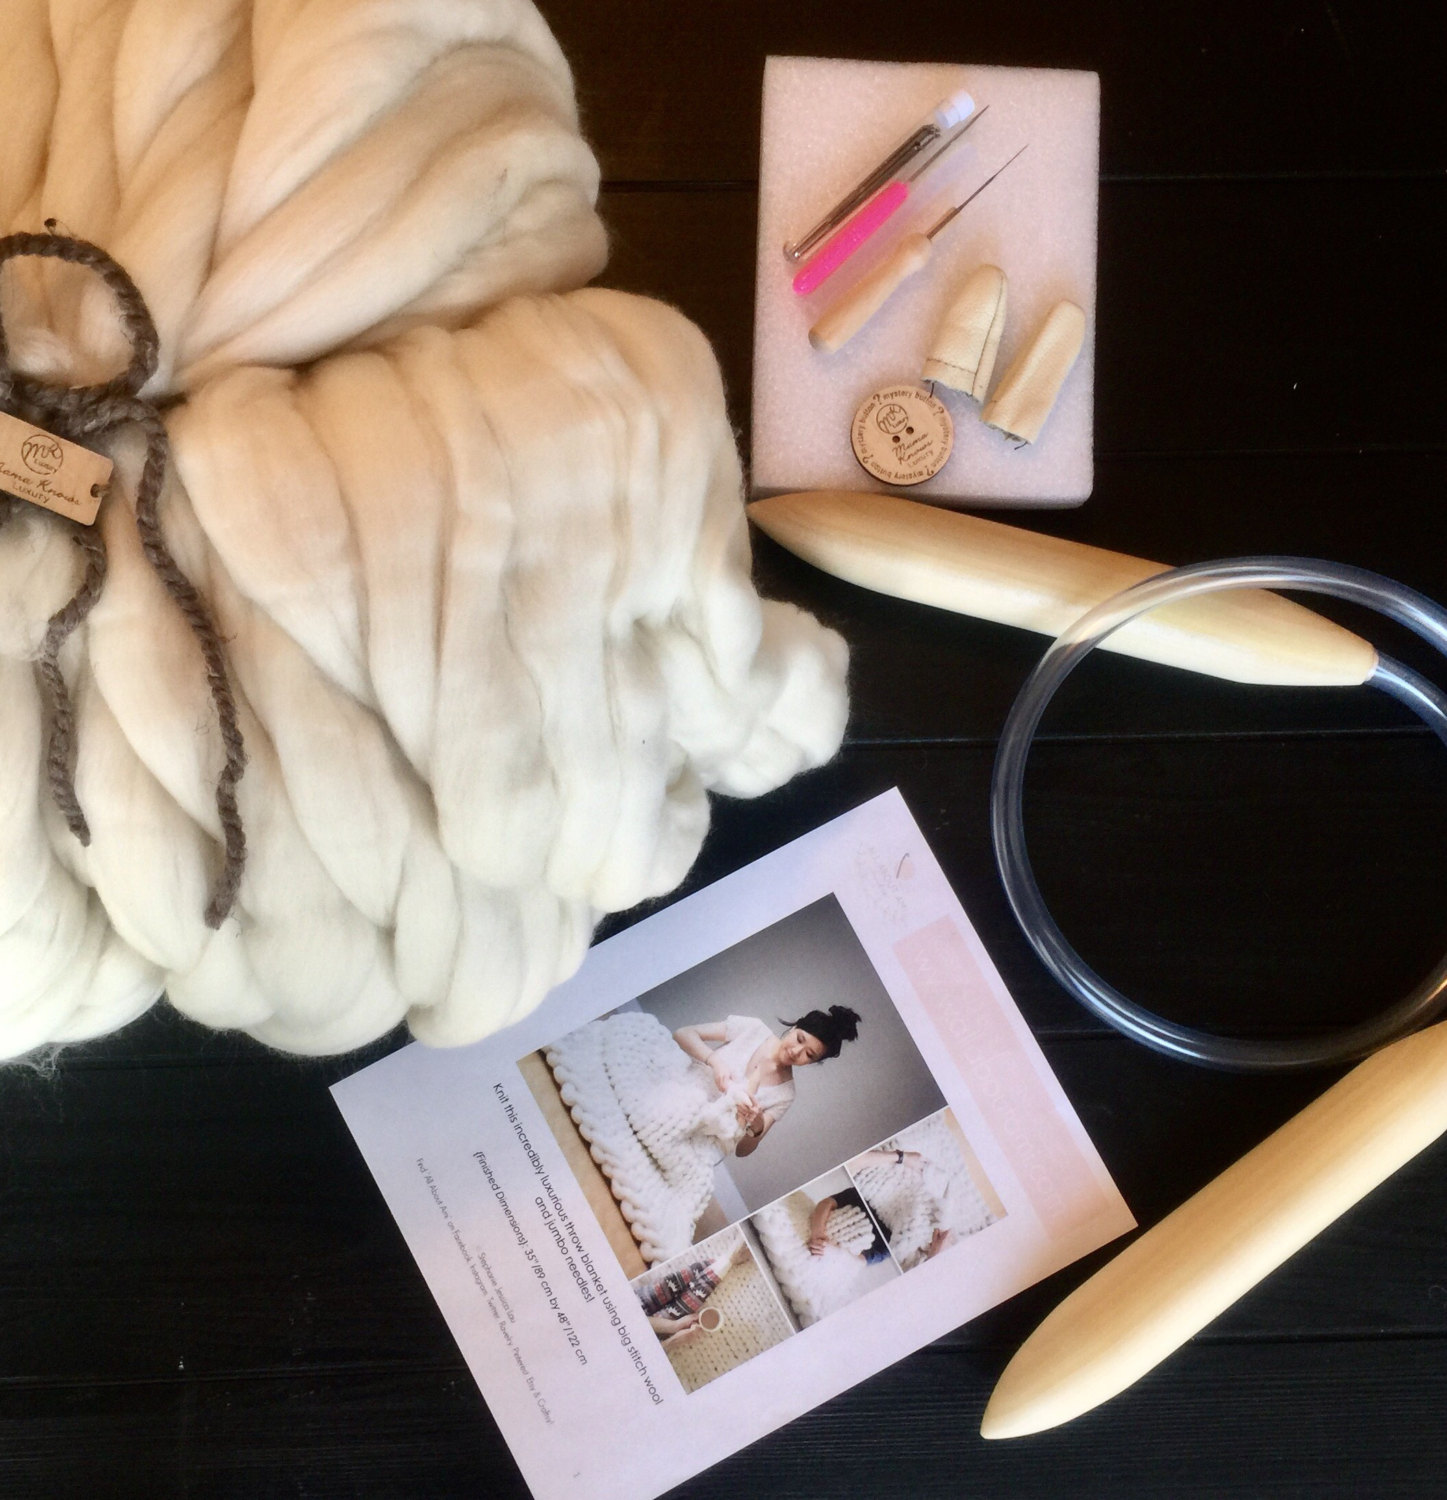
Sarah of Mama Knows Luxury has put together a fabulous kit so that you can get all the necessary tools to knit your own “Extreme Knitted Blanket” in one place! This handy kit includes the wool required, a print-out of this pattern, giant circular knitting needles, felting kit, mystery button, and a printed yarn info sheet and finished item care instructions. Be sure to check out this kit HERE, and you get to choose any wool colour that you want! This makes it so convenient since you do not need to look for and purchase each item separately!
It was such a pleasure working with this wool and knitting my very own blanket! It was definitely not as hard as I was expecting it to be as I was so scared of the wool breaking or that the needles would be very heavy. The wool didn’t pill as much as I though it would while working with it, but I expect my blanket will pill more as I begin to use it. I absolutely loved the feel of the wool as I worked with it, and the blanket was so soft and cozy as it draped across my lap. I would absolutely jump at the chance to knit another one! Although the wool is definitely pricey, it is an investment and something you would want to save up for, particularly for a special occasion. Imagine what a unique housewarming, wedding, anniversary, or baby shower gift these wool blankets would be for friends, family, or for yourself! You could also look into crocheting your own blanket, but keep in mind that crocheting takes up more wool for the equivalent size knitted blanket, so you would need even more kilograms of wool to make a blanket of this size! She has many different colours available in this wool and will be happy to set up a custom order for you if needed- she has been an absolute pleasure to work with and has great customer service!
For care instructions, Sarah suggests dry cleaning, but you could also try hand washing cold, wringing and laying flat to dry (keep in mind that this blanket would be VERY heavy when wet though). Once this blanket has been washed, it will be felted, so it will pill less and be less fragile- I am definitely going to look into this! Thank you for reading about my adventures in extreme knitting and the making of my fluffy cloud blanket! It was such a dream being able to work with this luxurious wool and huge knitting needles! Stay tuned for more extreme knitting and crocheting projects as I have more wool to play with- you can follow me on social media here:
Facebook page, Twitter (@AllAboutAmi) or Instagram (@AllAboutAmi)!
Note: Thank you to Sarah of Mama Knows Luxury for providing me with the wool for this project!. All opinions expressed are 100% my own!
***This post is featured on AllFreeKnitting’s “50+ Super Bulky Knitting Patterns for Winter” HERE! Check out this round-up for other great project ideas!