***You can purchase an INEXPENSIVE AD-FREE PDF of this pattern on Etsy HERE on LoveCrafts HERE! This beautifully formatted PDF includes the step-by-step pictures and is a total of 8 pages including the cover page! It is important that you follow along with my STEP-BY-STEP BLOG POST HERE to see more detailed photos and the step-by-step making of this cardigan! You can also find this pattern in my Easy & Modern Knits Pattern Bundle found HERE (includes over 25 of my knit patterns at a discounted price)! The Lion Brand Yarn kit HERE includes the pattern and all the Chainette yarn needed to make this cardigan!
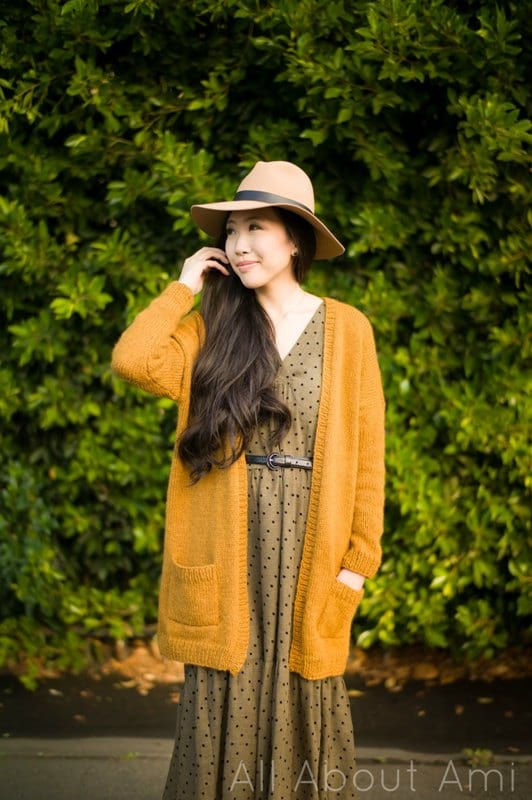
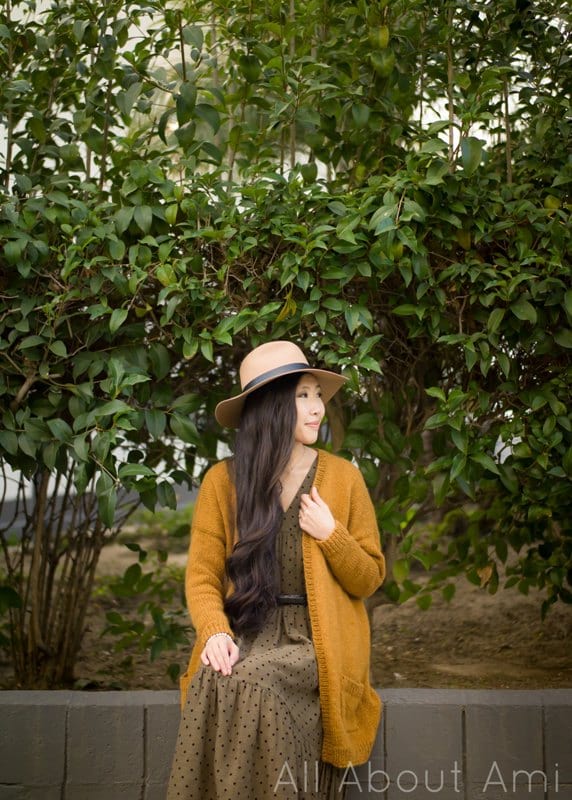
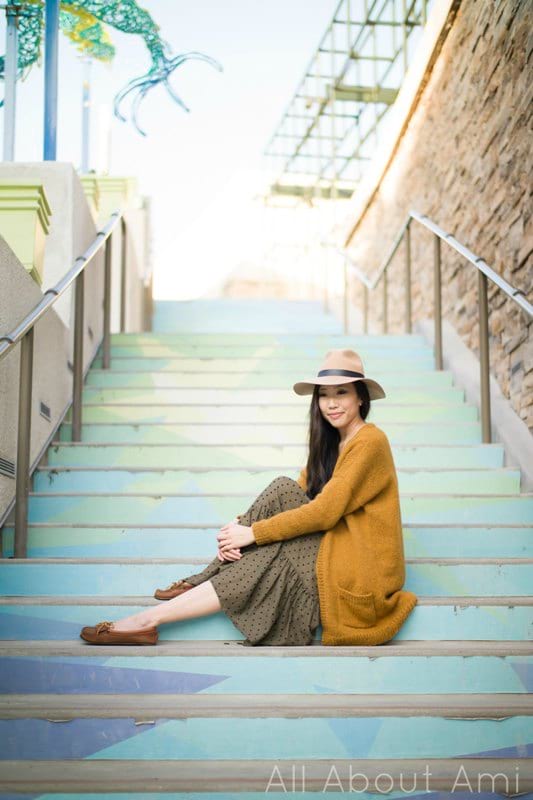
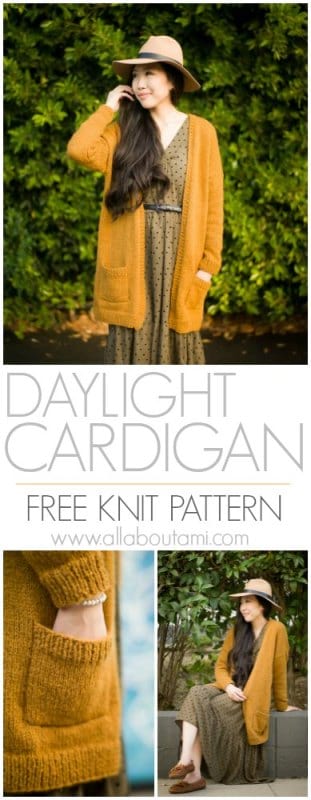
The Daylight Cardigan is a luxurious and stylish cardigan featuring a relaxed fit and cozy pockets. This classic wardrobe staple uses Chainette yarn, a light and airy worsted weight yarn that results in an incredibly soft and comfortable cardigan. You will be reaching for this beginner-friendly cardigan throughout the seasons as it features the simple stockinette stitch and can be paired with many different outfits, from dresses and skirts to jeans and leggings!
Materials:
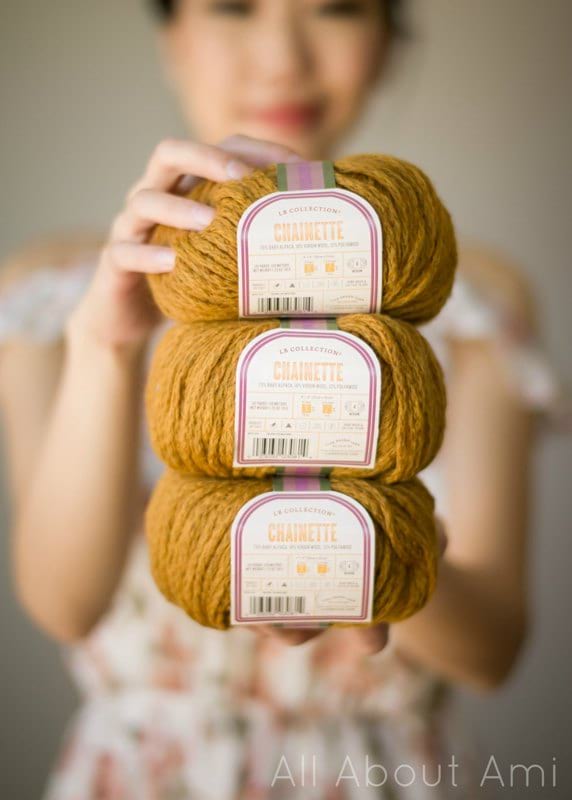
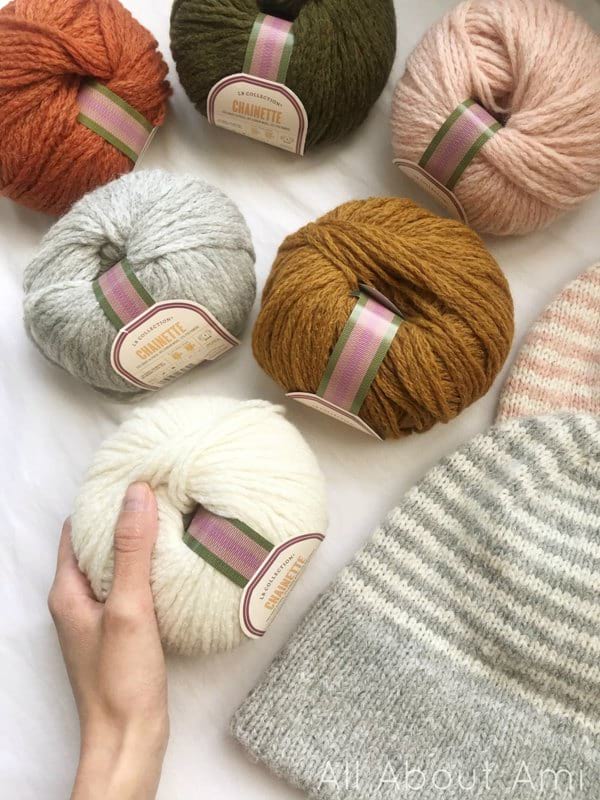
- Chainette Yarn– level 4 worsted weight yarn (see below for yardage) – 70% Baby Alpaca, 18% Virgin Wool, and 12% Polyamide ; I used the colour “Mustard” – purchase the convenient KIT HERE that contains all the yarn you need!
- Clover Takumi 29″ 5.5 mm circular needles; 48″ cord for picking up stitches along collar
- Yarn needle
- Lock ring stitch markers
- Steamer for blocking
Gauge: 16.5 stitches and 22 rows = 4 inches in stockinette stitch
Final Measurements (in inches):

Approximate Yardage/Number of Skeins Required:
Small: 10 skeins, ~490 grams/1285 yards
Medium: 11 skeins, ~530 grams/1390 yards
Large: 12 skeins, ~575 grams/1500 yards
Extra Large: 13 skeins, ~615 grams/1600 yards
2XL: 14 skeins, ~665 grams/1740 yards
3XL: 15 skeins, ~705 grams/1840 yards
4XL: 16 skeins, ~750 grams/1960 yards
5XL: 16 skeins, ~790 grams/2070 yards
Notes:
- KFB = Knit Front and Back Increase: Step 1: Knit the first stitch on your main needle. Step 2: Before taking the stitch off the main needle, insert the tip of your working needle into the backside of the loop and knit it through the back loop. Then pull the stitch off the needle. See tutorial and video on how to do KFB HERE on New Stitch A Day.
- One back panel and two fronts panels are knitted in stockinette stitch and seamed together at the top and sides using the vertical invisible seaming technique, leaving space for the arm holes. These panels are worked from the bottom up starting with the ribbing. The sleeves are worked from the bottom up (starting from the ribbing as well), seamed along the edge (also using the vertical invisible seaming technique), and then attached to the arm holes. Stitches are picked up along the collar and a ribbing pattern is knitted. Two optional pockets are knitted and attached to each front panel.
- To learn or refresh yourself on how to knit the stockinette stitch, please reference my step-by-step tutorial and video HERE!
- You can block the pieces before assembling or block the cardigan at the end.
Sizing Notes:
- This drop sleeve cardigan is oversized, relaxed, loose, and slouchy. If you would like your cardigan to be more fitted, move down a size.
- It is designed with 20-22″ of positive ease. Positive ease means your finished garment is larger than your actual bust measurement. For example, for a size small your actual bust measurement may be 34″ while the bust of the finished cardigan is 54″ (54″-34″ = 20″ of positive ease). This means that it is a looser and oversized cardigan compared to a fitted one.
- Part of the front and back panels become part of the sleeve as they bend past the shoulders. The sleeve length remains the same for all sizes, but the increased width in the front and back panels help lengthen the sleeves of the larger sizes. The width of the sleeve varies by size.
- If you would like the cardigan to be wider, increase the number of stitches you cast on for the front and back panels. If you would like the cardigan to be narrower, decrease the number of stitches you cast on for the front and back panels.
- If you would like the cardigan to be longer, increase the number of rows for the back and front panels. If you would like the cardigan to be shorter, decrease the number of rows for the back and front panels.
- The INCREASE ROW in the sleeve is worked as follows: {K1, KFB, K across until last two stitches. KFB, K1.} With this increase row, the stitch count increases by two stitches. The increases are always worked in the second stitch and second to last stitch. There are 14 increase rows in total, and they occur every 4 rows starting from Row 36.
- I am wearing a size Small, and I am 5’6 for height reference.
- This pattern is written for the following sizes (I would recommend highlighting or circling the numbers for your size throughout the pattern): Small (Medium, Large, XL)(2XL, 3XL, 4XL, 5XL). Please note that for the stitch counts at the end of each row, the sizes are listed as follows (small is first size after bracket): (Small, Medium, Large, XL)(2XL, 3XL, 4XL, 5XL).
PATTERN:
- Back panel
We will begin with the ribbing.
Using 5.5 mm needles,
Cast on 112 (120, 128, 136)( 144, 152, 160, 168 ) stitches using long tail cast-on.
Row 1: *Knit 1, Purl 1* across. (112, 120, 128, 136)( 144, 152, 160, 168 )
Row 2 – 11: Repeat Row 1. (112, 120, 128, 136)( 144, 152, 160, 168 )
Ribbing is now complete! We will now work the rest of the panel in stockinette stitch.
Row 12: Knit all stitches. (112, 120, 128, 136 )(144, 152, 160, 168)
Row 13: Purl all stitches. (112, 120, 128, 136 )(144, 152, 160, 168)
R14-179: Repeat Rows 12 and 13. (112, 120, 128, 136 )(144, 152, 160, 168)
Cast off all stitches for Size Small and Medium.
R180-181: Repeat Rows 12 and 13.
Cast off all stitches for Size Large and XL.
R182-185: Repeat Rows 12 and 13.
Cast off all stitches for Size 2XL and 3XL.
R186-187: Repeat Rows 12 and 13.
Cast off all stitches for Size 4XL and 5XL.
- Front panels (make 2)
We will begin with the ribbing.
Using 5.5 mm needles,
Cast on 42 (46, 50, 54)(58, 62, 66, 70) stitches using long tail cast-on.
Row 1: *Knit 1, Purl 1* across. (42, 46, 50, 54)(58, 62, 66, 70)
Row 2 – 11: Repeat Row 1.
Ribbing is now complete! We will now work the rest of the panel in stockinette stitch.
Row 12: Knit all stitches. (42, 46, 50, 54)(58, 62, 66, 70)
Row 13: Purl all stitches. (42, 46, 50, 54)(58, 62, 66, 70)
R14-179: Repeat Rows 12 and 13.
Cast off all stitches for Size Small and Medium.
R180-181: Repeat Rows 12 and 13.
Cast off all stitches for Size Large and XL.
R182-185: Repeat Rows 12 and 13.
Cast of all stitches for Size 2XL and 3XL.
R186-187: Repeat Rows 12 and 13.
Cast off all stitches for Size 4XL and 5XL.
- Sleeves (make 2)
We will begin with the ribbing.
Using 5.5 mm needles,
Cast on 38 (42, 46, 50)(54, 58, 62, 66) stitches using long tail cast-on.
Row 1: *Knit 1, Purl 1* across. (38, 42, 46, 50)(54, 58, 62, 66)
Row 2-11: Repeat Row 1. (38, 42, 46, 50)(54, 58, 62, 66)
Ribbing is now complete! We will now work the rest of the sleeve in stockinette stitch, working increases on certain rows throughout.
Row 12: Knit all stitches. (38, 42, 46, 50)(54, 58, 62, 66)
Row 13: Purl all stitches. (38, 42, 46, 50)(54, 58, 62, 66)
R14-35: Repeat Rows 12 and 13.
R36: WORK INCREASE ROW. (40, 44, 48, 52)(56, 60, 64, 68)
R37: Purl all stitches. (40, 44, 48, 52)(56, 60, 64, 68)
R38: Knit all stitches. (40, 44, 48, 52)(56, 60, 64, 68)
R39: Purl all stitches. (40, 44, 48, 52)(56, 60, 64, 68)
R40: WORK INCREASE ROW. (42, 46, 50, 54)(58, 62, 66, 70)
R41: Purl all stitches. (42, 46, 50, 54)(58, 62, 66, 70)
R42. Knit all stitches. (42, 46, 50, 54)(58, 62, 66, 70)
R43: Purl all stitches. (42, 46, 50, 54)(58, 62, 66, 70)
R44: WORK INCREASE ROW. (44, 48, 52, 56)(60, 64, 68, 72)
R45: Purl all stitches. (44, 48, 52, 56)(60, 64, 68, 72)
R46. Knit all stitches. (44, 48, 52, 56)(60, 64, 68, 72)
R47: Purl all stitches. (44, 48, 52, 56)(60, 64, 68, 72)
R48: WORK INCREASE ROW (46, 50, 54, 58)(62, 66, 70, 74 )
R49: Purl all stitches. (46, 50, 54, 58)(62, 66, 70, 74 )
R50. Knit all stitches. (46, 50, 54, 58)(62, 66, 70, 74 )
R51: Purl all stitches. (46, 50, 54, 58)(62, 66, 70, 74 )
R52: WORK INCREASE ROW. (48, 52, 56, 60)(64, 68, 72, 76)
R53: Purl all stitches. (48, 52, 56, 60)(64, 68, 72, 76)
R54. Knit all stitches. (48, 52, 56, 60)(64, 68, 72, 76)
R55: Purl all stitches. (48, 52, 56, 60)(64, 68, 72, 76)
R56: WORK INCREASE ROW. (50, 54, 58, 62)(66, 70, 74, 78)
R57: Purl all stitches. (50, 54, 58, 62)(66, 70, 74, 78)
R58. Knit all stitches. (50, 54, 58, 62)(66, 70, 74, 78)
R59: Purl all stitches. (50, 54, 58, 62)(66, 70, 74, 78)
R60: WORK INCREASE ROW. (52, 56, 60, 64)(68, 72, 76, 80)
R61: Purl all stitches. (52, 56, 60, 64)(68, 72, 76, 80)
R62. Knit all stitches. (52, 56, 60, 64)(68, 72, 76, 80)
R63: Purl all stitches. (52, 56, 60, 64)(68, 72, 76, 80)
R64: WORK INCREASE ROW. (54, 58, 62, 66)(70, 74, 78, 82)
R65: Purl all stitches. (54, 58, 62, 66)(70, 74, 78, 82)
R66. Knit all stitches. (54, 58, 62, 66)(70, 74, 78, 82)
R67: Purl all stitches. (54, 58, 62, 66)(70, 74, 78, 82)
R68: WORK INCREASE ROW. (56, 60, 64, 68)(72, 76, 80, 84)
R69: Purl all stitches. (56, 60, 64, 68)(72, 76, 80, 84)
R70. Knit all stitches. (56, 60, 64, 68)(72, 76, 80, 84)
R71: Purl all stitches. (56, 60, 64, 68)(72, 76, 80, 84)
R72: WORK INCREASE ROW. (58, 62, 66, 70)(74, 78, 82, 86)
R73: Purl all stitches. (58, 62, 66, 70)(74, 78, 82, 86)
R74. Knit all stitches. (58, 62, 66, 70)(74, 78, 82, 86)
R75: Purl all stitches. (58, 62, 66, 70)(74, 78, 82, 86)
R76: WORK INCREASE ROW. (60, 64, 68, 72)(76, 80, 84, 88)
R77: Purl all stitches. (60, 64, 68, 72)(76, 80, 84, 88)
R78. Knit all stitches. (60, 64, 68, 72)(76, 80, 84, 88)
R79: Purl all stitches. (60, 64, 68, 72)(76, 80, 84, 88)
R80: WORK INCREASE ROW. (62, 66, 70, 74)(78, 82, 86, 90)
R81: Purl all stitches. (62, 66, 70, 74)(78, 82, 86, 90)
R82. Knit all stitches. (62, 66, 70, 74)(78, 82, 86, 90)
R83: Purl all stitches. (62, 66, 70, 74)(78, 82, 86, 90)
R84: WORK INCREASE ROW. (64, 68, 72, 76)(80, 84, 88, 92)
R85: Purl all stitches. (64, 68, 72, 76)(80, 84, 88, 92)
R86. Knit all stitches. (64, 68, 72, 76)(80, 84, 88, 92)
R87: Purl all stitches. (64, 68, 72, 76)(80, 84, 88, 92)
R88: WORK INCREASE ROW. (66, 70, 74, 78)(82, 86, 90, 94)
R89: Purl all stitches. (66, 70, 74, 78)(82, 86, 90, 94)
R90. Knit all stitches. (66, 70, 74, 78)(82, 86, 90, 94)
R91: Purl all stitches. (66, 70, 74, 78)(82, 86, 90, 94)
Cast off all stitches.
Assembly:
- Fold each sleeve in half lengthwise and use the vertical invisible seaming technique (see HERE for video tutorial) to seam sides together.
- Whip stitch tops of front panels to back panel, going through both front and back loops. Use vertical invisible seaming technique to attach sides of front panels to back panel, making sure to leave an arm hole. Place sleeve towards top of panels and see how much space is needed for arm holes (you can also reference the chart for the arm hole size). Whenever using the whip stitch, seam the wrong sides together so that the seam is less visible on the right side.
- Whip stitch top of sleeve to arm hole.
- See HERE for more detailed assembly photos!
Collar:
Using 5.5 mm needles,
Starting in bottom left corner, pick up 3 out of every 4 stitches along the front panel, across the back panel (pick up every stitch for the back panel portion), and down the front panel. [For the Size Small/Medium, the # of stitches will be approximately 297, L/XL = 300, 2X/3X =306, and 4X/5X = 309]. Pick up an even number of stitches or adjust the pattern below accordingly to build up ribbing pattern.
To pick up stitches using working yarn, insert your needle into the first stitch along the edge. Yarn over, then pull up a loop. Keep inserting your needle into the next stitch, yarning over, and pulling up a loop. Watch this video HERE to see how to pick up stitches along a vertical edge.
Row 1: *K1, P1* across.
R2-5: Repeat Row 1.
Cast off in ribbing and weave in ends.
Pockets (make 2) – optional:
Using 5.5 mm needles,
Cast on 24 stitches.
We will begin with the stockinette portion of the pocket:
R1: Purl across. (24)
R2: Knit across. (24)
R3-25: Repeat Rows 1 and 2. (24)
We will now move to the ribbing portion of the pocket:
R26: *K1, P1* across. (24)
R27-31: Repeat R26. (24)
Cast off in rib pattern and leave long end for sewing.
You can increase the size of the pockets for the larger sizes – place your pockets on your front panels to see how they look proportionally and adjust as necessary (add more stitches to the cast on to increase the width of the pocket and add more rows to increase the length of the pocket).
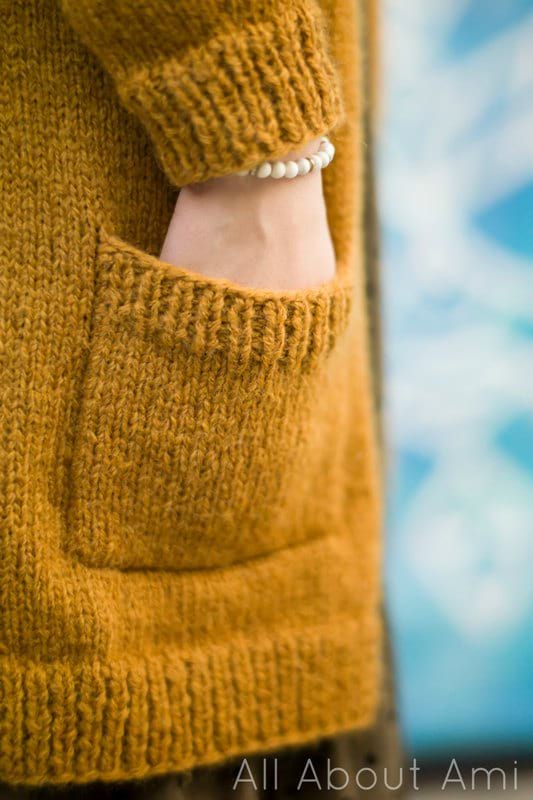
Place one pocket on each front panel and sew into place (watch this video HERE to see how to sew a pocket onto a knitted garment). For my size small, I placed the pocket approximately 3.25”from the bottom edge and 3” from the side edge/collar.
******************************
I adore my classic Daylight Cardigan that can be worn with so many different outfits and throughout the seasons! Ryan has stated that this is his favourite cardigan that I have made, and I must say that this is one of my favourites as well! It has such a stylish and effortlessly chic vibe to it.
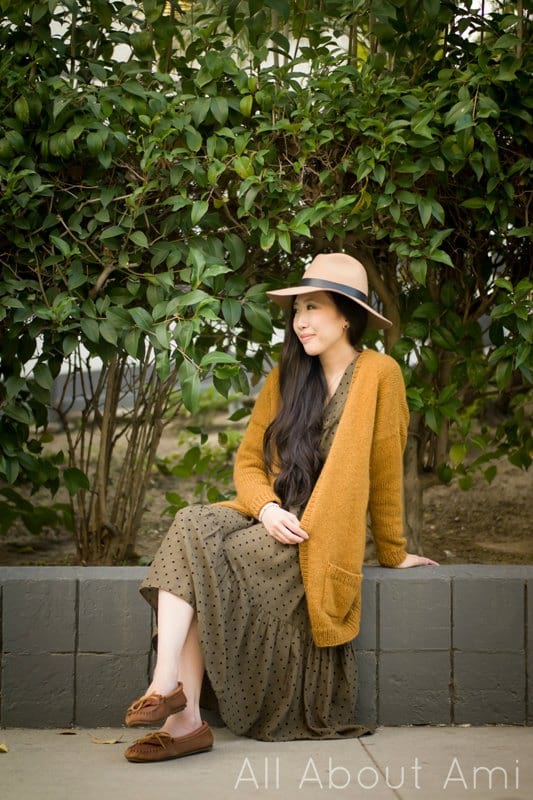
When I was brainstorming names for this cardigan, I kept trying to think of words pertaining to “everyday” since you can wear this cardigan all the time and “light” since the cardigan itself is so light and airy due to the chainette construction of the yarn which allows air to pass through. Thus, I came up with the “Daylight Cardigan“! The slight fuzz of Chainette helps to blur the stitches and give such an overall beautiful effect for pieces made using this yarn.
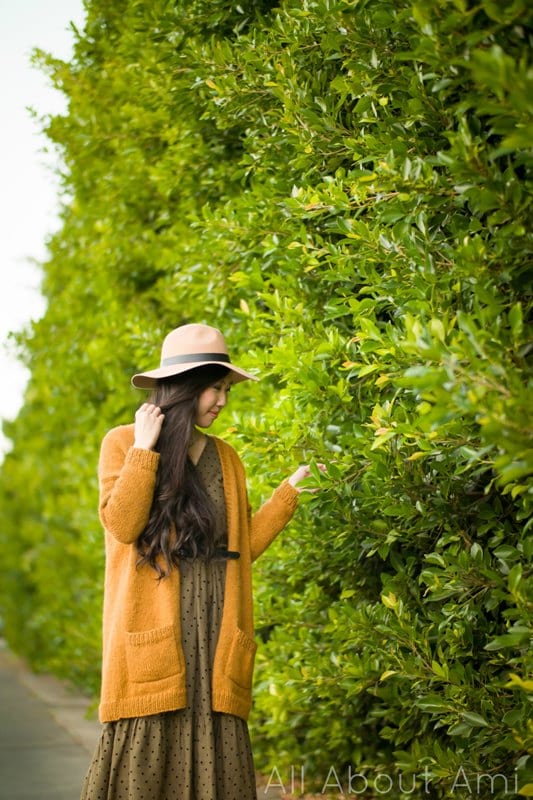
We took advantage of the warm Southern California weather on a recent vacation, and I LOVED wearing the Daylight Cardigan throughout the entire day, from the crisp morning to the chilly evening. This cardigan is extremely soft and comfortable to wear, and I found my hands constantly gravitating towards and digging into the cozy pockets.
The convenient Lion Brand Yarn kit that contains all the Chainette Yarn required can be found HERE – it comes in 4 different shades. As a reminder, Chainette yarn is part of the LB Collection and can only be found online. It is one of my favourite yarns of all-time and does not feel itchy or scatchy at all (as many wool yarns can feel). I hope you fall in love with Chainette yarn as much as I have! I would recommend trying to snag this kit during one of Lion Brand Yarn’s frequent sales so you can get this kit at a discount!
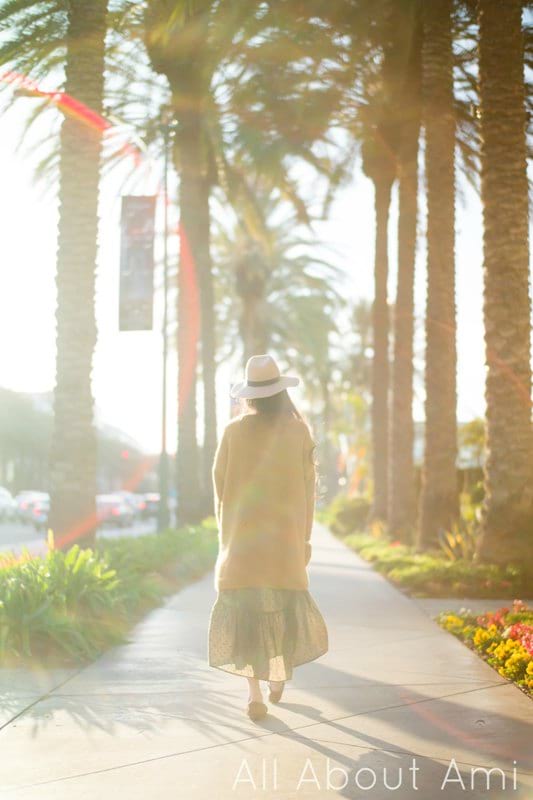
It is so special and incredibly rewarding to make classic pieces with our own hands for our wardrobe that look like they could be store-bought. Whenever I look at my handmade garments, I remember all the love and time that went into creating them and it is so empowering! I hope you feel the same and that my garment designs have helped give you confidence that you too can make your own clothes with just yarn and needles/hooks!
You can subscribe to my e-mail newsletter HERE for all my latest updates and designs! My love of cardigans will never end, and I am so happy that you have all been loving my cardigan designs as well!
{This post is sponsored by Lion Brand Yarn! I’ve loved working with their yarn throughout the years and I’m thrilled that I get to collaborate with them every month!}
This pattern is an original pattern by Stephanie Lau of All About Ami. Please do not claim this pattern as your own. If you wish to share this pattern, you may link to this pattern but please do not reprint it on your site. You may keep a copy for your own personal use but please DO NOT sell the pattern or distribute it.
You may sell products made from this pattern but please clearly credit the design to me, Stephanie Lau of All About Ami, and provide a link to my blog www.AllAboutAmi.com. Permission is NOT granted for mass production or factory manufacturing of any kind. Thank you for being respectful and for your understanding!


