***You can purchase an INEXPENSIVE AD-FREE PDF of this pattern on Etsy HERE and on LoveCrochet HERE. The printable PDF with step-by-step pictures has been condensed into a total of 6 pages including the cover page!
![]()
![]()
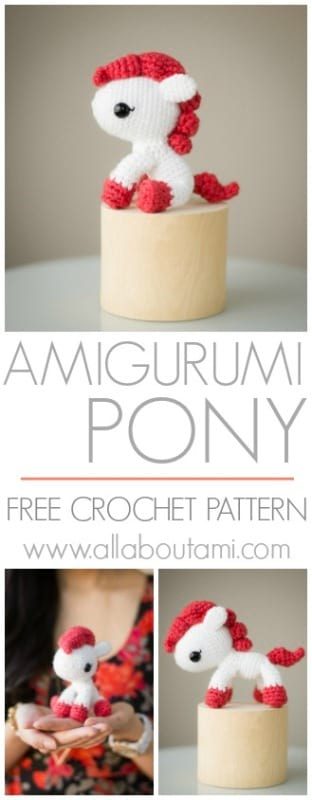
Celebrate the “Year of the Horse” this Chinese New Year with this sweet little Pony, complete with a whimsical, puffy mane and tail! Make her in a rainbow of colours for all the horse, unicorn and pony-lovers in your life and those born in the Year of the Horse!
Materials:
- white yarn (I used “Patons Canadiana in White”) and coral yarn (I used “Loops & Threads Impeccable in Rouge”)
- 2.00 mm Clover Amour crochet hook
- Yarn needle (bent tip helpful for attaching amigurumi parts- see HERE)
- fiberfill
- 12 mm safety eyes
- black embroidery floss
Note: I worked in continuous rounds (vs. joined rounds). ***PLEASE follow along with my blog post HERE to see step-by-step photos.
HEAD
Using white yarn,
R1: 5 sc in Magic Ring (5 sts)
R2: 2 sc in each sc around (10 sts)
R3: *Sc 1, 2 sc in next sc*, rep 5 times (15 sts)
R4: Sc 15
R5: *Sc 2, 2 sc in next sc*, rep 5 times (20 sts)
R6: *Sc 3, 2 sc in next sc*, rep 5 times (25 sts)
R7: Sc 25
R8: *Sc 4, 2 sc in next sc*, rep 5 times (30 sts)
R9-10: Sc 30
R11: *Sc 5, 2 sc in next sc*, rep 5 times (35 sts)
R12-17: Sc 35
R18: *Sc 5, dec 1*, rep 5 times (30 sts)
R19: Sc 30
R20: *Sc 4, dec 1*, rep 5 times (25 sts)
Add safety eyes between Rows 9 and 10 below midline for doe-eyed effect (see more photos here). Embroider eyelashes with black embroidery floss. Begin stuffing head. Ensure that the “snout/nose” is at the beginning where the magic circle is and the back of the head will be where you do your decreases, fasten off and weave in end over the next couple of rounds.
R21: *Sc 3, dec 1*, rep 5 times (20 sts)
R22: *Sc 2, dec 1*, rep 5 times (15 sts)
R23: *Sc 1, dec 1*, rep 5 times (10 sts)
Finish stuffing head.
R24: *Dec 1*, rep 5 times (5 sts)
Fasten off and weave in end.
MANE (divided into 5 parts from front of head to back of head)
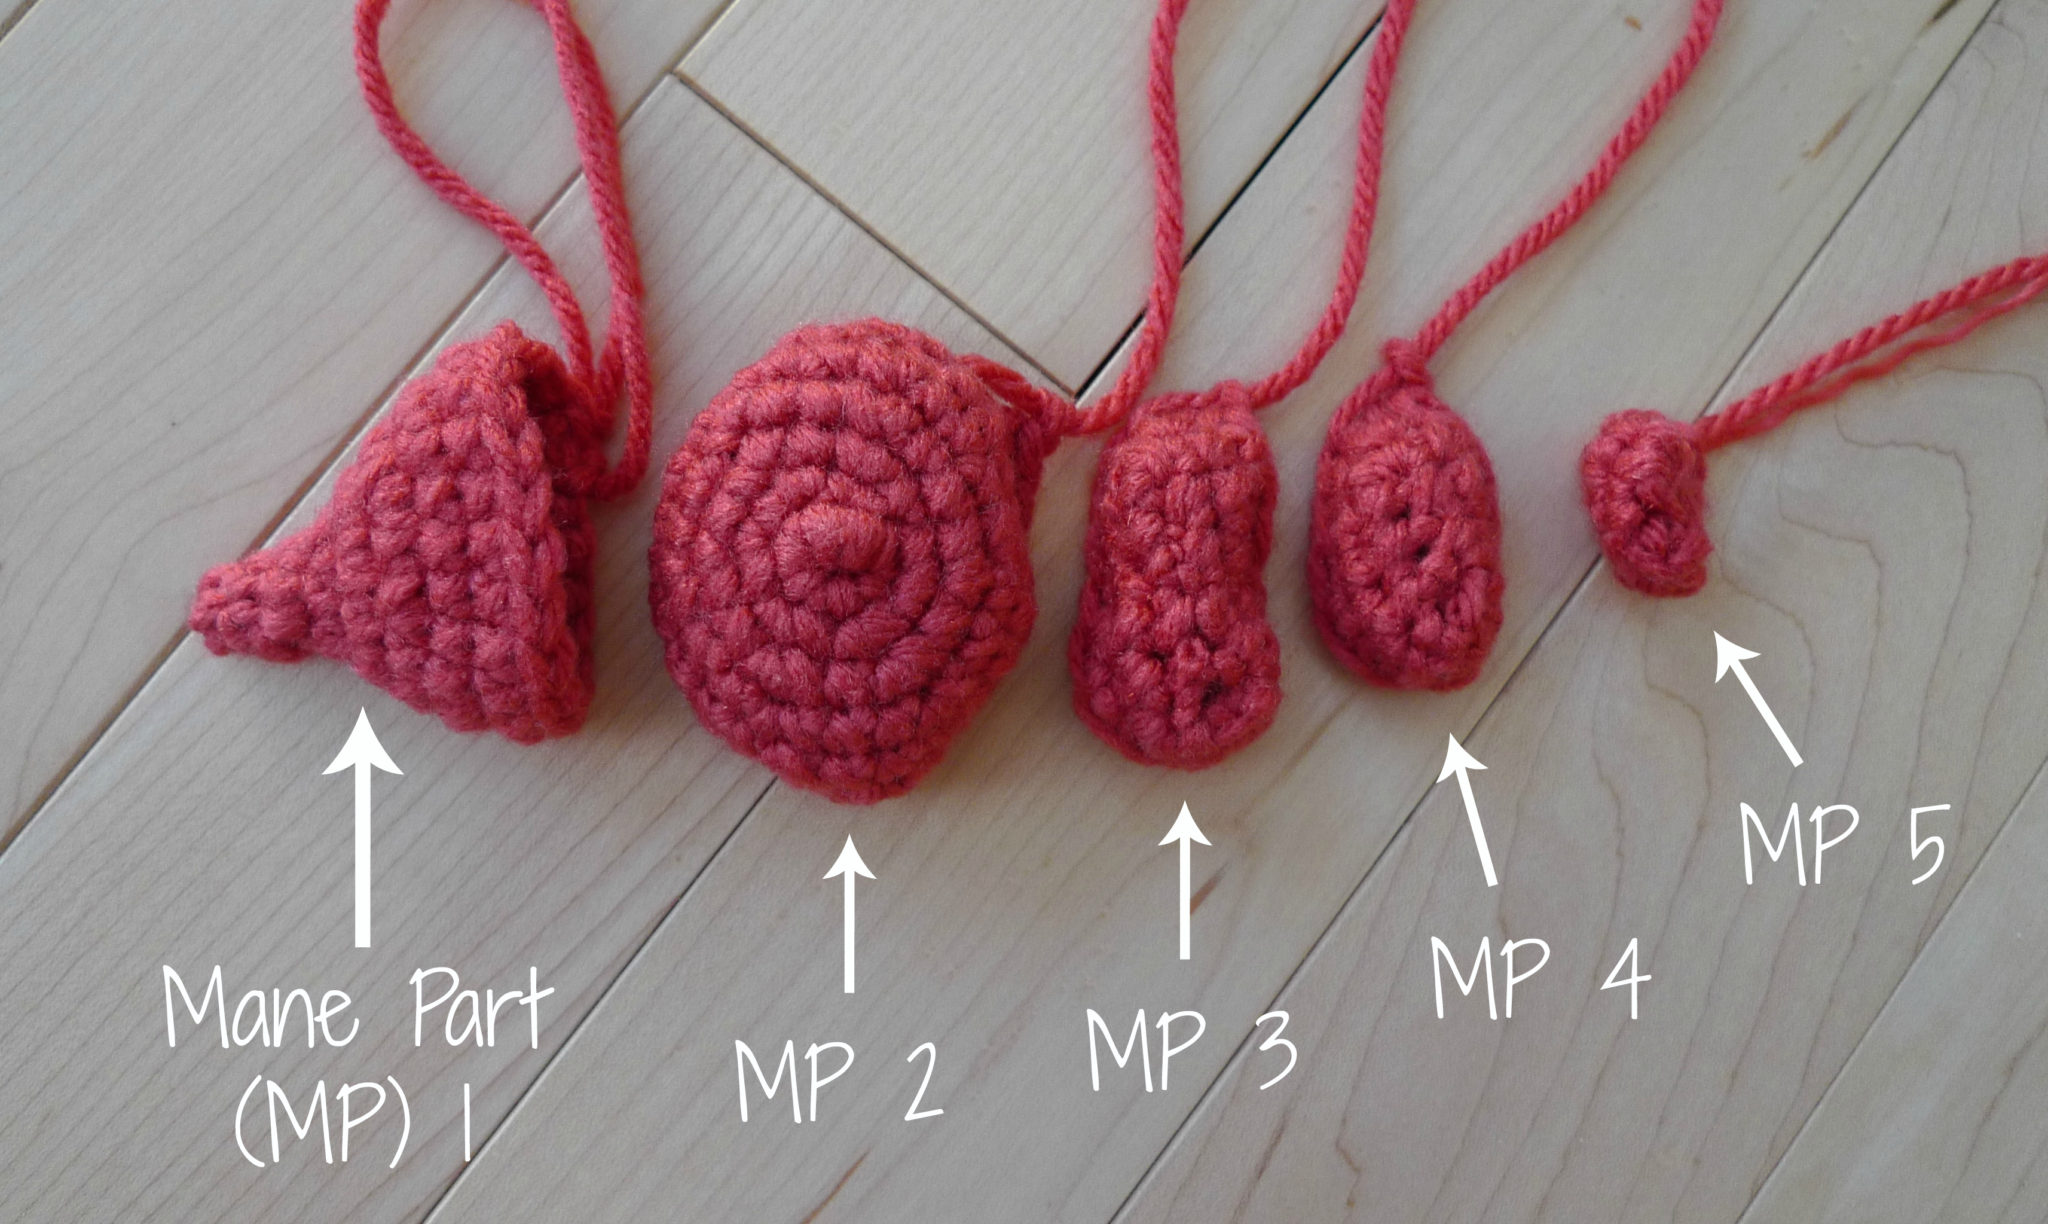
Using coral yarn for all the parts
Mane Part 1 (curled tip):
R1: 4 sc in Magic Ring (4 sts)
R2: Sc 4
R3: *Sc 1, 2 sc in next sc*, rep 2 times (6 sts)
R4: *Sc 1, 2 sc in next sc*, rep 3 times (9 sts)
R5: *Sc 2, 2 sc in next sc*, rep 3 times (12 sts)
R6: *Sc 1, 2 sc in next sc*, rep 6 times (18 sts)
R7-8: Sc 18
Fasten off and leave long end for attaching.
Mane Part 2:
R1: 6 sc in Magic Ring (6 sts)
R2: 2 sc in each sc around (12 sts)
R3: *Sc 1, 2 sc in next sc*, rep 6 times (18 sts)
R4: *Sc 2, 2 sc in next sc*, rep 6 times (24 sts)
R5: *Sc 3, 2 sc in next sc*, rep 6 times (30 sts)
R6: *Sc 3, dec 1*, rep 6 times (24 sts)
R7: *Sc 2, dec 1*, rep 6 times (18 sts)
Fasten off and leave long end for attaching.
Mane Part 3:
Chain 8 (this is the foundation chain)
R1: Starting from second chain from hook, Sc 7 in back loops of foundation chain. Turn and Sc 7 in front loops of the foundation chain [we are making an oval by crocheting around the chain]. (14 sts)
***To see a step-by-step tutorial on how to crochet around a foundation chain, please see HERE!
R2: *Sc 1, 2 sc in next sc*, rep 7 times. (21 sts)
R3: *Sc 1, dec 1*, rep 7 times. (14 sts)
Fasten off and leave long end for attaching.
Mane Part 4:
Chain 6 (this is the foundation chain)
R1: Starting from second chain from hook, Sc 5 in back loops of foundation chain. Turn and Sc 5 in front loops of the foundation chain [we are making an oval by crocheting around the chain]. (10 sts)
R2: *Sc 1, 2 sc in next sc*, rep 5 times. (15 sts)
R3: *Sc 1, dec 1*, rep 5 times. (10 sts)
Fasten off and leave long end for attaching.
Mane Part 5:
Chain 4 (this is the foundation chain)
R1: Starting from second chain from hook, Sc 3 in back loops of foundation chain. Turn and Sc 3 in front loops of the foundation chain [we are making an oval by crocheting around the chain]. (6 sts)
R2: *Sc 1, 2 sc in next sc*, rep 3 times. (9 sts)
R3: *Sc 1, dec 1*, rep 3 times. (6 sts)
Fasten off and leave long end for attaching.
Arrange Mane Parts 1-5 together and attach each part to the next using long ends of yarn left. Once all the parts have been attached together, drape the whole piece across Pony’s head from front to back. Sew Mane Part 1 into place. Secure rest of mane onto head (note that it’s only necessary to sew portions of the mane to the head [the middle parts where each piece is joined to the next] as you don’t need to sew the whole way around each piece (i.e. you don’t have to attach the sides). No need to stuff the mane. Hide yarn ends into mane. PLEASE see step-by-step blog post HERE for more detailed pictures.
EARS (make 2)
Using white yarn,
R1: 5 sc in Magic Ring (5 sts)
R2: 2 sc in each sc around (10 sts)
R3-4: Sc 10
R5: *Sc 3, dec 1*, rep 2 times (8 sts)
R6: Sc 8
Fasten off and leave long end for sewing. Sew onto head on either side of mane between Mane Parts 2 and 3.
BODY
Using white yarn,
Chain 4 (this is the foundation chain)
R1: Starting from second chain from hook, Sc 3 in back loops of foundation chain. Turn and Sc 3 in front loops of the foundation chain [we are making an oval by crocheting around the chain]. (6 sts)
R2: 2 sc in next sc, Sc 1, *2 sc in next sc*, rep 2 times, Sc 1, 2 sc in next sc (10 sts)
R3: Sc 1, 2 sc in next sc, Sc 1, 2 sc in next sc, Sc 2, 2 sc in next sc, Sc 1, 2 sc in next sc, Sc 1 (14 sts)
R4: Sc 14
Next, we will be shaping the belly:
R5: *2 sc in next sc*, rep 3 times, Sc 11 (17 sts)
R6: Sc 1, *2 sc in next sc*, rep 3 times, Sc 13 (20 sts)
R7-8: Sc 20
R9: *Sc 3, dec 1*, rep 4 times (16 sts)
R10-11: Sc 16
Next, we will be shaping the neck so it curves upwards:
R12-14: Sl stitch across next 2 stitches. Hdc 8. Sl stitch across next 6 sts (16 sts)
Fasten off and leave long end for sewing. Stuff body and attach onto head.
LEGS
Note: We will be making 2 back legs and 2 front legs. The only difference between the back legs and the front legs are Rounds 9-11 when we begin to curve the legs. They are different so that the colour change from coral to white is hidden from view when attaching to the body.
BACK LEGS (make 2)
Each back leg consists of the hoof (coral yarn) and the upper leg (white).
Using coral yarn,
Chain 4 (this is the foundation chain)
R1: Starting from second chain from hook, Sc 3 in back loops of foundation chain. Turn and Sc 3 in front loops of the foundation chain [we are making an oval by crocheting around the chain]. (6 sts)
R2: 2 sc in each sc around (12 sts)
R3: In back loops only, Sc 12.
R4: *Sc 2, dec 1*, rep 3 times (9 sts)
R5: Sc 9
Begin stuffing hoof. Switch to white yarn,
R6: Sc 9.
R7-8: Sc 9.
We will begin to curve the leg. Continue stuffing along the way.
R9: Dec 1, Sc 3, 2 sc in next sc, Sc 3 (9 sts)
R10: Dec 1, Sc 3, 2 sc in next sc, Sc 3 (9 sts)
R11: Dec 2, Sc 1, 2 sc in next sc, Sc 3 (8 sts)
Fasten off and leave long end for sewing. Finish stuffing back leg. Sew open ends together. Attach to body.
FRONT LEGS (make 2)
Each front leg consists of the hoof (coral yarn) and the upper leg (white).
Using coral yarn,
Chain 4 (this is the foundation chain)
R1: Starting from second chain from hook, Sc 3 in back loops of foundation chain. Turn and Sc 3 in front loops of the foundation chain [we are making an oval by crocheting around the chain]. (6 sts)
R2: 2 sc in each sc around (12 sts)
R3: In back loops only, Sc 12.
R4: *Sc 2, dec 1*, rep 3 times (9 sts)
R5: Sc 9
Begin stuffing hoof. Switch to white yarn,
R6: Sc 9.
R7-8: Sc 9.
We will begin to curve the leg. Continue stuffing along the way.
R9: 2 sc in next sc, Sc 3, Dec 1, Sc 3 (9 sts)
R10: 2 sc in next sc, Sc 3, Dec 1, Sc 3 (9 sts)
R11: 2 sc in next sc, Sc 3, Dec 2, Sc 1 (8 sts)
Fasten off and leave long end for sewing. Finish stuffing front leg. Sew open ends together. Attach to body.
TAIL
Using coral yarn,
R1: 4 sc in Magic Ring (4 sts)
R2: Sc 4
R3: *2 sc in next sc*, rep twice. Sc 2. (6 sts)
R4: Sc 1, *2 sc in next sc*, rep 4 times, Sc 1. (10 sts)
R5: Sc 3, * 2 sc in next sc*, rep 4 times. Sc 3. (14 sts)
R6: *Dec 1*, rep 7 times. (7 sts)
R7: Sc 2, Dec 2, Sc 1 (5 sts)
Fasten off and leave long end for sewing. No need to stuff tail. Attach to end of body.
![]()
We hope you enjoy working through this pattern and crocheting these unique shapes to create your own little Pony! We would love to see your finished products- please post them on my Facebook page, Twitter, Instagram (use the hashtag #AllAboutAmi so everyone can see them too!) or e-mail me (all_about_ami@hotmail.com)! Happy Chinese New Year!
This pattern is an original pattern by Stephanie Lau of All About Ami (January 2014). Please do not claim this pattern as your own. If you wish to share this pattern, you may link to this pattern but please do not reprint it on your site. You may keep a copy for your own personal use but please DO NOT sell the pattern or distribute it.
You may sell products made from this pattern but please clearly credit the design to me, Stephanie Lau of All About Ami, and provide a link to my blog www.AllAboutAmi.com. Permission is NOT granted for mass production or factory manufacturing of any kind. Thank you for being respectful and for your understanding!