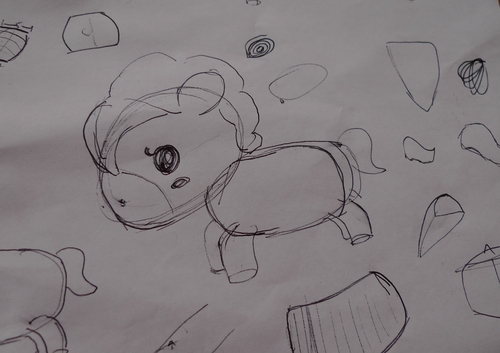
Another Chinese New Year is upon us and this year is the “Year of the Horse”! As long time followers know, it’s been a tradition of ours to make an amigurumi of the zodiac animal of that particular year! Last year I remember looking up 2014 and thinking that a horse would be a daunting task. As we were brainstorming ideas over the past couple of weeks, I thought that designing and crocheting a pony would be a cute interpretation of a horse as ponies are simply smaller horses that often “exhibit thicker manes, tails and proportionally shorter legs”. With the popularity of “My Little Pony” and unicorns, I thought this would be a great amigurumi project! Ryan did the sketch below as we loosely based our design on some “Tokidoki ponies” that we saw on-line:
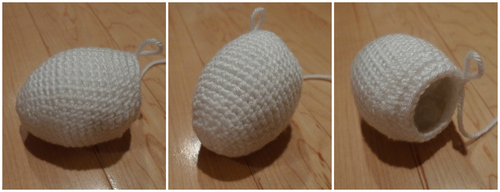
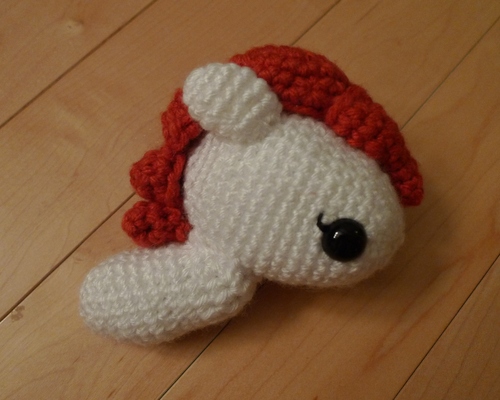
This project was an interesting and welcome challenge for me as I had to crochet some unconventional shapes compared to what I was used to. The head was an egg shape vs. the typical round or oval shape!
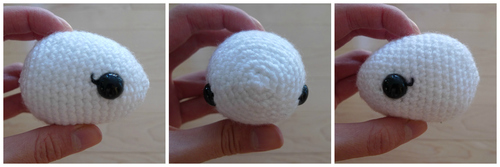
The tip of the egg (where the magic circle is) served as the snout or nose! After placing the safety eyes, Ryan embroidered these pretty eyelashes and then we stuffed and closed up the piece. Notice that the eyes are placed below midline (when looking straight at the pony) to give her a cuter, doe-eyed look!
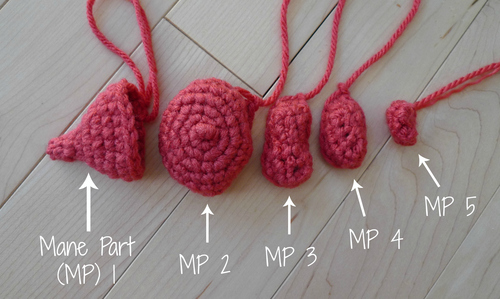
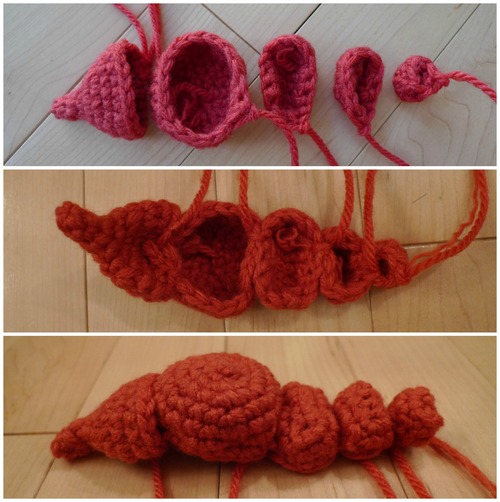
The mane was quite the topic of discussion! We talked about attaching strands of yarn or possibly using the loop stitch for the mane. However, Ryan thought that crocheting individual pieces to create a puffy mane was the way to go, and he was definitely right! We ended up crocheting five separate pieces (Mane Parts 1-5), each of varying sizes. Mane Part 1 had a tip which would serve as the cute curl!
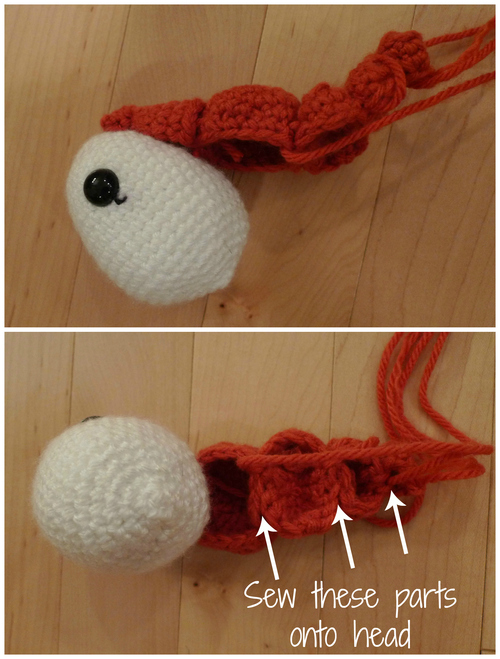
Instead of attaching each separate piece to the head, we decided that attaching the individual pieces together first and THEN attaching the whole piece to the head would be easier. Ryan flipped the pieces over and used the long ends of yarn left from each piece to attach them together.
He then draped the mane across the egg-shaped head and used the long strands of yarn to attach them in place. Don’t I have the best hubby in the world? Attaching amigurumi pieces together is my least favourite part of the process, and Ryan did this for me while I was figuring out the shapes for the other pieces! Note that after sewing on Mane Part 1, it’s only necessary to sew portions of the mane to the head (the middle parts as shown below, not the sides) as you don’t need to sew the whole way around each piece.
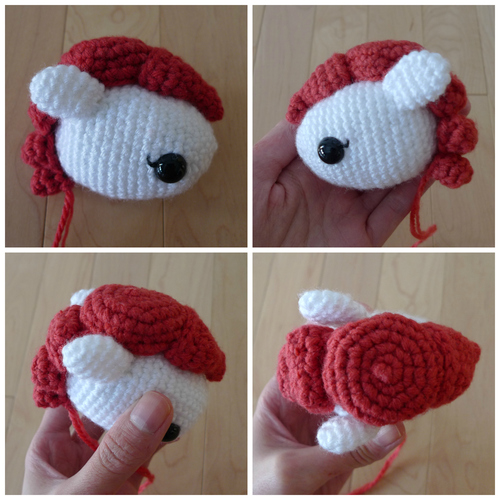
After the mane was secured on the head, we then attached these ears that I crocheted!
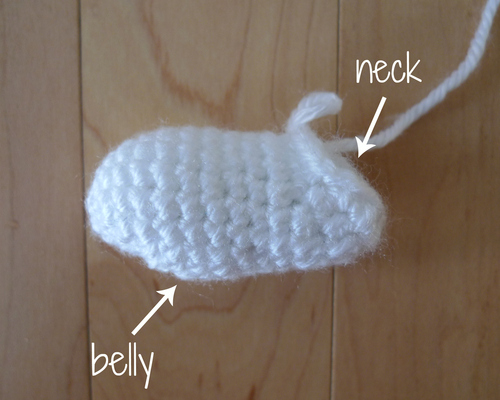
Next up was the body! This was another unconventional shape as we wanted the pony to have a little belly and a neck that curved upwards. To shape the belly, I increased more on one side. To make the neck, I did slip stitches on one side and half double crochets on the other side to build up height. Because of these uneven increases and various stitches, it was VERY important that I not make a mistake and record my work very carefully!
We then attached the body to the head!
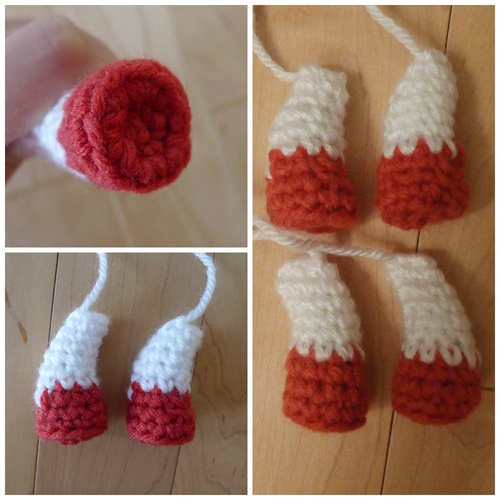
Next up were the hooves and the legs! I started off with the coral yarn and then switched to white for the upper legs. I decreased on one side while increasing on the other side to get this curved effect. I did the opposite for the other two legs so that they would curve in the other direction in order to conceal the colour change better. You can push the hooves inwards so that your pony will have more stability when standing too!
After attaching the legs, our pony was almost complete!
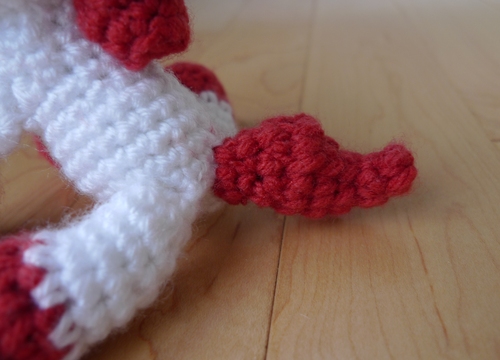
The tail was the last challenge! We wanted her tail to curve almost like a flame and it took me a couple tries before we achieved the shape that we liked after some uneven increasing and decreasing!
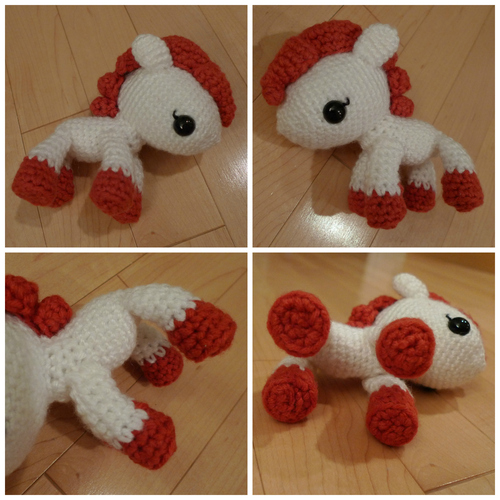
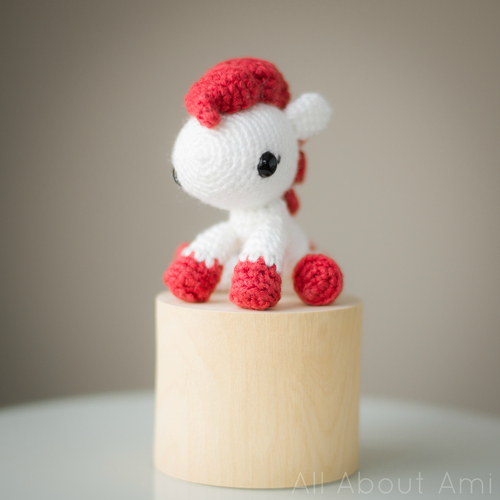
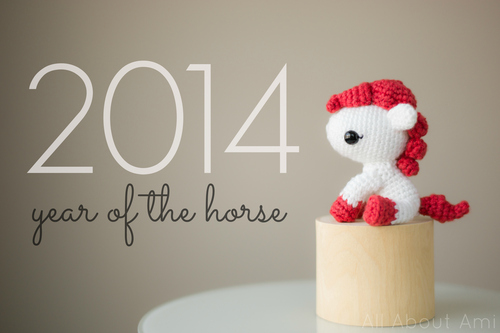
Now may we present to you our little amigurumi Pony in honour of the Year of the Horse! I think she looks absolutely adorable sitting down!
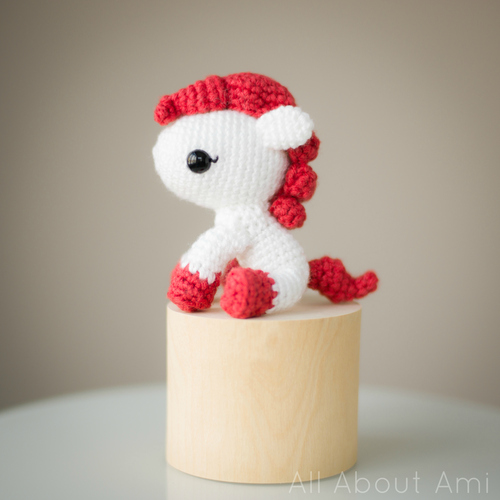
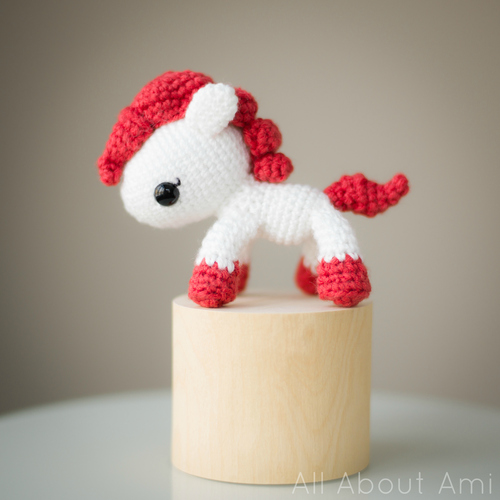
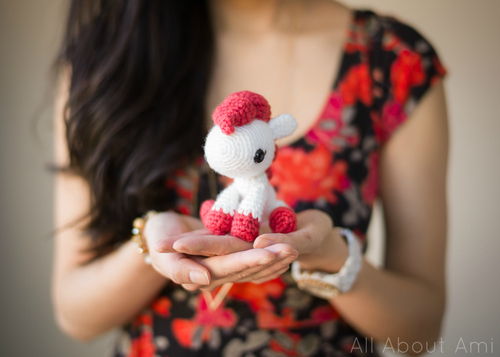
And the great thing is that she can stand up too!
We decided to name her…..RUBY! This was one of the names I thought of myself after completing her, and many readers suggested it too due to her beautiful red mane. It holds special meaning for me because my birthstone is ruby too! Other names that I was strongly considering were “Pippi the Pony” (named after “Pippi Longstocking“, the fiery red-headed little girl who could easily lift a horse with one hand) or ”Poppy the Pony“ (fitting since poppies are beautiful red flowers), and I really liked the alliteration. Thank you for all your wonderful name suggestions- I was unaware that this year in particular was the year of the wooden horse, so all the names associated with wood were really meaningful! I can’t wait for you to make your own ponies and name them all the creative and thoughtful names you came up with!
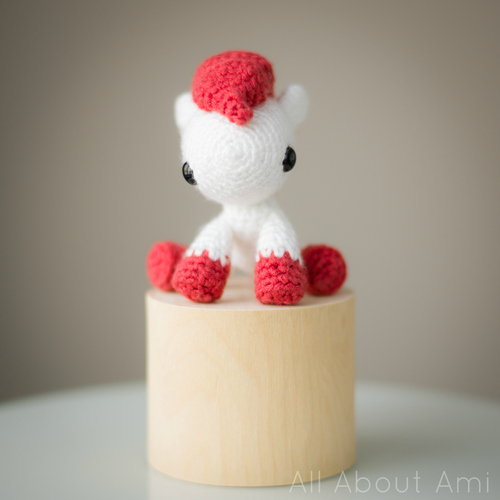
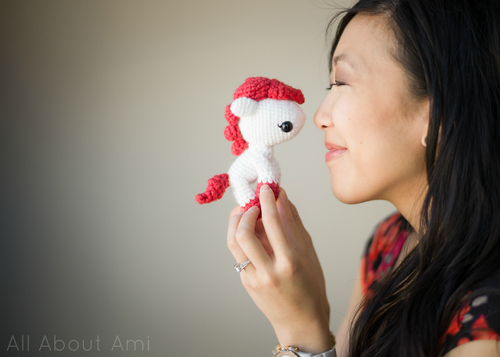
Ruby looks so sweet when you look at her head on and you see her doe-eyes, little snout and cute curl atop her head!
We loved using fun, bright colours for our pony! We knew that coral and white would be a great combo, particularly since red is commonly associated with Chinese New Year. We had this beautiful coral yarn in my stash as it was left over from Myla’s Granny Square Baby Blanket (see here)! For those interested, the exact yarns we used were ”Loops & Threads Impeccable Yarn in Rouge“ and ”Patons Canadiana in White“.
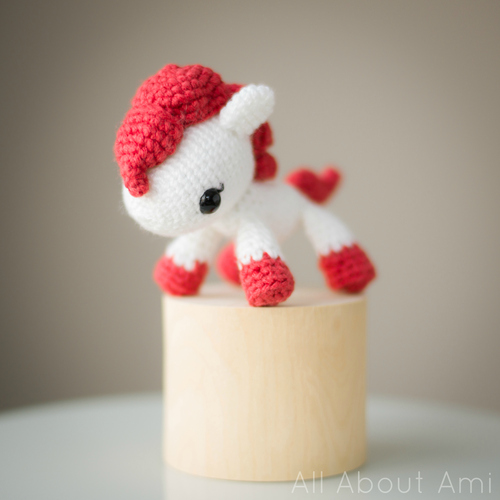
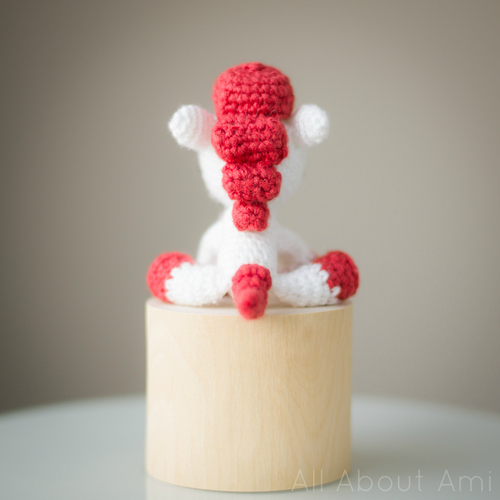
Here is a back view of Ruby the pony! I really love how her puffy mane and cute tail came out!
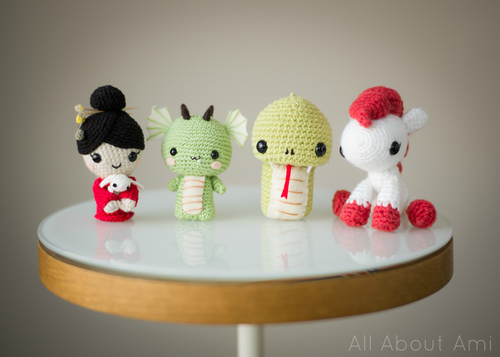
It boggles my mind that we have been through FOUR Chinese New Years together, dear readers! In 2011 when we first started the blog, we made ”Chinese New Year Doll“ holding a tiny bunny, and she will always hold a special place in our hearts as she was our first original design. In 2012 we made Dragon and in 2013 we made Snake. This year is all about the Horse/Pony! Don’t you love our ever-expanding collection of zodiac animals?
We are sooo excited to see your ponies and what colours you will use! Does anyone already have some colour combos in mind? You could also easily make her into a unicorn too by adding a horn and some wings 🙂
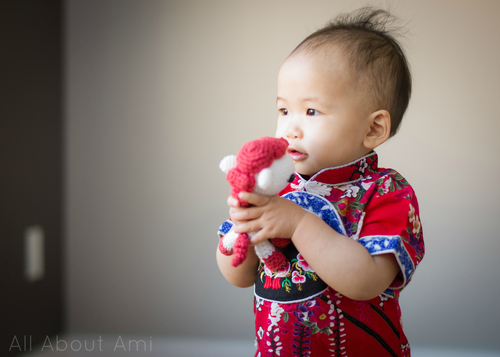
Myla LOVED Ruby the Pony as soon as she saw her and she couldn’t stop smiling! It’s really sweet because Myla loves choosing her favourites from my amigurumi shelf and taking them down to play. Whereas before when my amigurumi would simply sit on my shelf, they are now getting new life as our little toddler plays with them (haha kinda reminds me of “Toy Story”)!
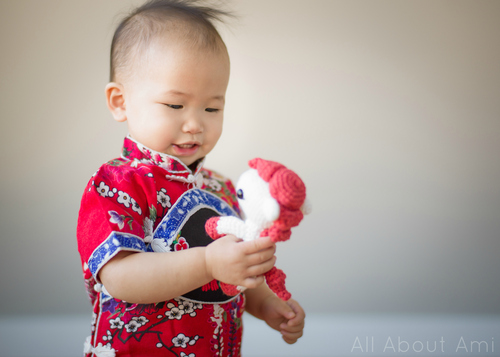
Myla gave some kisses to Ruby the Pony too 🙂 Don’t you love her Chinese New Year outfit?
I hope you love this sweet little pony as much as we do! Her puffy mane, curved pony tail, pretty lashes, tiny belly and little legs make her oh so sweet! What do you love about Ruby most?
We strive to do better and learn new techniques with each project and design. I am very proud of how she turned out and the different shapes that we were able to create! I know many of you have asked me advice on “How to Design Your Own Amigurumi”- I will try and put together a post when I have the time and walk you through the process that we go through! Perhaps I can use Ruby the Pony as one of the examples!
The free pattern for Ruby the Pony can now be found in this blog post HERE!
***You can also purchase an INEXPENSIVE AD-FREE PDF of this pattern on Etsy HERE and on Craftsy HERE. The printable PDF with step-by-step pictures has been condensed into a total of 6 pages including the cover page!
She would make the perfect gift for horse-lovers, “My Little Pony”-lovers, people who are the Year of the Horse and expectant/new moms with babies who will be born in the Year of the Horse! I hope you enjoyed reading about the making of Ruby the Pony and are excited to make your very own 🙂 We thank you for all the wonderful feedback we’ve received about her from the sneak peek and are so delighted to hear that she is already so loved!