Over the years I’ve received some e-mails and blog comments asking for help about crocheting around a foundation chain! This can definitely be confusing, particularly if you are a beginner to crochet and amigurumi. Most amigurumi patterns begin with the magic circle which results in a circle or spherical shape (see my tutorial HERE). However, some patterns require an oval shape which is achieved by crocheting around a foundation chain. You need to use this technique in my Dragon, Pony, Snuggles the Penguin, Lambert the Lamb, and translated Elephant patterns. It’s also a very helpful technique to know if you are trying to design your own amigurumi when oval shapes are needed!
In my Dragon pattern, for example, this technique is used to begin the head. The pattern reads as follows:
Chain 7 (this is the foundation chain)
R1: Starting from second chain from hook, Sc 6 in back loops of foundation chain. Turn and Sc 6 in front loops of the foundation chain [we are making an oval by crocheting around the chain]. (12 sts)
I will show you step-by-step how to do this with the following picture tutorial!
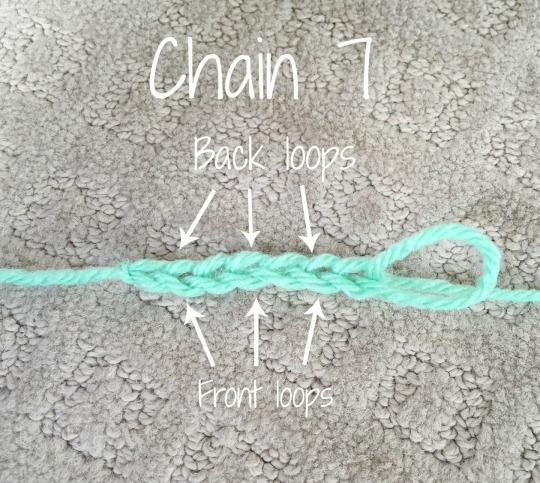
First we chain 7. This chain is known as the foundation chain! We will be crocheting around it, first in the back loops (the ones further away from you) and then in the front loops (the ones closer to you).
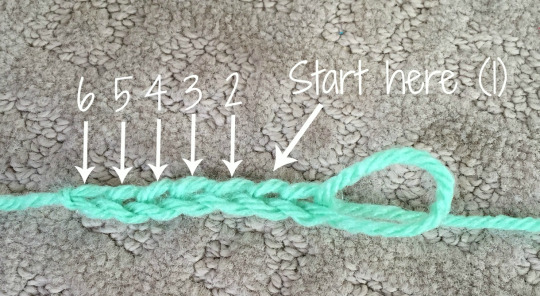
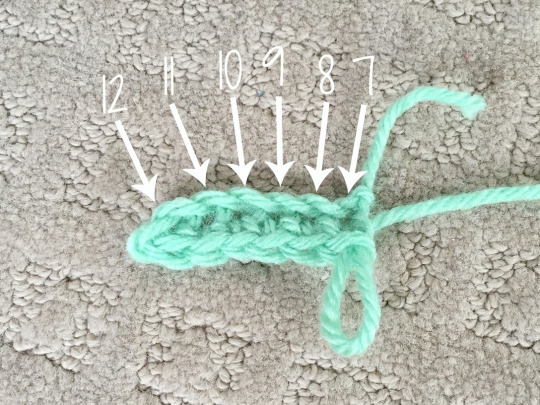
Starting from the second chain from the hook, we do six single crochets in the back loops. The numbers shown below indicate the number of the stitch (e.g. first single crochet, second single crochet, third single crochet, etc):
Now we have six single crochets that were worked around the top of the foundation chain like so:
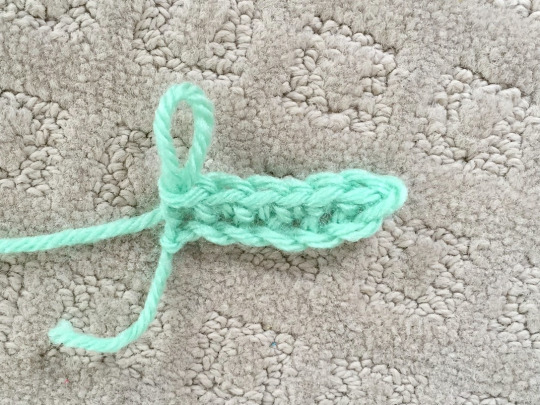
Now we turn the piece and work six single crochets on the bottom or the front loops (when it was oriented/turned the original way) of the foundation chain!
The resulting piece will look like this with six single crochets worked along the top and six single crochets worked along the bottom for a total of twelve stitches!
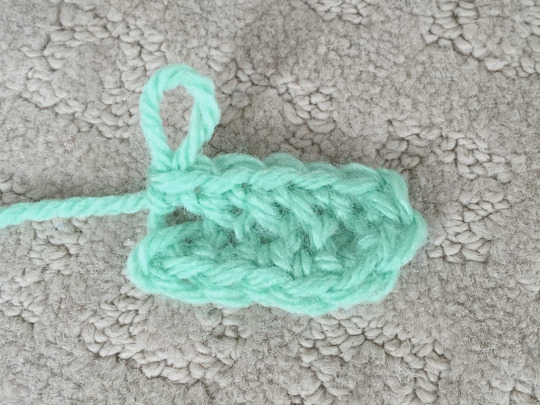
Now you have completed Round 1! You can move onto Round 2 of the Dragon’s head pattern which is:
R2: *Sc 1, 2 sc in next sc*, rep 6 times. (18 sts)
This looks like your typical increase round (see my “How to Read Amigurumi Patterns” tutorial HERE if you are unsure what this round means). You begin Round 2 where the stitch marker is located in the picture below!
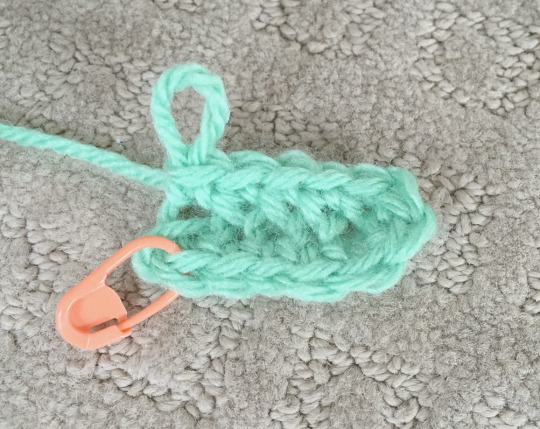
Once you’ve done your increases around, your new oval with 18 stitches looks like this:
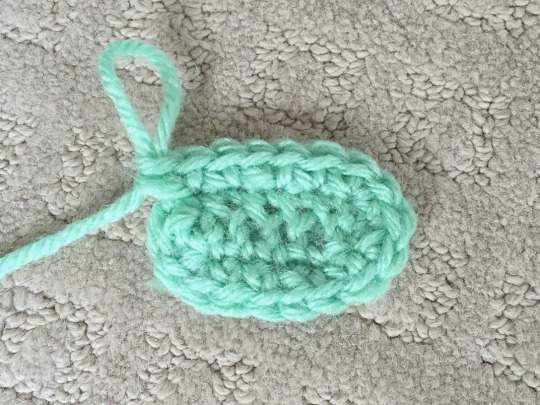
In comparison, this is what a circle with 18 stitches looks like on the right side:
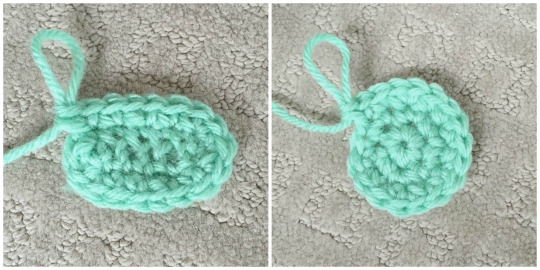
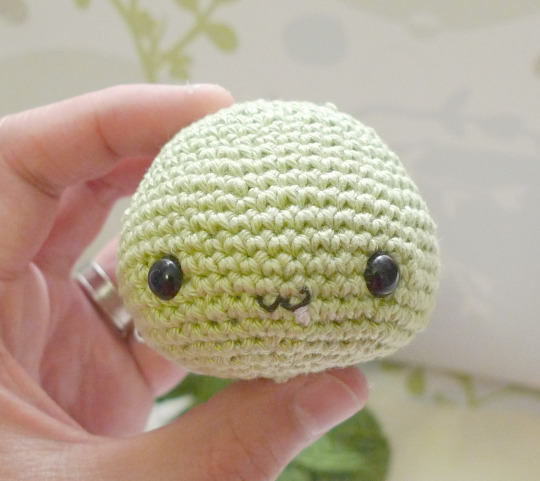
If you continue increasing evenly over the next couple of rounds of your oval, your piece will continue to curve downwards and take the shape of Dragon’s head (see pattern HERE). If you want your oval to keep getting bigger and remaining flat, you will need to increase only on the ends or short sides of the oval (keeping the middle stitches or long sides the same and not increasing there).
I hope you found this step-by-step tutorial helpful and that you can put it to good use when following my patterns! You can also get creative using this technique if you are trying to design your own amigurumi as well 🙂 I will try and put together a post in the future with some tips on how I design my amigurumi! I know many of you have expressed an interest in wanting to create your own patterns and design your own amis, so stay tuned for a future post about that! Don’t forget to check out the other techniques and tutorials I’ve blogged about in the “Tips” section in my navigation bar up above!

