Do you remember the “Amigurumi & Crochet Blog Directory” that I compiled last year in August? I really enjoyed visiting blogs from around the world and seeing what projects different crochet artists were working on. When I clicked on “Petite Maille”, a French blog by Fannie, I was greeted with some pictures of an absolutely adorable elephant (see here). I was immediately intrigued by the construction and shaping of this amigurumi as it looked very different from the traditional method of crocheting individual limbs and then attaching them altogether. I was delighted to see that Fannie provided the free French pattern on her blog. Fannie had translated a Spanish pattern that she herself had discovered on a blog called “Amigurumies” by Rani. I mistakenly thought that Rani was the originally designer behind this elephant, but Rani herself and some Facebook followers pointed out that the original pattern was Japanese, and that Rani had translated this pattern found in a Japanese pamphlet into Spanish for her blog.
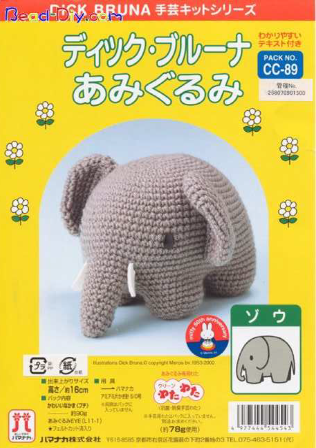
Rani showed me what the original Japanese pattern looked like, and after some sleuthing and help from my Japanese friend (thanks Saho!!!), we believe that the artist who designed this elephant in the above pamphlet is Chisachi Kushima (久嶋千幸).
I was so incredibly excited to try crocheting this elephant and learn some new amigurumi techniques along the way! Armed with Fannie’s French pattern and Rani’s Spanish pattern, I began translating the pattern into English which turned out to be not too bad at all since I had previously studied both French and Spanish in school. It also made it easier since I had two patterns in two different languages to cross-reference in case I wasn’t sure about a particular phrase or the wording of something. I used this chart here to reference what the crochet terms were in different languages (e.g. “punto bajo” is “single crochet” in Spanish) and sought to make the pattern as clear as possible in English. After I had translated the pattern into English, I began following it to make my very own elephant!
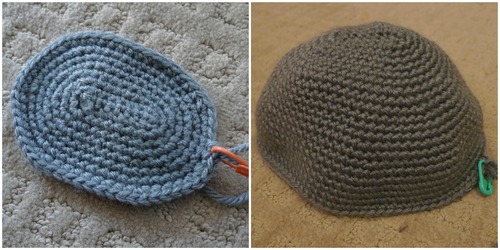
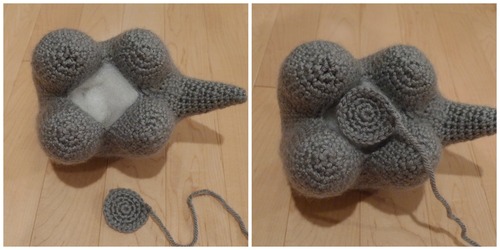
The top part began with crocheting around a foundation chain to create this oval shape. Then the elephant’s body began to expand!
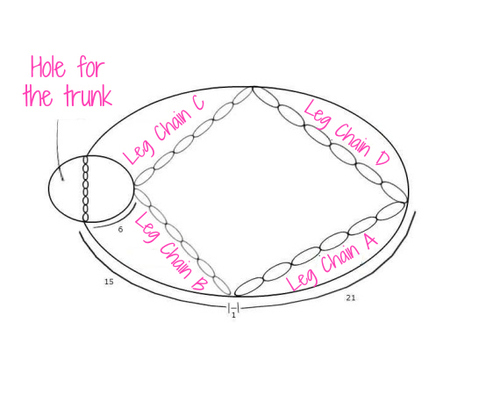
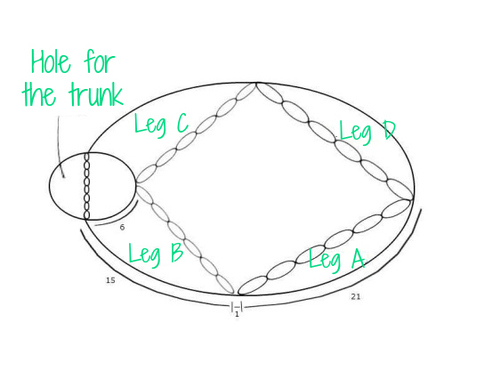
A hole was left where the trunk of the elephant would be added later on. A tab was then crocheted under the hole to help connect the front part to the rest of the body and legs.

I thought that the next part was incredibly genius: leg chains are created to divide up the underside of the body. This creates little “compartments” where we can crochet directly onto the body without having to crochet the legs separately and then attach them later on. Here is a visual showing where each leg chain is created and how many stitches are in between. Don’t worry, the pattern will explain this more clearly!
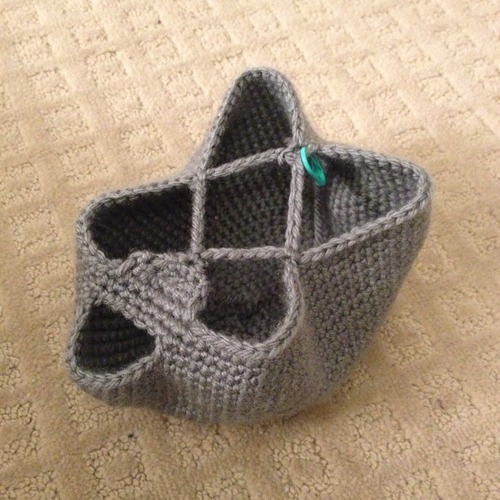
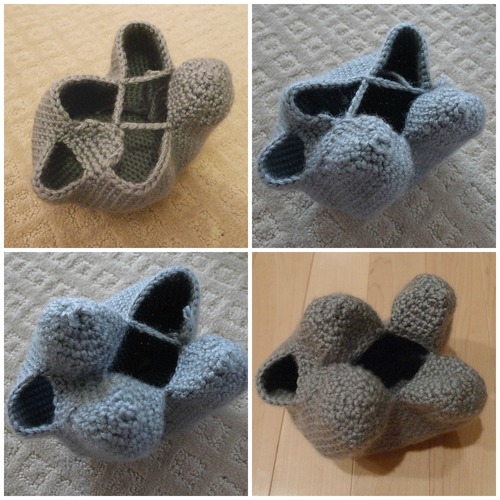
Here is a picture of the elephant-in-progress with the hole, tab and leg chains created! Isn’t it neat?
This next visual shows where each leg will be:
And this visual shows where you rejoin your yarn for each leg and in which direction to crochet. Remember that if the right side of amigurumi is facing outwards (see post HERE if you don’t know what I’m referring to), you should always be crocheting clockwise! I tried to add more visuals to make the pattern as clear as possible 🙂
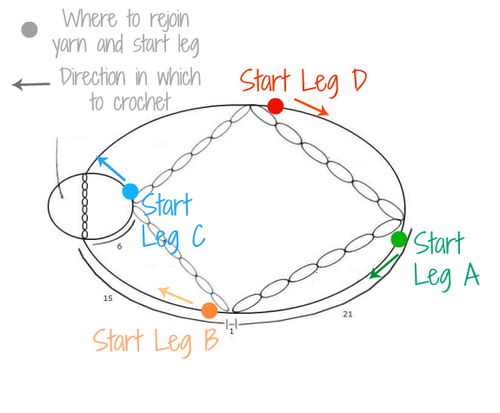
And so, referencing the visuals that I created, I crocheted Leg A, Leg B, Leg C, and then Leg D!
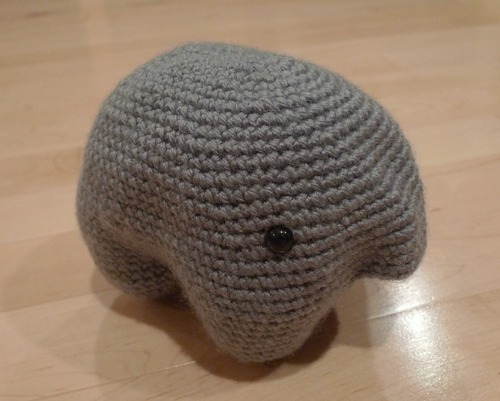
We then added the safety eyes! Hehe, doesn’t he look funny without his ears and trunk…like some sort of weird lumpy creature?
I then crocheted the trunk in the hole that was left for it. To close up the belly, a circle was created and then sewed onto the underside!
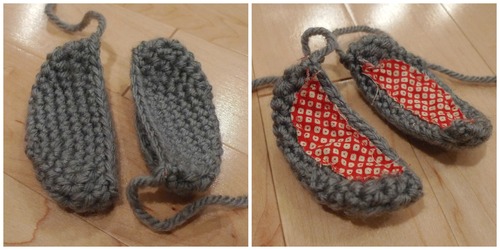
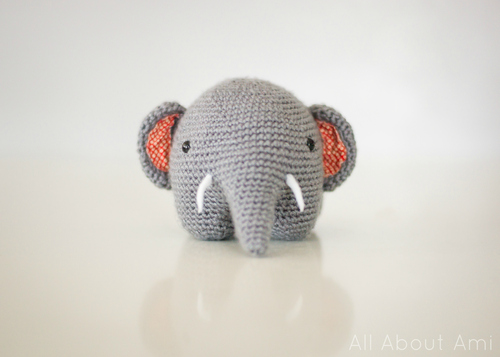
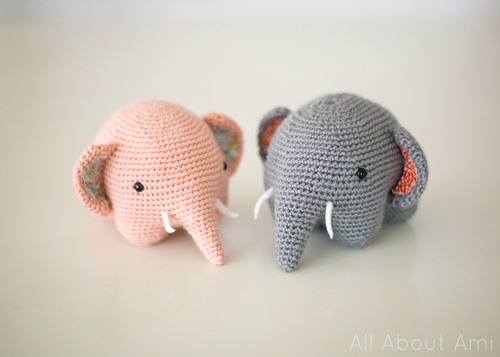
Next up was the ears! We did a little modification to the ears and added fabric lining, just like we did with the Spring Bunnies 🙂 I think mixing fabric with crochet adds such a beautiful touch, and you can add so much character and variation by choosing different fabrics. We thought that this red fabric contrasted nicely against the grey yarn. As a tip, sew the lining onto the ear with small back stitches before you sew the ears shut.
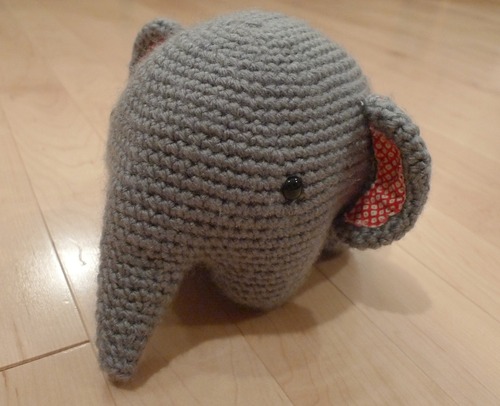
Here is our little round elephant with his ears attached! The fabric definitely adds a nice pop of colour, don’t you think?
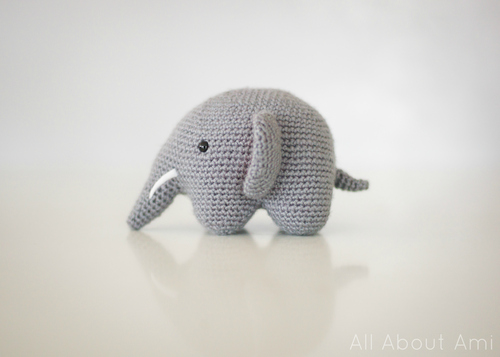
The last part to crochet was the little tail which I then attached to the back!
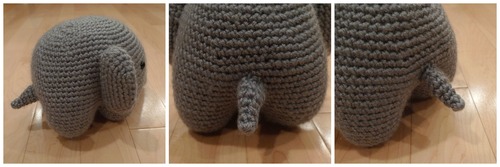
And now may we present to you our sweet little elephant!!!
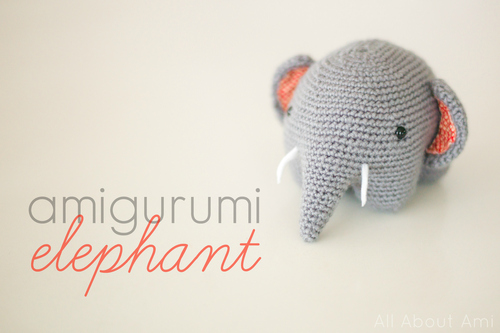
We added some tusks made out of white felt which we glued onto either side of his trunk!
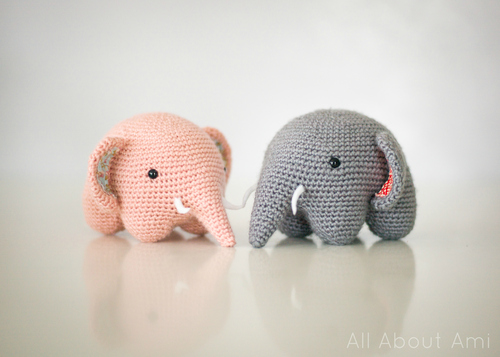
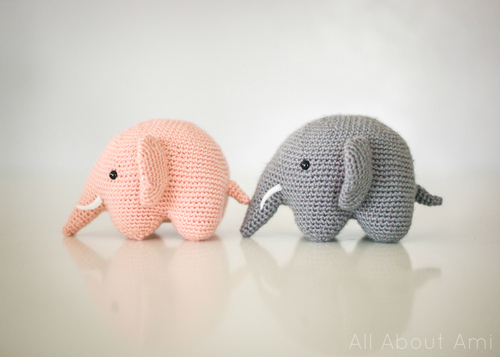
Isn’t the shaping and design of this elephant absolutely brilliant? I love the smooth contours and how the upper body becomes the legs and the trunk seamlessly. There is minimal attaching (which is my least favourite part of making amigurumi) as you only need to attach the ears, belly and tail!
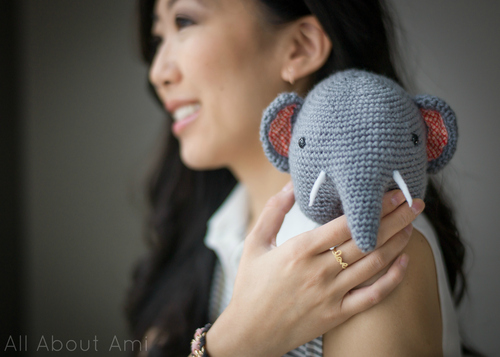
I actually crocheted this little guy for a silent auction that my friend was organizing to raise money for an orphanage in Taiwan. I was delighted to find out that a couple who was planning on adopting a child from the orphanage ended up with the winning bid as they were purchasing it for their future child- isn’t that so special?
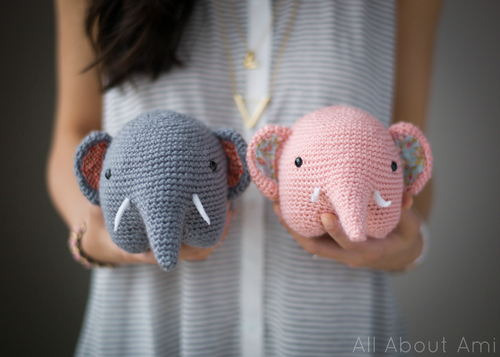
Of course, that also meant I HAD to crochet another elephant for us to keep since I loved the design so much! I ended up crocheting a pretty pink elephant for Myla using the same fabric lining that I used for the Spring Bunnies. For both elephants I used Lion Brand Yarn’s Vanna’s Choice (in Pink & Silver Grey).
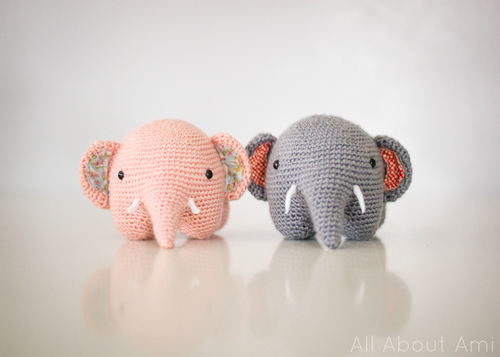
I named these two “Rosie” and “Gris” since “rose” is pink and “gris” is grey in French! I think these elephants would look adorable using any colour…you could crochet an army of elephants in a rainbow of colours!
You may notice that Rosie has tusks pointing upwards while Gris has tusks pointing downwards for some variation! You can choose which way you’d like them to point.
A number of you mentioned on Facebook and on Instagram that this elephant looks like “Olli”, a popular Dutch character who is apparently the symbol of the Rotterdam Zoo and a professional football club! I love our international community and how we can learn interesting tidbits of information that I otherwise wouldn’t have known 🙂
Don’t you think these elephants would make an adorable and whimsical addition to any baby nursery or child’s room? Hehe…they’d also be great desk buddies- judging from the response already, it seems that many of you love elephants!
Here is a short video I posted on Instagram showing Gris and Rosie in action! You can follow me on Instagram (@AllAboutAmi) for more photos of my crocheted creations and day-to-day life…I really love my Instagram community and all the support and lovely feedback I always get on there!
I am just so impressed with this pattern and design and I love learning new techniques and skills to bring my amigurumi to the next level. I find that Japanese artists are so creative and ingenioius in the way they design their amigurumi (e.g. the ball joint of Link here and the leg chains of this elephant). I hope that I can incorporate some of these techniques into my future designs and keep expanding my repertoire of crochet skills as I continue making my own and trying other people’s patterns. Thank you to Rani and Fannie who translated the original Japanese pattern into Spanish and French respectively and greatly helped me in my task to bring this amazing pattern to an English audience! I hope that you enjoyed reading about and seeing the making of Gris and Rosie 🙂 ***The free English translation can now be found on my blog HERE***!!!