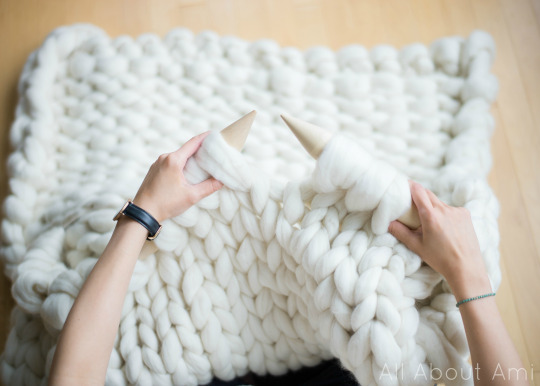
Last month I blogged about my “Extreme Knitted Blanket”! It was so much fun working with 3 kg of gorgeous merino wool and 50 mm knitting needles from Mama Knows Luxury. I had always wanted to try my hand at extreme knitting, and I had so much fun throughout the process! I am so proud of my incredibly soft and luxurious blanket!
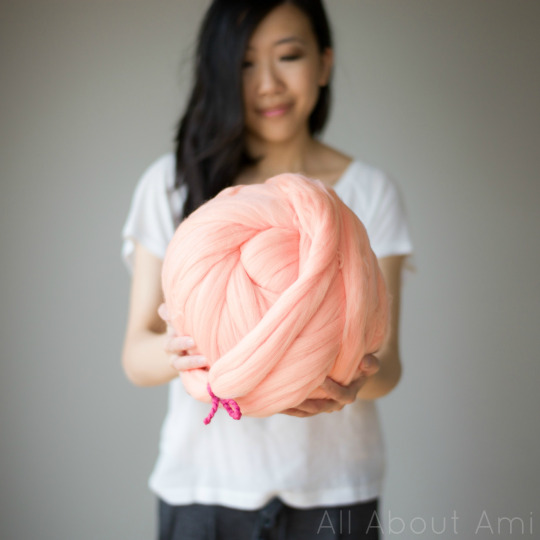
I knew I DEFINITELY wanted to try extreme crocheting with the same gorgeous merino wool! You may remember that I had 1 kg (~2 lbs) of this pretty “Salmon” to play with (check out my Extreme Knitting and Crocheting Haul HERE) …
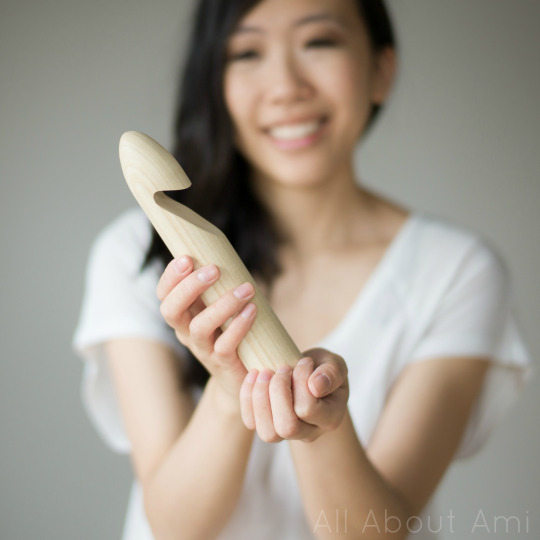
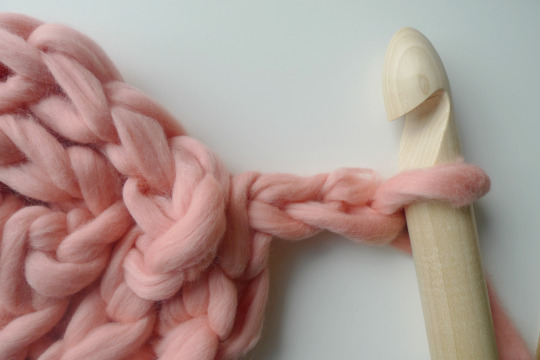
…as well as the hugest crochet hook I’ve ever seen: this 40 mm crochet hook handmade in Beaumont, Alberta by MD Handfield Designs Inc, exclusively for Sarah’s shop Mama Knows Luxury. This lightweight hook is made from poplar and is so much fun to work with!
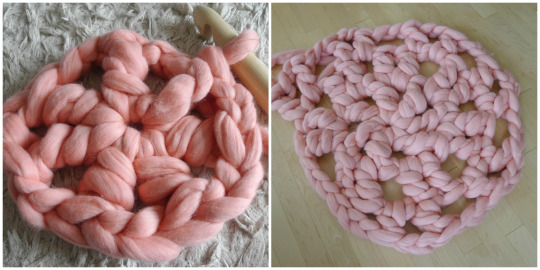
It was a bit of a challenge determining what I should attempt to crochet as I did not know how far the wool would go (for example, I could try a blanket, but it would probably be a very tiny one). Crocheting takes up more yarn/wool than knitting does, so I tried to keep this in mind. I thought a soft and fluffy carpet would be a great idea since I had never crocheted one before! Thus, I started off with my wool at full thickness (just as I did with my knitted blanket) and began crocheting in a magic ring with my humongous hook.
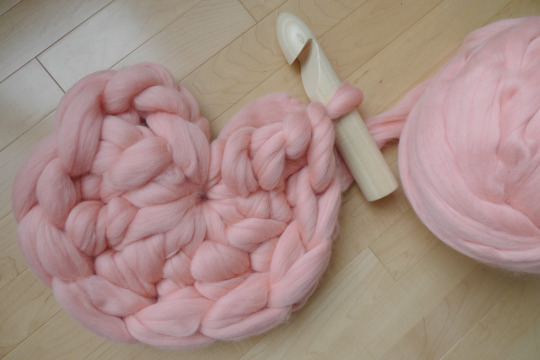
After a few rounds, I used up all my wool, much to my dismay! I was left with a very small and dense rug.
Thus, I gently frogged my work and was careful not to pull too hard. Since this is unspun wool roving (compared to normal yarn that is spun), this wool can easily rip apart if you use too much force when tugging or pulling on it. I tried to add more spaces between each stitch so that I could make it less dense and go for more rounds, thus enlarging my carpet. However, my carpet was looking too “hole-y” after a few rounds, so I decided to scrap that idea.
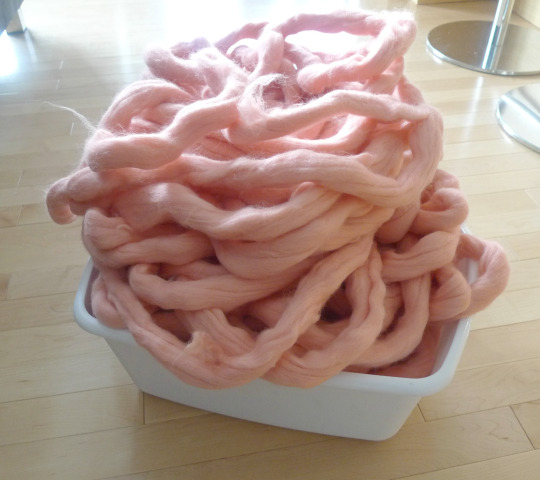
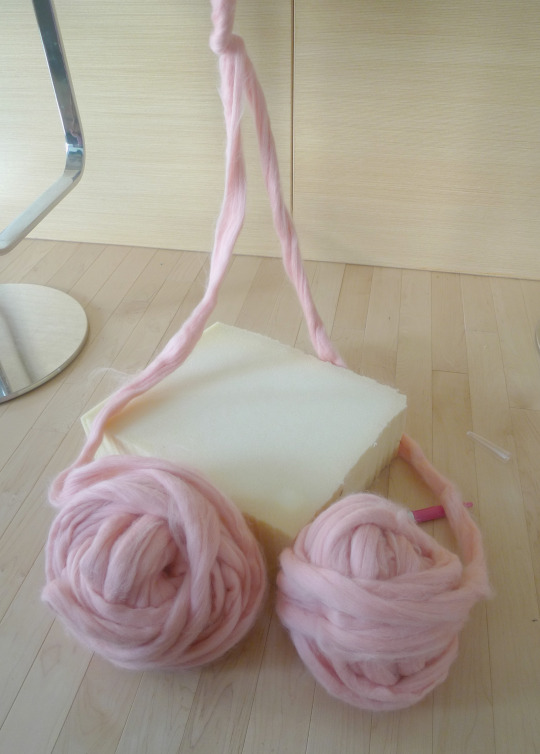
This is when I decided to split my wool to half thickness so that I would have double the yardage! Sarah of Mama Knows Luxury advised me on how to do it- you can also see her doing it in action HERE! I unraveled all my wool and put it in a bin- a larger bin would have been nice, but this was the largest free one I had at the time!
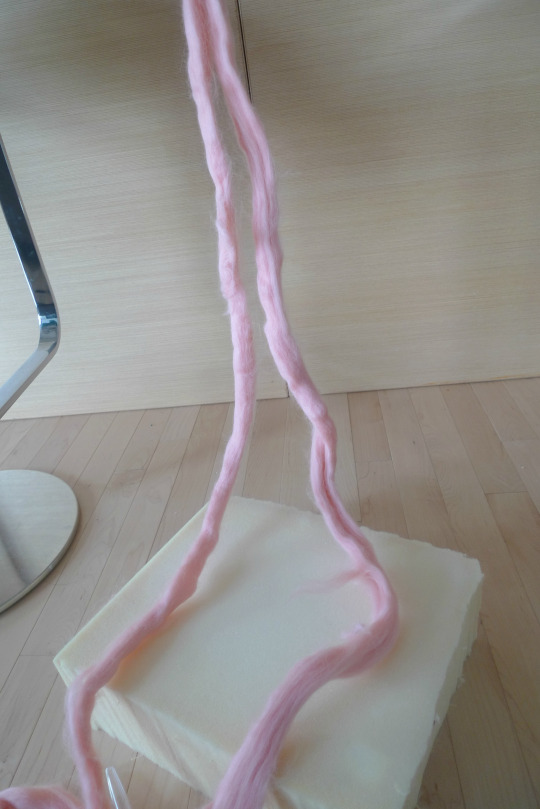
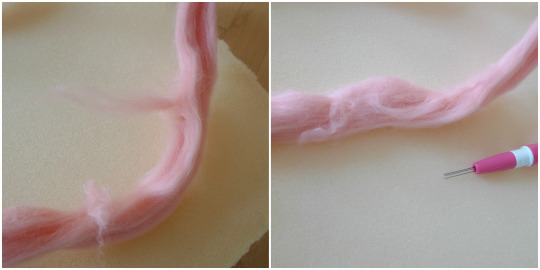
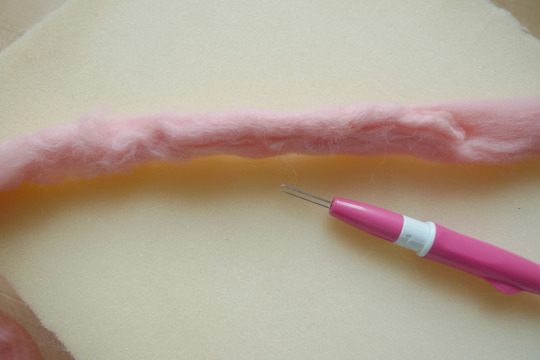
I then placed this bin ontop of my countertop and began pulling it apart in half! There is a visible line in the wool which is very helpful in guiding you when splitting it. Letting the wool fall down off the counter enables gravity to help too.
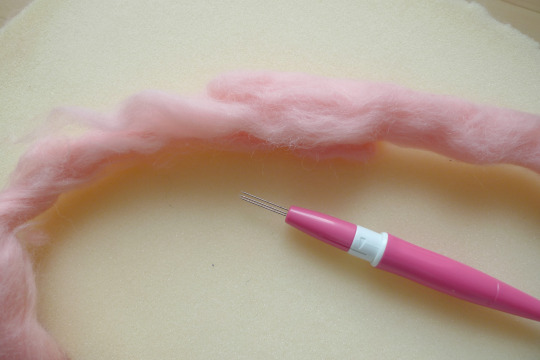
I learned that felting is the process of shrinking and bonding wool fibers together through heat, agitation and moisture. This causes the microscopic scales on wool fibers to interlock and tighten together, forming a dense cloth/felt with a soft texture. Since I had frogged my work a couple of times, my wool had become a bit uneven and some strands were splaying out. The moisture in my hands and the frogging (agitation) actually felted my wool a bit which definitely made it harder to split than if I had simply split it at the very beginning. However, that’s when my handy felting needle came to the rescue! Felting needles have barbs/notches on them, and when you repeatedly jab at the wool (agitation), it causes the fibers to interlock together. Thus, I simply used my Clover felting needle to felt the stray ends back into place! I would definitely recommend getting this tool if you are planning on working with wool. I was not too scared about accidentally breaking or splitting my wool unevenly since I had my trusty felting needle beside me!
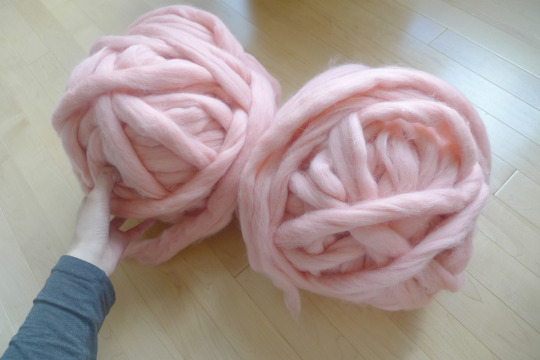
My two wool balls were forming! The wool got twisted at times when I was splitting my wool, but I gently untwisted it.
With my wool at split thickness, I now had double the yardage, woohoo!
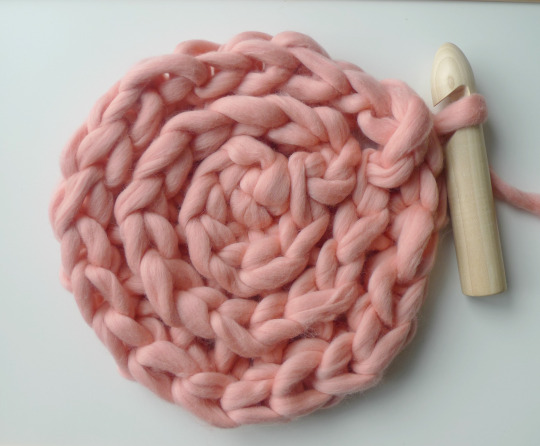
I decided to do half double crochets for my rug so that I could work in the third loops. This is how I crocheted my popular “Triple Luxe Cowl” to get that gorgeous “knitted V” or stockinette-type stitch to be displayed! The 40 mm hook worked well with the wool at split thickness as it did not result in an extremely dense piece.
I always chained 2 to begin my round and worked my first half double crochet in that same stitch as the Chain 2. Furthermore, I slip stitched to the first half double crochet of the round to close it off (not to the Chain 2).
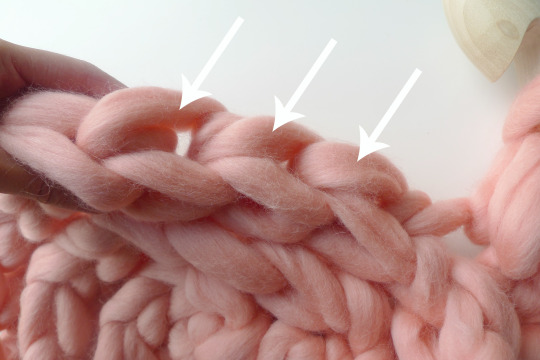
As a reminder, the third loops of half double crochets can be found behind the front and back loops as indicated by the arrows below. You work in these stitches, thus leaving the front and back loops untouched so they can be displayed outwards.
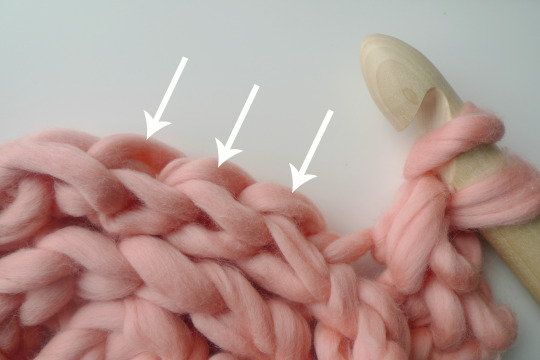
Here is another view showing where the third loops are located- you can also check out this helpful video by Moogly HERE if you’ve never worked in the third loops before!
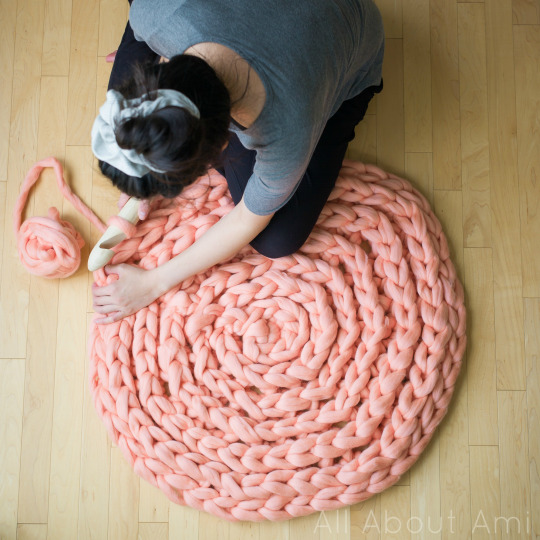
I loved how my rug was looking!

When I finished using my first ball of wool, it was time to begin using my second ball of wool! Instead of trying to weave in massive ends, I brought out my felting needle again.
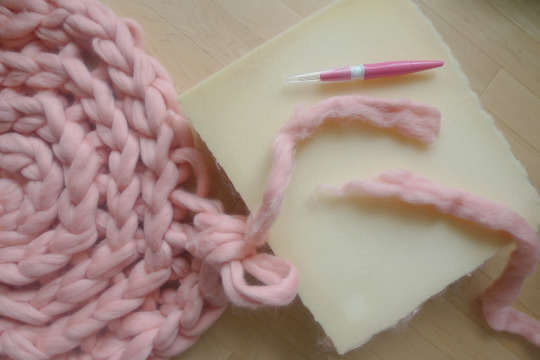
I placed the wool ends ontop of one another and began felting them together with my felting needle atop the dense foam.
This is how the wool looked after I felted the ends together- pretty seamless, right? You would never know there used to be two separate parts! I thus continued on as though I was working with one ball of wool! You can read my detailed blog post on “How To Felt Yarn Ends Together” HERE!
After 6 rounds, I attempted to do a seventh round of half double crochets, but I ran out of wool. I still had a decent amount of wool left after 6 rounds, so I decided to do slip stitches for the seventh round to give it a polished look and to use up most of the wool!

Working with this soft wool was so much fun! The wonderful thing about extreme knitted and crocheted projects is that they work up VERY quickly since you are working with such massive wool and tools. The hard part is figuring out your numbers and what you can accomplish with your quantity of wool, but if you follow the patterns I’ve designed with this wool, it helps take out the guesswork! You can also approximate how many stitches can be accomplished with a certain amount of wool using my patterns in case you want to design your own project or make a rug of a different size!
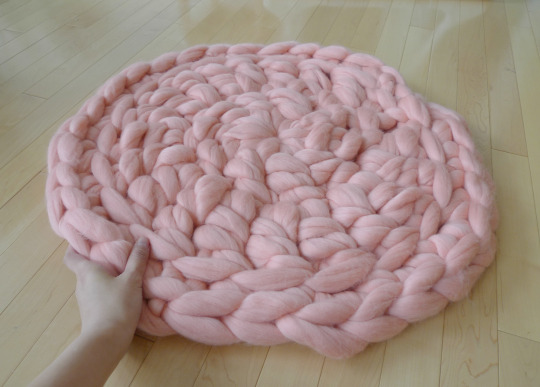
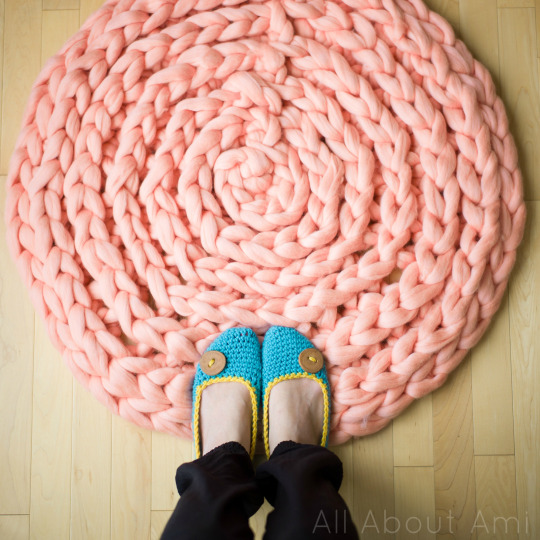
After cutting and felting the ends, my wool rug was complete! Isn’t it gorgeous?
********************************
Here is the free pattern for my Extreme Crocheted Rug!
Materials:
- 1 kg (~2 lbs) of unspun wool roving – mine is from Mama Knows Luxury
- 40 mm crochet hook
- Optional: Felting needle, dense foam felting pad
Split wool to half thickness using above tips or video HERE.
Notes:
- Chain 2 does not count as a stitch.
- To close up a round, always slip stitch to third loop of first hdc of round (not to Chain 2).
- Always work first st(s) in third loop of same stitch where Ch 2 was worked.
- From Round 2 and onwards, all stitches are worked in third loops.
- Other than chain 2′s, all stitches between Rounds 1-6 are half double crochets.
- To make a rug of a larger size, keep increasing by seven stitches after each round.
Round 1: Chain 2, 7 hdc in Magic Ring. Slip stitch to close. (7 hdc)
Round 2: Ch 2. *Inc*, rep 7 times. Sl st to close. (14 hdc)
Round 3: Ch 2. *Hdc, Inc*, rep 7 times.
Sl st to close. (21 hdc)
Round 4: Ch 2. * Hdc 2, Inc*, rep 7 times. Sl st to close.
(28 hdc)
Round 5: Ch 2. *Hdc 3, Inc*, rep 7 times. Sl st to close.
(35 hdc)
Round 6: Ch 2. *Hdc 4, Inc*, rep 7 times. Sl st to close.
(42 sts)
Round 7: Work slip stitches around in third loops.
Sl st to close.
Cut and felt end to body of rug using felting needle and foam board. Alternatively, split end into five different strands and weave in each strand separately.
Finished dimensions: 31″/79 cm in diameter, 97″/246 cm in circumference
********************************
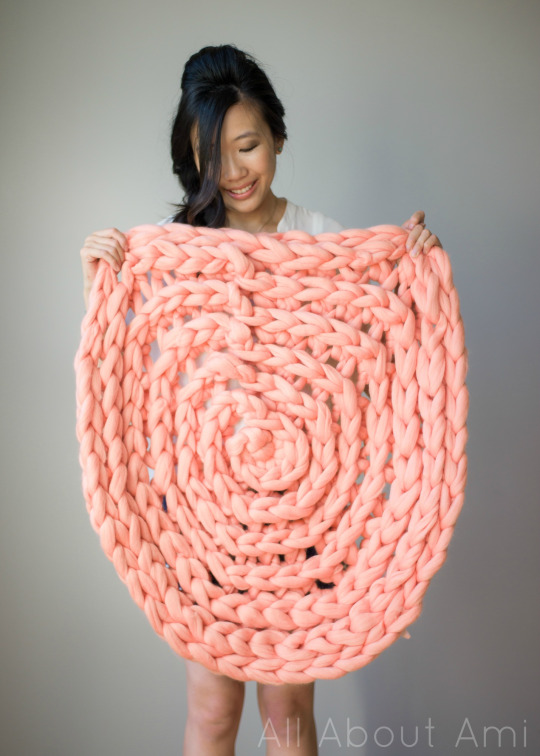
This rug is a bit on the loose side as you can see when I am holding it up! If you want a denser rug, you could either use the full thickness with your 40 mm hook, or possibly use a 25 mm hook with the wool at half thickness. I wanted to maximize the yardage and size of the rug which is why I went with my 40 mm hook at split thickness!
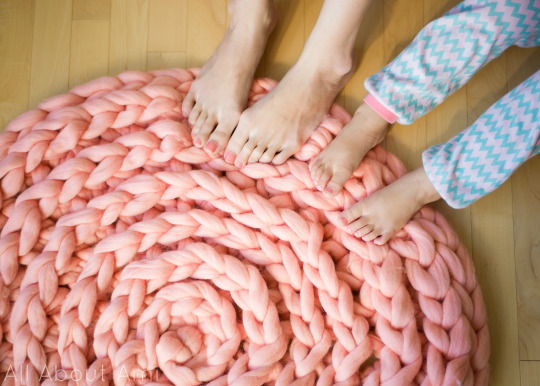
The girls were so excited to step on the rug when I was done! They were giggling and squishing it with their feet! Here are Myla and I with our matching pink toenails 🙂
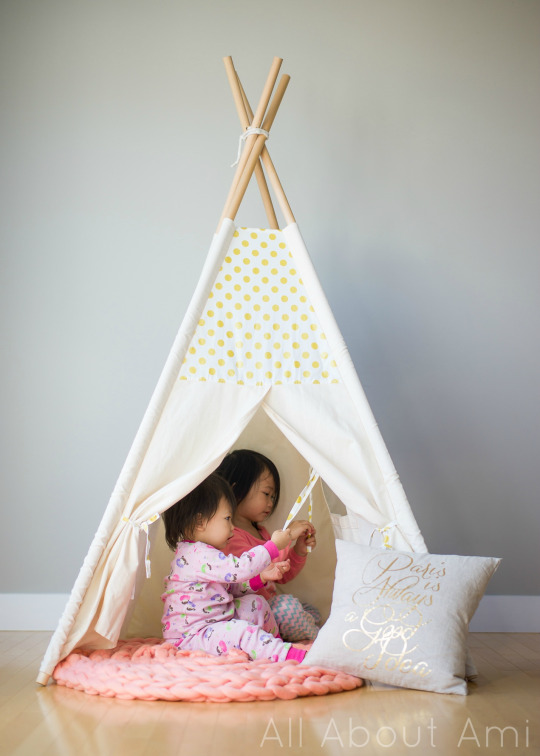
I actually crocheted this rug for the girls’ teepee as I wanted them to have something soft and cozy to sit upon when they play inside. This gorgeous teepee is handmade by Ashley Gabby Designs on Etsy! I love the modern gold polkadots and how it’s made of sturdy canvas. The little window on the side can roll up as well as the sides of the entrance. Kids love forts and places where their imaginations can run wild! Don’t you love my crocheted rug in the teepee?
To be honest, Brie kept yanking on the stitches of the rug for fun since they are so large and soft! Thus, I decided to keep this rug beside my bed for now so that I step on it every time I climb in and out of bed! It’s a wonderful way to start the morning as it’s so soft and luxurious! I’ll put it back in their teepee when Brie is a little bit older, haha. I had so much fun working with this merino wool again, this time with such a large crochet hook! The wool is definitely a splurge, but you can put it on your wishlist or save up for it- it’s a dream to work with! I still have more wool to play with, so stay tuned for more extreme crocheted projects!
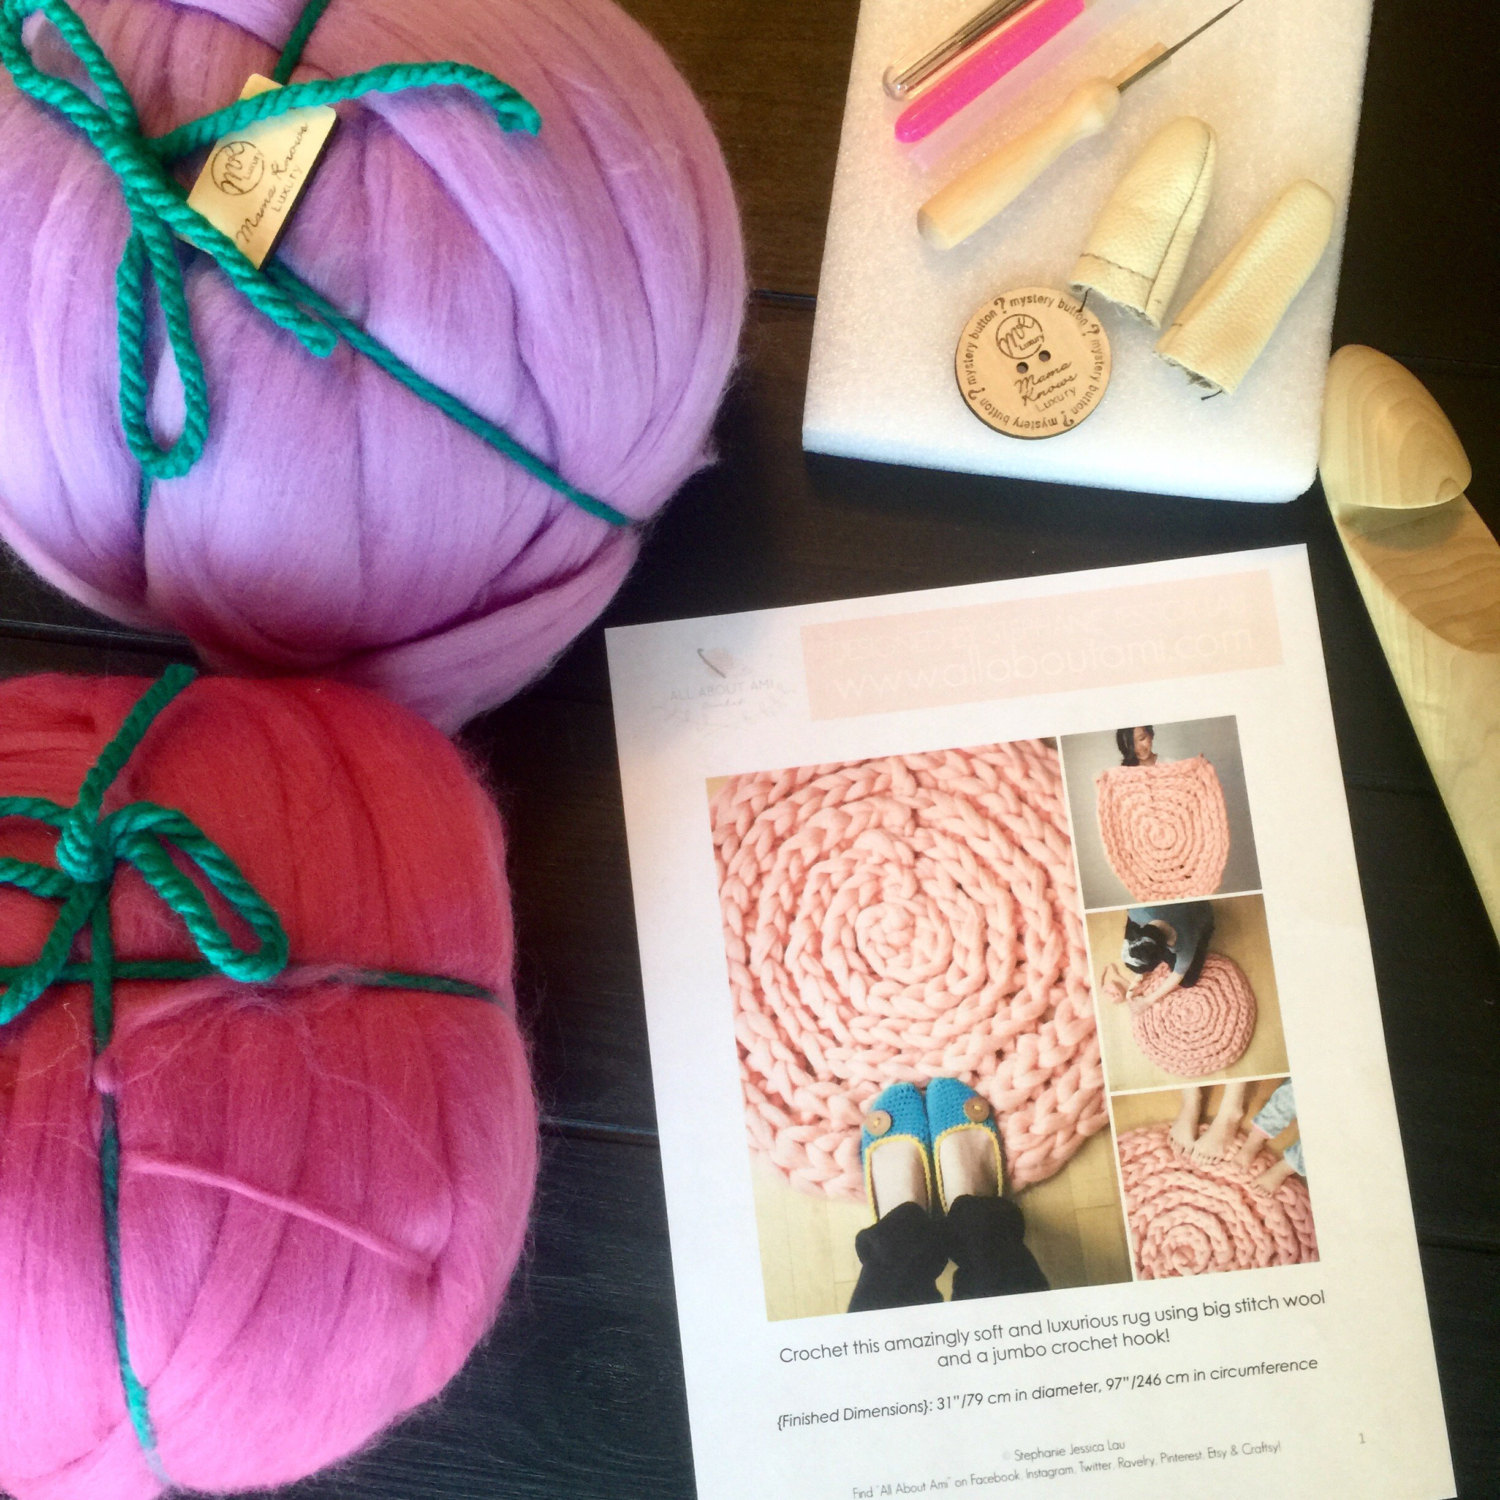
Update: Sarah of Mama Knows Luxury has put together a fabulous kit so that you can get all the necessary tools to crochet your own “Extreme Crocheted Rug” in one place! This handy kit includes the wool required, a print-out of this pattern, a giant crochet hook, felting kit, mystery button, and a printed yarn info sheet and finished item care instructions. Be sure to check out this kit HERE, and you get to choose any wool colour that you want! This makes it so convenient since you do not need to look for and purchase each item separately!
Note: Thank you to Sarah of Mama Knows Luxury for providing me with the wool for this project!. All opinions expressed are 100% my own!