***You can purchase an INEXPENSIVE AD-FREE PDF of this pattern on Etsy HERE! This beautifully formatted PDF includes the step-by-step pictures and is a total of 5 pages including the cover page. This pattern is also available in the “Crochet Cowls & Scarves PATTERN BUNDLE” which includes over 20 beautiful designs at a discounted price – check out the bundle HERE!
I’ve loved working with various Lion Brand yarns for my past projects (for example my Long Double Crochet Cowl, Elephants, Knotted Headband, Cabled Slouchy Beanie), and I was ecstatic when they contacted me and invited me to be a part of their #scarfie campaign! Lion Brand Yarn has decided to do their own take on the #selfie phenomenon (in which you take a photo of yourself and post it on social media) by asking people to take photos of themselves wearing their handmade cowls and scarves, hence the term #scarfie (scarf + selfie). Read more about the #scarfie campaign on their blog HERE! I was so honoured to be one of the crochet bloggers they asked to participate and it was a fun challenge!
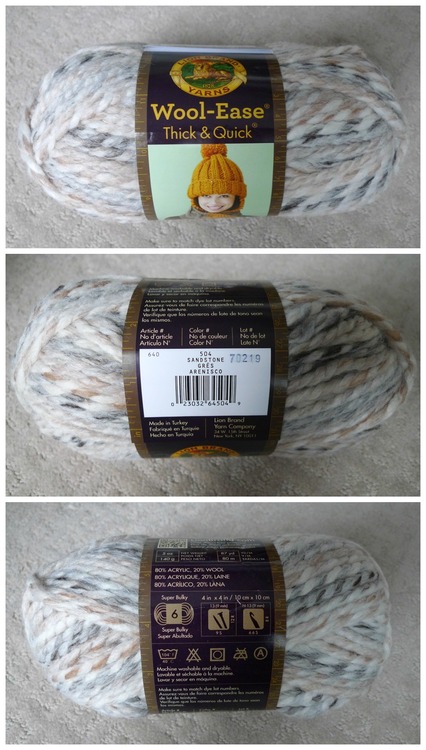
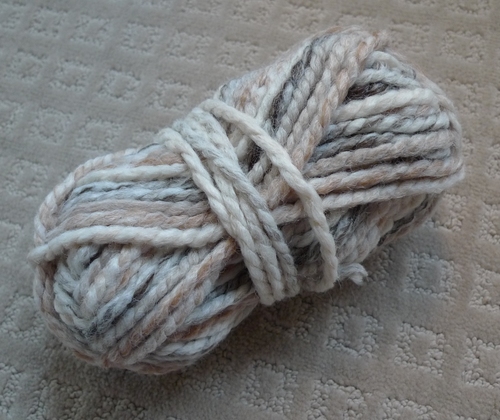
Each crochet blogger was sent two balls of “Wool-Ease Thick & Quick” yarn in any colour of their choice. For those who have never worked with this yarn before, it is a super bulky (level 6) yarn made of 80% acrylic and 20% wool. I visited their website to look at their full selection of colours and was amazed that there were a whopping 66 choices available (see HERE). Normally my local Michaels carries a limited selection, so it was amazing being able to choose any colour I wanted! I immediately gravitated towards a colour called “Sandstone” that is described as having “taupe and gray tones”.
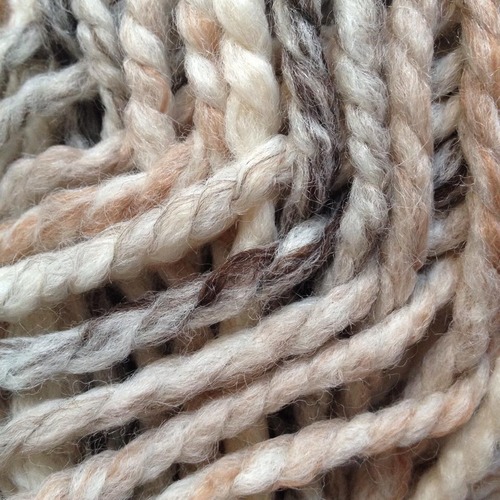
I was very happy with my choice when my two balls of “Sandstone” arrived in person- just look at this gorgeous blend of cream, taupe and grey! It has a lot of depth and these rich colours are perfect for the fall and winter. I knew this neutral palette would make my crocheted cowl match with absolutely any outfit as well!
While I waited for my yarn to arrive in the mail, I played with some different design ideas I had swirling in my mind using some Wool-Ease Thick & Quick that I had on hand. I first thought about doing a ribbed cowl of some sort and began crocheting one to see how it looked (especially since I had previously made an “Easy Ribbed Pom Pom Beanie” and my “Easy Chunky Crochet Sweater” was also ribbed). Then I played around with the idea of doing an open-stitched net cowl somewhat similar to my “Long Double Crochet Cowl” but with single crochets. Then one day as we were visiting the mall, Ryan came across a chunky tube cowl that was twisted in the front- Ryan kept on trying to untwist it only to discover that it was intentionally twisted so that it could hang and drape beautifully in the front. We loved this idea of a twisted cowl and thought it would be even cooler if both sides of the tube were a different design so that both patterns would peek through, and you could twist the cowl to make it predominantly one design or the other. Thus, the idea of the Twist Cowl was born!
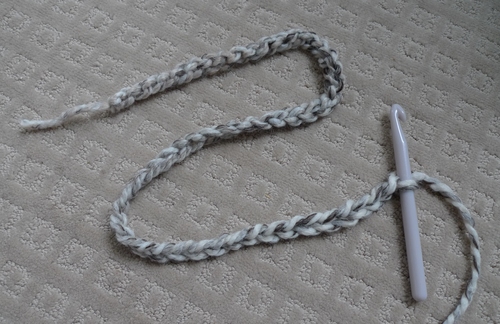
I started off by chaining 51 using my 10 mm crochet hook…
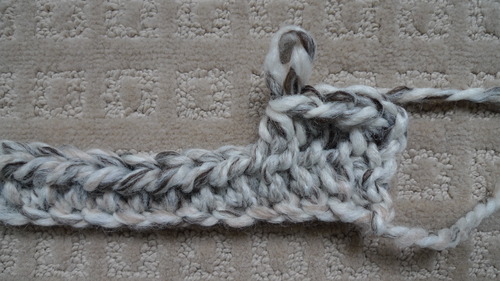
Next, I worked half double crochets in each chain for Row 1. Note that we are working row by row and turning our work and not working in a circle or in rounds!
Typically stitches have a front loop (the loop closer to you) and a back loop (the loop further away from you).
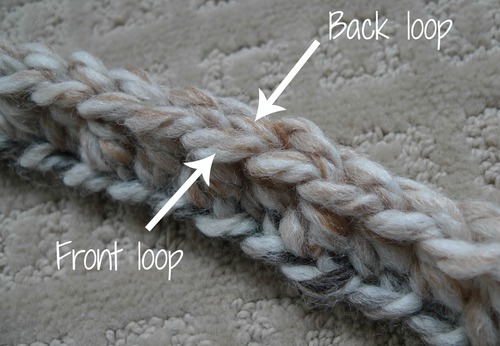
When you work with half double crochets, however, there is a special THIRD LOOP that can be found behind the back loops!
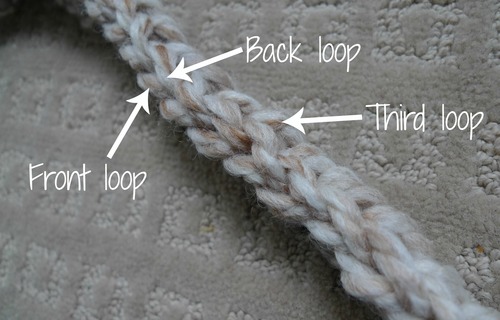
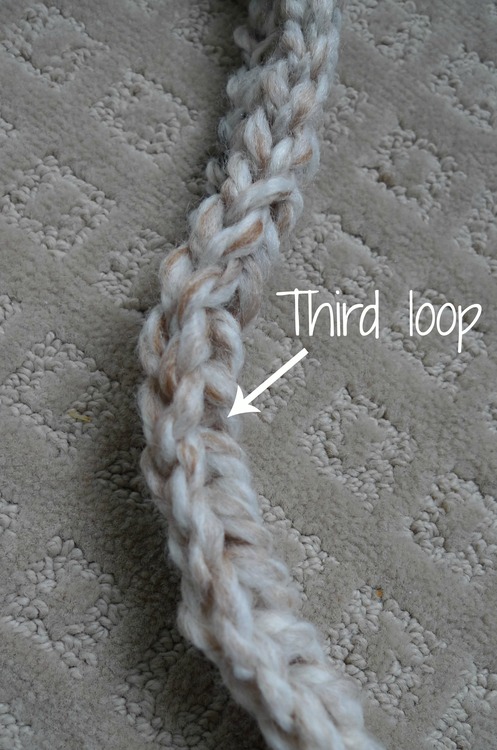
Here is another view of the third loop created when we make half double crochets!
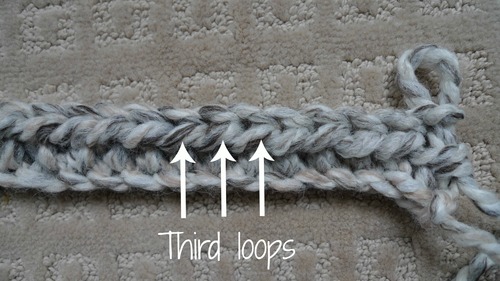
Since we need to turn our work after Row 1, this is what the third loops will look like and where they are located when your work is facing you! This is where you will work your next series of half double crochets for Row 2.
By working your half double crochets in the third loop…
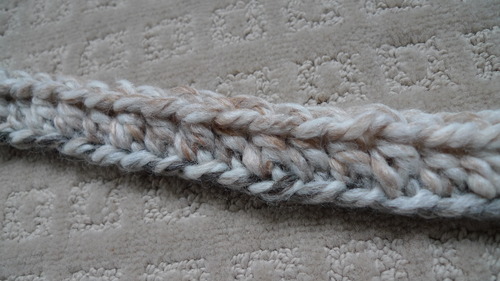
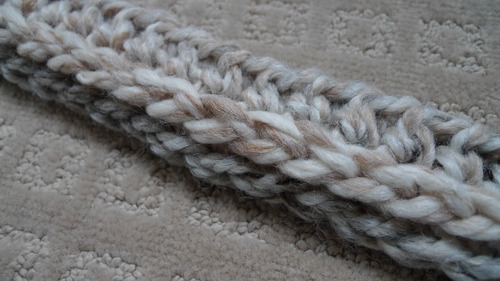
This pushes the front and back loops forward to create this beautiful ribbed “V” look!
Check out this very helpful Moogly video below in which Tamara demonstrates where the third loop can be found:
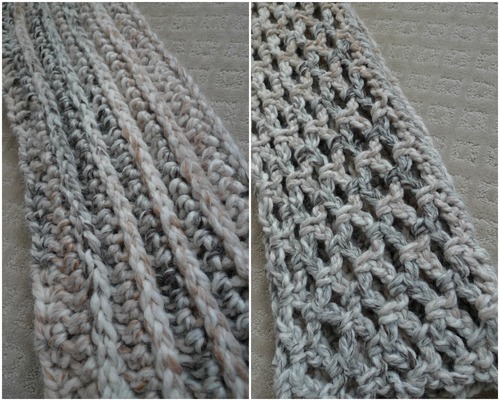
As you continue this simple pattern of working half double crochets in the third loop row by row, this gorgeous “ribbed V” pattern is created!
It is a denser, thicker design that has a rich and luxurious look and feel to it. You could by all means use this pattern to make the whole cowl or start off with even more chains to make a whole long scarf with it (vs. a rounded cowl). I stopped at Row 11 and then began my next design…
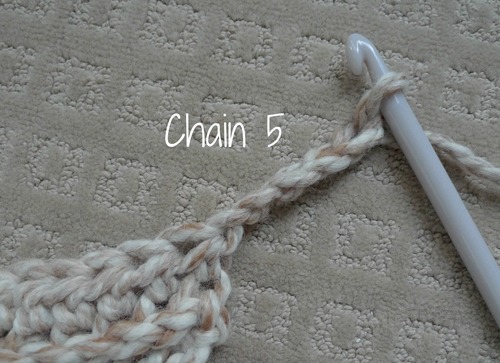
Since this side is more dense, I opted for a more open-stitched design for the other side! I started off by chaining 5…
Then I worked a single crochet in the last stitch from the previous row (or the 6th stitch from the hook).
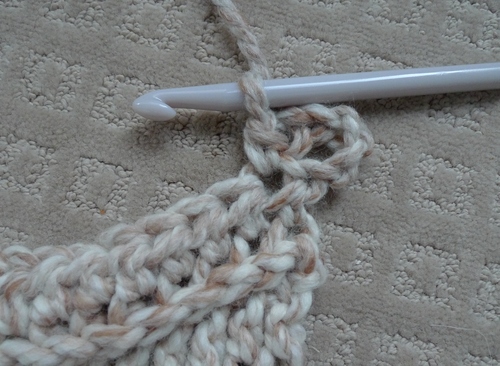
I then chained 3, skipped 3 stitches and worked one single crochet till the end of the row.
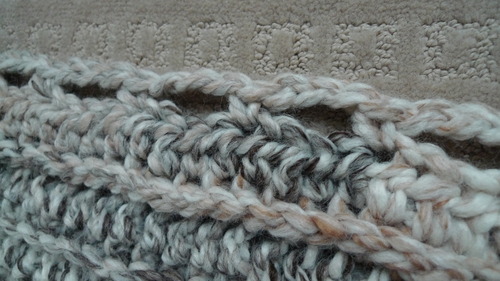
I did this same pattern for the next row, this time working my single crochet in the chain 3 spaces. Each row consisted of 14 sc and 13 spaces.
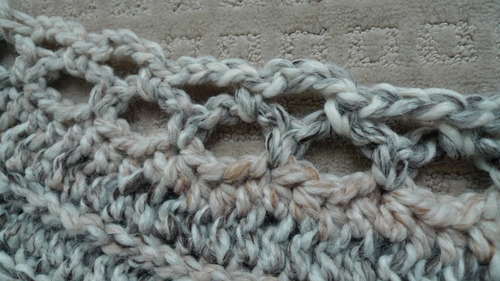
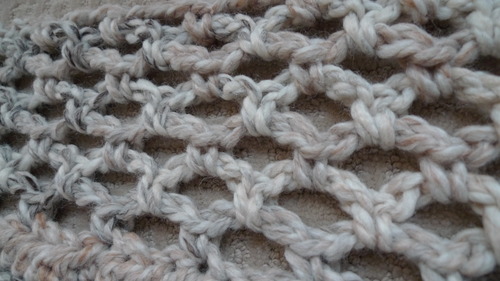
Then this pretty open-stitched net pattern was created! It drapes and hangs beautifully and would also look lovely as an entire cowl!
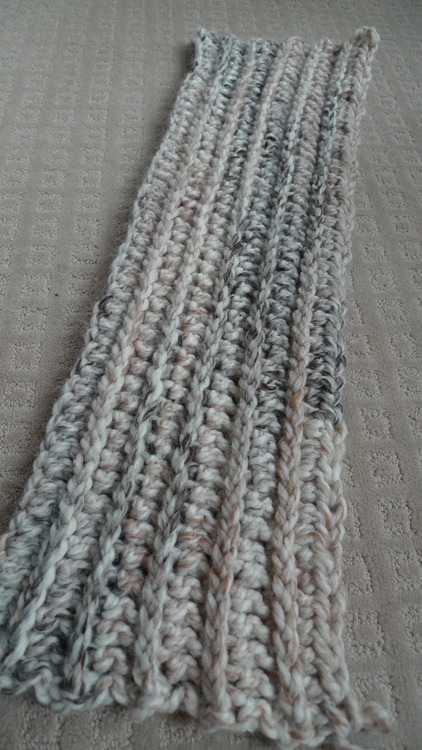
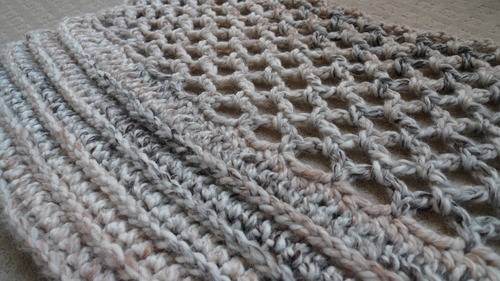
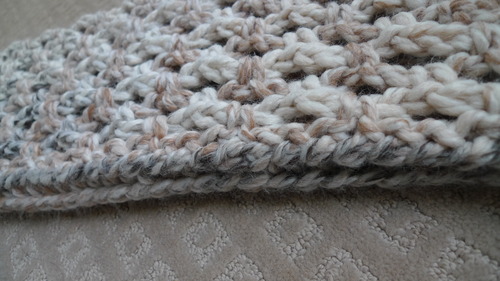
After doing 11 rows of the open-stitched net design, this side was complete! Here is my piece below with half of it being my “Ribbed V” design and the other half being my “Open-stitched net” design!
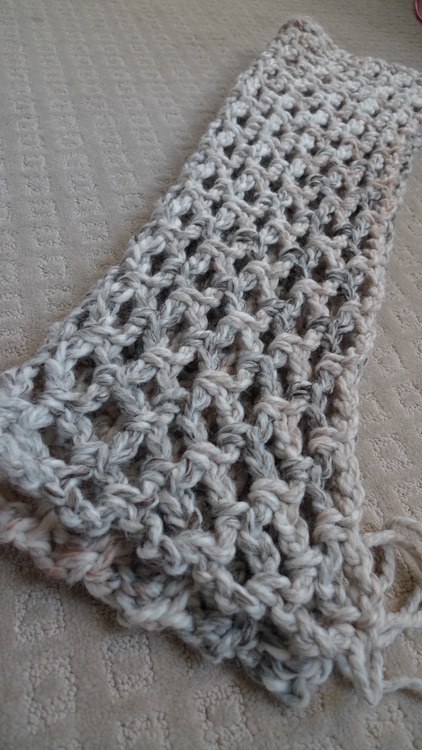
To assemble this cowl, I folded the piece in half lengthwise so each design is on one side…
Then I sewed the long ends together. I simply used a smaller 5 mm crochet hook to weave my long yarn tail back and forth to seam this end shut.
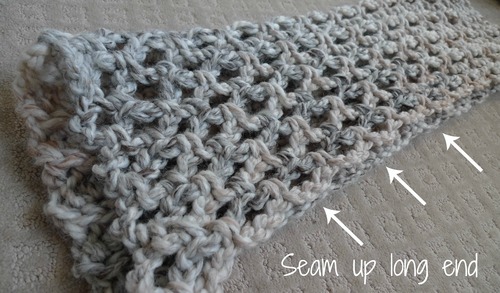
Here is the long end sewed shut!
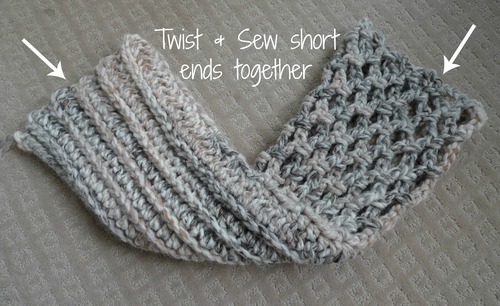
One side has the “Ribbed V” design and the other side has the “Open-stitched net” design. If you do not want the twist, you could always sew the short ends together and wear your cowl with one side facing outwards on one day, and then switch it up with the other side on another day! You could also make your entire cowl with only one design (all 22 rows) if you strongly prefer one design over the other. Using complementary colours or shades of the same colour for the two different sides would also give a really neat and interesting look! The possibilities are endless as this pattern is very versatile and can be adapted in so many ways!
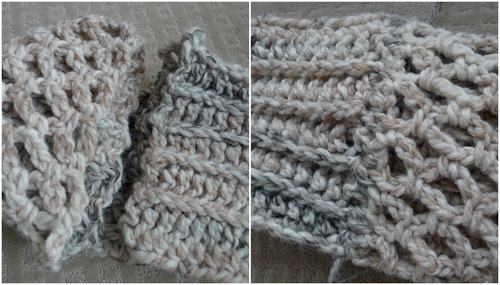
I, of course, wanted a Twist Cowl, so I twisted my crocheted piece and then sewed the short ends together.
This meant that I sewed through four layers (2 on each side). Make sure that you go through all four layers and don’t accidentally leave one out!
I was left with this much yarn left over from the second skein! You could use it to make a baby or toddler cowl or maybe a chunky headband 🙂
And here is my finished product: the Twist Cowl! In this picture below you can see the “Ribbed V” side is the predominant pattern…
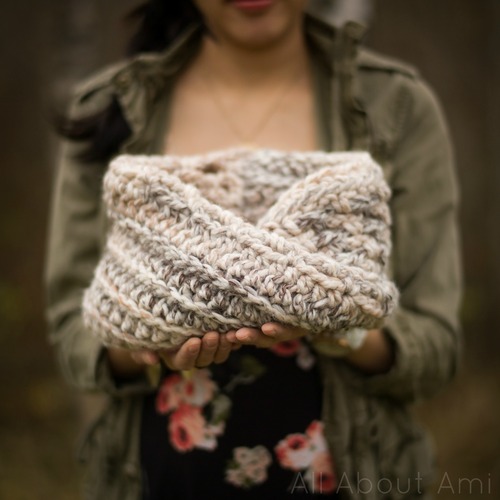
And by inverting the Twist Cowl, the other side or the “Open-stitched net” half is the predominant pattern! Neat, hey?
***************************************
Here is the free pattern for my Twist Cowl that you can easily adapt!
Materials:
- 10 mm Clover Amour crochet hook
- Super bulky yarn (I used Lion Brand Yarn’s “Wool-Ease Thick & Quick” in “Sandstone”, 2 skeins)
- Yarn needle or smaller crochet hook (5 mm) to seam up ends.
Ribbed V Half:
Chain 51
Row 1: In third chain from hook, half double crochet (initial chains count as 1 hdc). Hdc in each ch till end (50 hdc).
R2: Chain 2, turn. Hdc in third loop of each st till end (50 hdc).
R3-11: Repeat Row 2.
We will now begin the “Open-stitched net” half of the cowl!
Open-stitched Net Half:
Row 12: Chain 5, work one sc in last st from previous row or 6th ch from hook (initial chains count as 1 sc). *Ch 3, sk 3, sc 1* till end (14 sc and 13 spaces).
R13: Chain 5, turn (initial chains count as 1 sc). *Sc 1 in Ch-3 space, Ch 3* till end. Be sure last sc is worked in initial Chain-5 space from beginning of previous row (14 sc and 13 spaces).
R14-22: Repeat Row 13
Fasten off and leave long end for sewing.
For reference, my crocheted piece measured 24″ or 61 in length. Each design measured 8″ or 20 cm in height (so 16″ or 41 cm total height with both designs stacked ontop of each other).
[Note: If you want to do the entire cowl as the open-stitched net design, start off by chaining 54. In the 6th chain from your hook, Sc 1. *Ch 3, sk 3, sc 1* till end (14 sc and 13 spaces). Continue on as R13 is written and onwards.]
Assembly:
- Fold crocheted piece in half so that each design is on one side.
- Sew long ends together using a yarn needle or smaller 5 mm crochet hook.
- Twist crocheted piece and sew short ends (4 edges) together.
Voilà, your “Twist Cowl” is now complete! You can simply slip it over your head and you are good to go as it has built-in draping and folding 🙂 You can move the twist to get the different designs to be more prominent too!
Possible variations:
- Do the entire cowl with the “Ribbed V” or “Open-stitched Net” design.
- Omit the twist and wear one side facing outwards on one day and the other side facing outwards on another day.
- Use complementary colours or shades of the same colour for each side to add a fun surprise and twist of colours.
- Try different patterns for each side. For example, a simplified ribbing with single crochets in the back loops only; staggered double crochets like in my “Long Double Crochet Cowl”.
***************************************
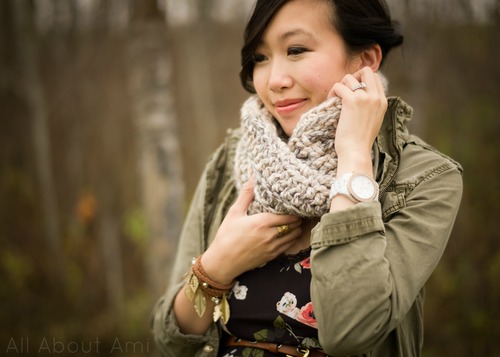
The beauty of this cowl is that you can slip it on over your head and it is already perfectly draped- no extra folding needed! I’ve received e-mails from people in the past asking how I draped my previous cowls in the photos….this Twist Cowl needs no explanation or extra fuss!
Cowls are the perfect accessory to jazz up a fall or winter outfit! They add such warmth and interest to an outfit, particularly this cowl since it has two different patterns!

I love wearing cowls since they’re so cozy and they help warm you up on crisp autumn days!
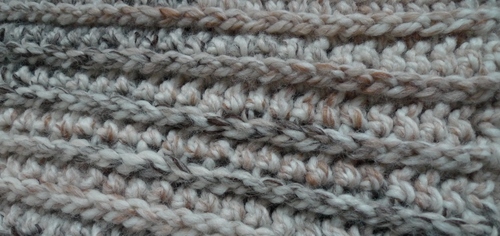
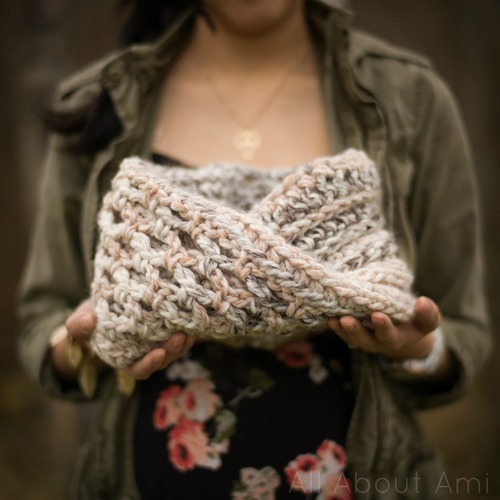
Here’s a close-up shot of the “Open-stitched net” side of my Twist Cowl…
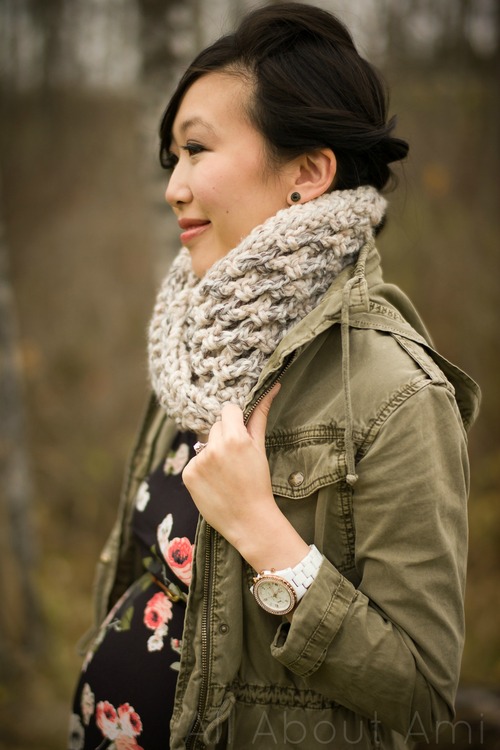
And here’s a close-up of the other side of my Twist Cowl– the “Ribbed V” side!
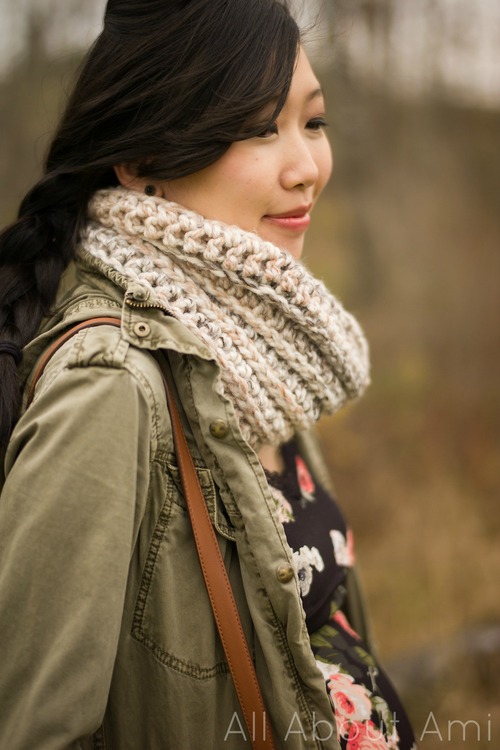
We had a lot of fun designing this cowl as we tried to incorporate some unique elements, such as the twist and the two different patterns, one being a denser pattern with the other being a more open stitch. I asked which design you liked better a couple of days ago on my Instagram and Facebook, and I’m glad that both designs were popular! Some people commented that the denser ribbed V side would be better for colder climates while the looser open-stitched side would be better for milder winters- love these insights!
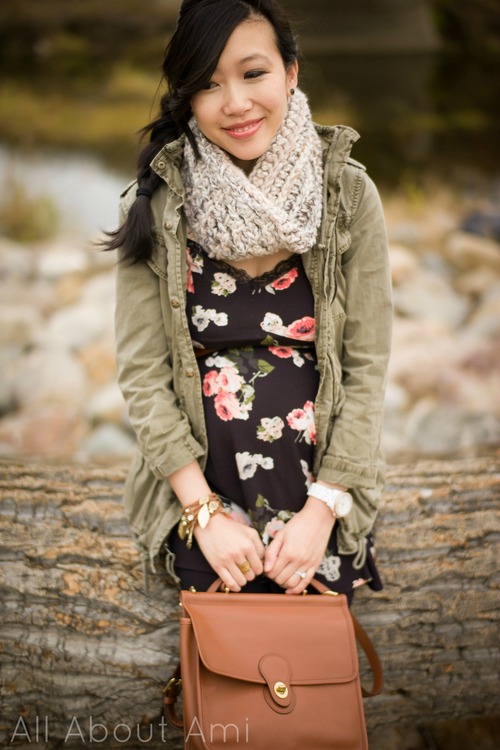
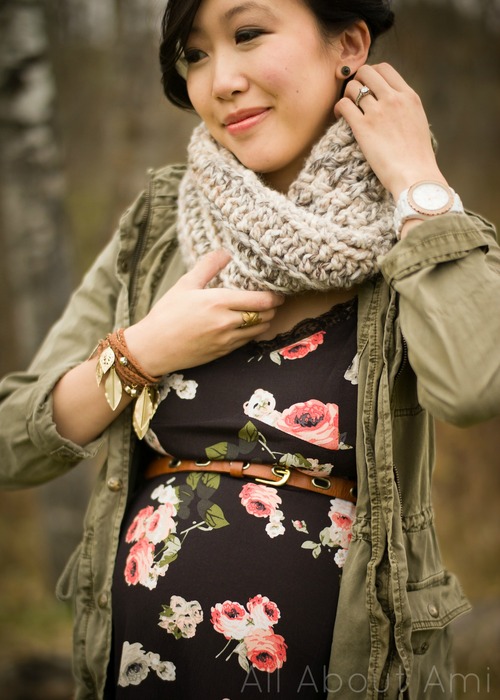
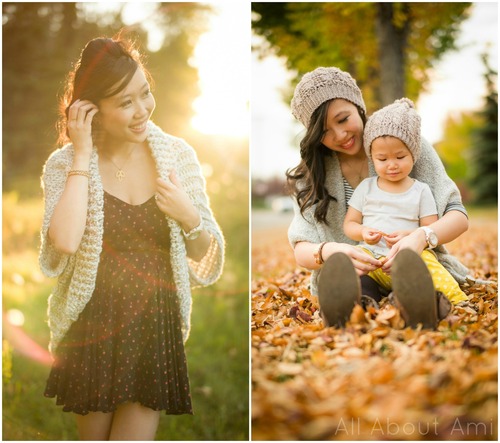
I love how these fall crochet project photoshoots are also doubling as my maternity shoots as my belly continues to grow! I’m 31 weeks pregnant now- how time flies!!!

[Dress: Urban Outfitters, Boots: Steve Madden; Purse: Coach; Jacket: Aritzia; Leaf Bracelet: H&M; Leaf Ring: CoutuKitsch; Watch: Michael Kors, Belt: Aldo; Cowl: Me!]
To stay true to the concept of a #scarfie, here I am taking a picture of myself wearing my handmade scarf/cowl!

If you’re interested in another cowl that I designed using “Wool-Ease Thick & Quick”, check out my “Long Double Crochet Cowl” pictured below! It’s a very chunky, luxurious cowl that is quite the statement piece- I crocheted it two years ago and I still love wearing it! This vibrant colour is called “Raspberry”, and the free pattern and step-by-step blog post can be found HERE 🙂

Here are the other two crochet projects that I’ve blogged about so far this fall if you’re itching for more cozy projects to work on! On the left we have my “Easy Chunky Crochet Sweater” and on the right we have my “Cabled Slouchy Beanies” (adult, toddler and chunky versions available)!
I hope you enjoyed reading about how we dreamed up the Twist Cowl and that you’re interested in making your very own! Thank you to Lion Brand for hosting this wonderful campaign and for bringing the crochet and knitting community together! They are a great yarn company that really gives back to the community and they do a wonderful job with their social media as they truly make the effort to connect with crafters and support crochet bloggers ❤ I am very thankful to be a part of this #scarfie project, and I would love to see your #scarfies as well! If you end up trying out this Twist Cowl, please post a photo on my Facebook page, or tag me on Instagram (@AllAboutAmi) or Twitter (@AllAboutAmi) using the hashtag #scarfie so we can all see too! Also, check out my AWESOME GIVEAWAY in which you can win 2 skeins of “Wool-Ease Thick & Quick” yarn to make your own Twist Cowl HERE [NOW CLOSED]! Thank you for reading, and check back soon!
This pattern is an original pattern by Stephanie Lau of All About Ami. Please do not claim this pattern as your own. If you wish to share this pattern, you may link to this pattern but please do not reprint it on your site. You may keep a copy for your own personal use but please DO NOT sell the pattern or distribute it.
You may sell products made from this pattern but please clearly credit the design to me, Stephanie Lau of All About Ami, and provide a link to my blog www.AllAboutAmi.com. Permission is NOT granted for mass production or factory manufacturing of any kind. Thank you for being respectful and for your understanding!