***You can purchase an INEXPENSIVE AD-FREE PDF of this pattern on Etsy HERE! This beautifully formatted PDF includes the step-by-step pictures and is a total of 5 pages including the cover page. This pattern is also available in the “Crochet Cowls & Scarves PATTERN BUNDLE” which includes over 20 beautiful designs at a discounted price – check out the bundle HERE!
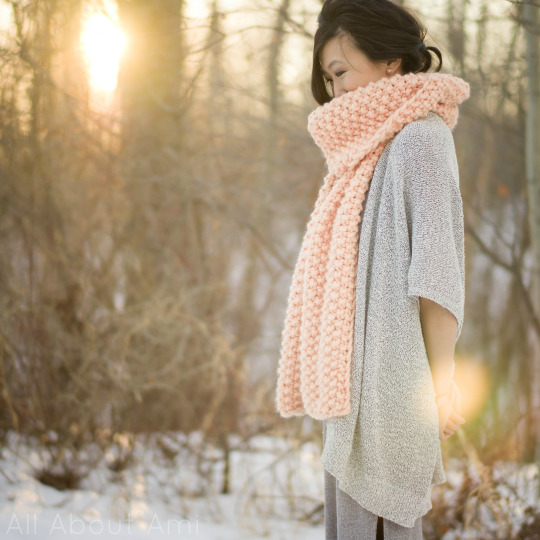
After completing my knitted “Cucho Scarf” in my “We Are Knitters” kit, I was absolutely delighted when the company asked if I wanted to design any item of my choice using their wool! I jumped at the opportunity and was thrilled that I could work with their luxurious 100% Peruvian wool again, this time with my crochet hook instead of my knitting needles! I wanted to make a crochet equivalent of my “Cucho Scarf” since I loved how long and thick my scarf was along with its beautiful texture using the knitted “Moss Stitch”. This way, my non-knitting crochet friends could whip up a beautiful scarf of their own as well! You can read about the making of my knitted “Cucho Scarf” HERE in last week’s blog post!
I asked for 4 balls of “The Wool” in this beautiful “Pearl Grey” colour since I knew that crocheting generally takes up more yarn than knitting, and I wanted to add fringe to my scarf (my knitted “Cucho Scarf” used 3 balls of their wool).
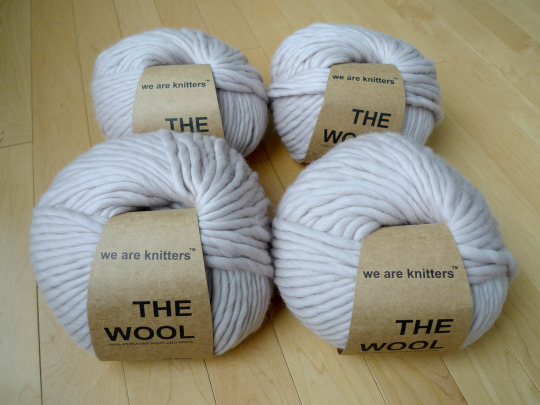
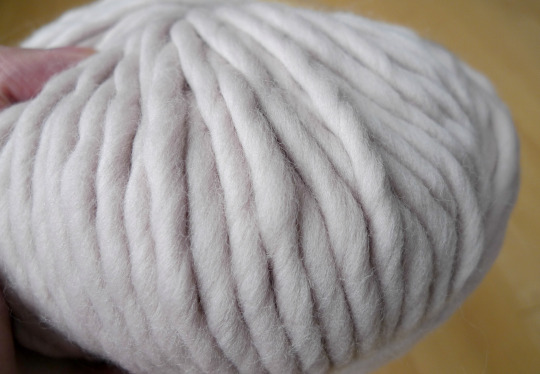
Their chunky 100% Peruvian Highland Wool comes from the Peruvian Andes and is very smooth and soft. Over 30 colours are available, so odds are you’ll be able to find a colour that you love!
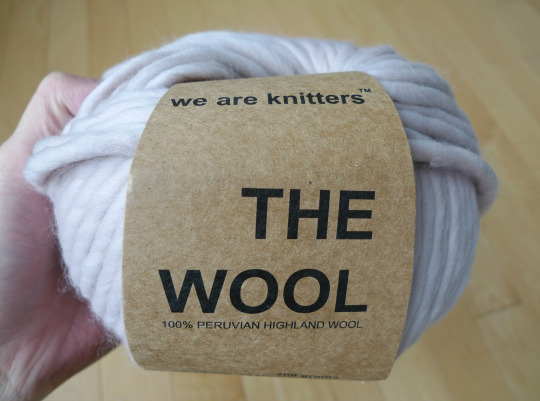
Each ball is a good size as it is 200 grams/80 m.
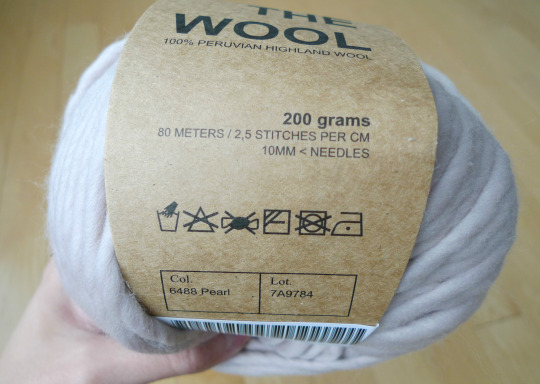
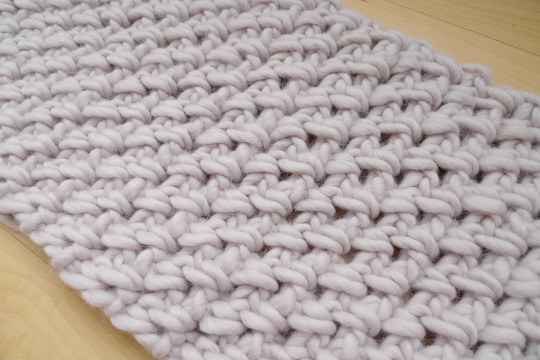
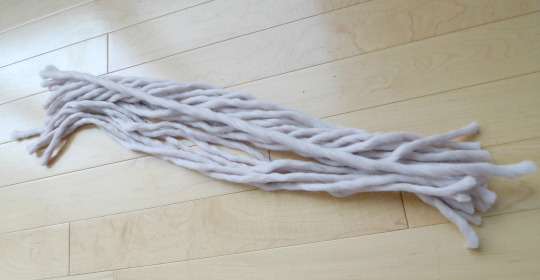
Here is a close-up of “The Wool”! Doesn’t that texture look gorgeous?
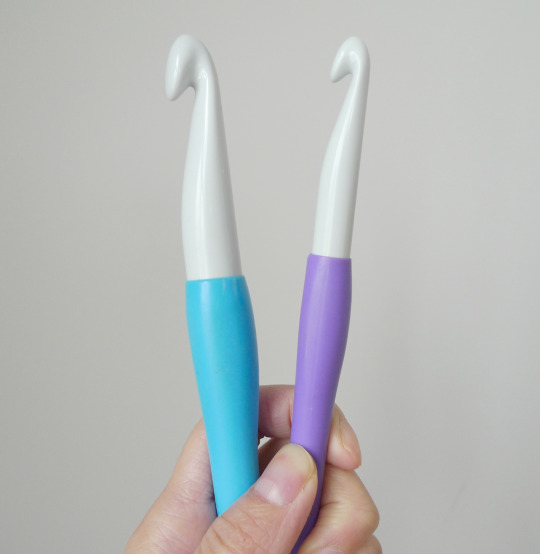
Since I used 15 mm knitting needles for my “Cucho Scarf”, I opted to use my jumbo 15 mm Clover Amour hook! This is what my 15 mm crochet hook looks like in comparison to my 10 mm hook for reference. Using such a jumbo hook with such thick yarn meant that I was done this project in no time!
I decided to use the crochet Moss/Granite Stitch since my Cucho Scarf used the knitted “Moss Stitch”! I am VERY familiar with this stitch as it is the one I used for “The Granite Cape” (check out the full post about it HERE). It was neat working this same stitch with very chunky yarn and such a large hook. To begin, I chained 19 (I left a long tail in the beginning that would later become part of the fringe).
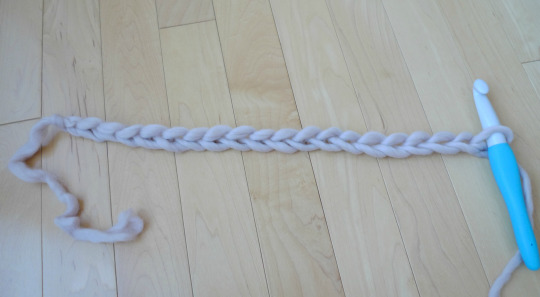
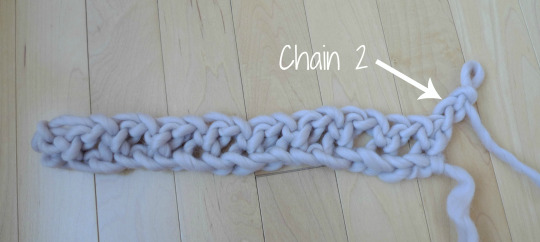
Then starting from the third chain from the hook, I single crocheted 1 then skipped one stitch, chaining 1 in between. As you can see below, there are alternating single crochets and chain 1 spaces!
Since you are working in turned rows, you chain 2 as your starting chain.
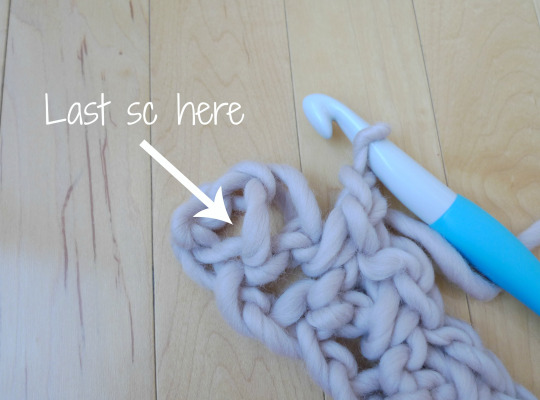
You work the same pattern across, single crocheting in the chain spaces and chaining 1 in between. You work the last single crochet in the space as indicated below.
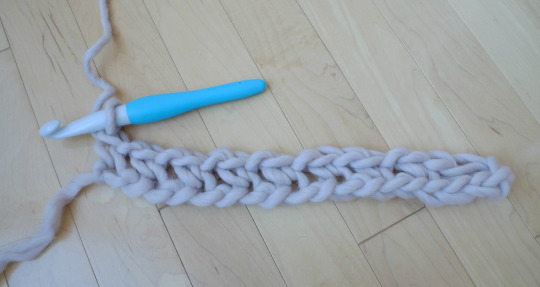
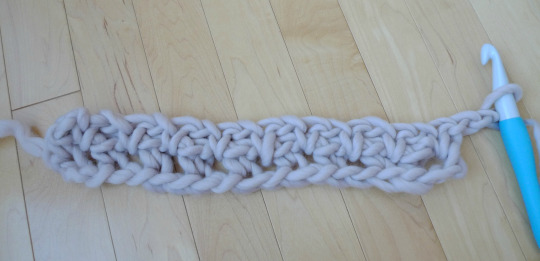
Row 2 is complete! You chain 2 again and begin Round 3. As a reminder, you are working in the CHAIN SPACES and not the actual front and back loops of stitches (see video HERE). I really enjoy working in the chain spaces since it’s so easy to insert your hook in these gaps and it goes by very quickly!
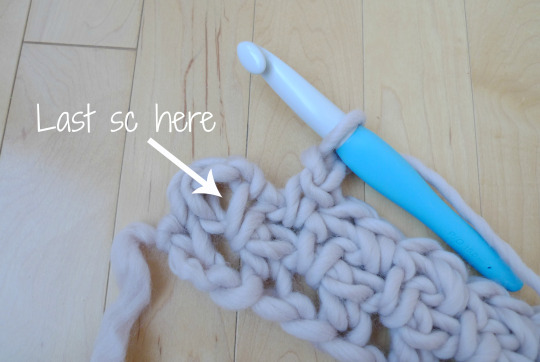
Be sure not to forget that last single crochet in the last space as indicated below, or else your scarf will decrease in size over time!
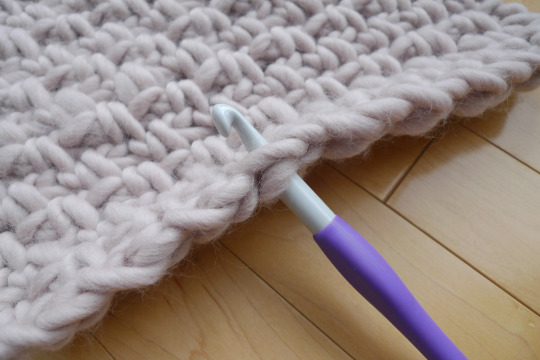
Then you continue on with this simple pattern to build this gorgeous texture and effect!
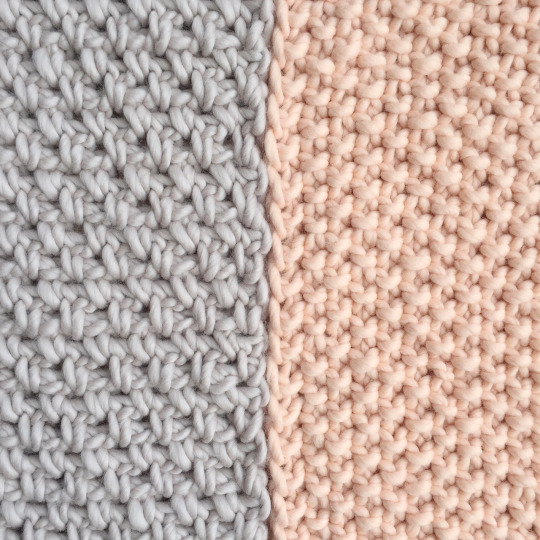
Here is a side-by-side comparison of the crocheted Moss Stitch vs. the knitted Moss Stitch! I love the look and texture of both!
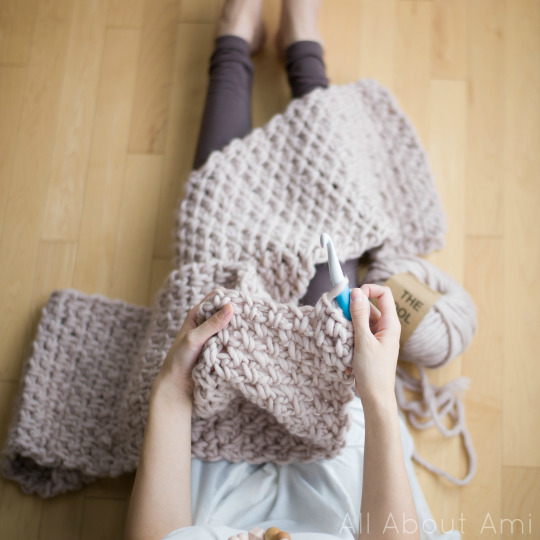
With the warmth and thickness of the wool, it felt like I was crocheting and being covered with a blanket as my scarf got longer and longer!
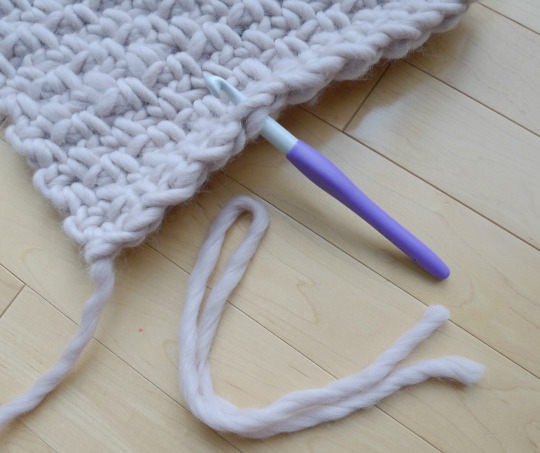
After I was happy with the length, I fastened off and left a long tail that would become part of the fringe. Now, it was time to work on the rest of the fringe! The best way to get even strands of yarn to make fringe is to wrap your yarn around a solid book. I wish I had a more sophisticated book for this demo, but this sturdy Spot book was what we had lying around, and it worked! It measures 26 cm/10.2″ across.

Next, you cut the yarn across one side of the book.
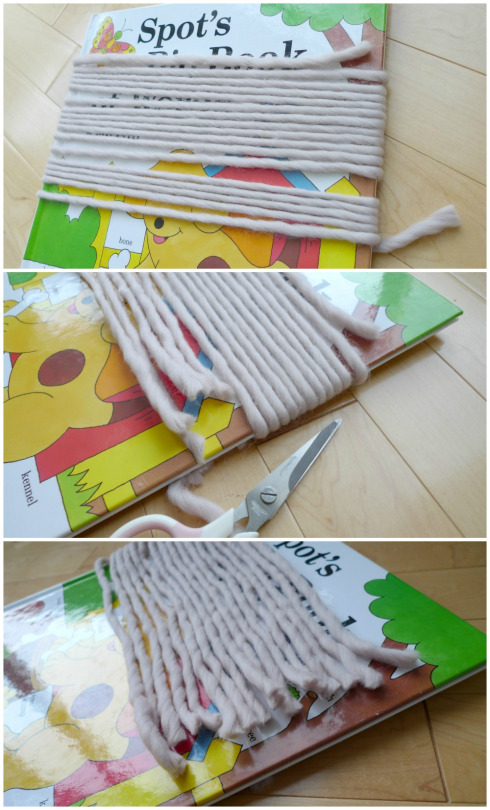
You are now left with your strands of fringe (mine each measured about 21″/53 cm). This length is approximately double the length of your final fringe.
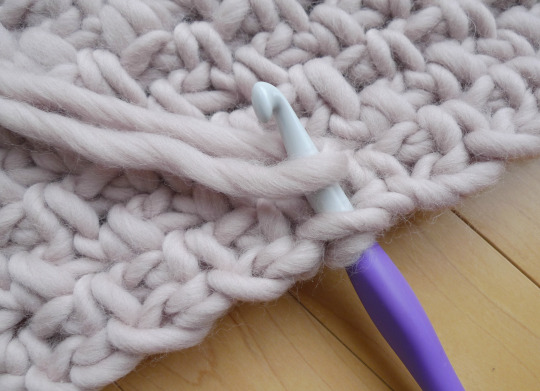
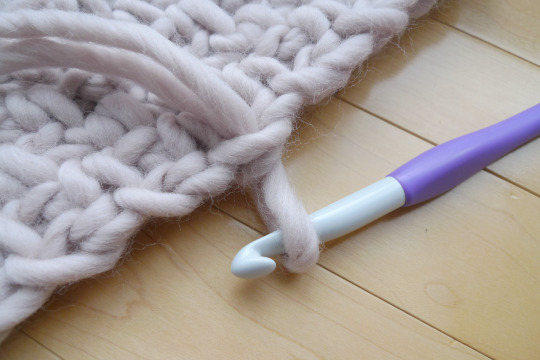
To add the fringe, you insert your crochet hook into the front and back loops of your stitch.
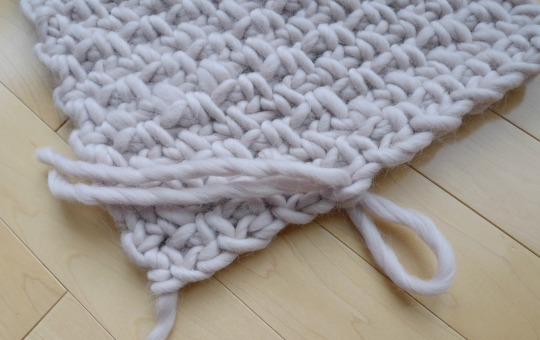
You fold your fringe in half to get it ready!
Then you grab the loop/folded end of the fringe with your crochet hook…
And pull it through!
The loop/folded end has been pulled through!
Next you pull the two loose ends through the loop and pull downwards.
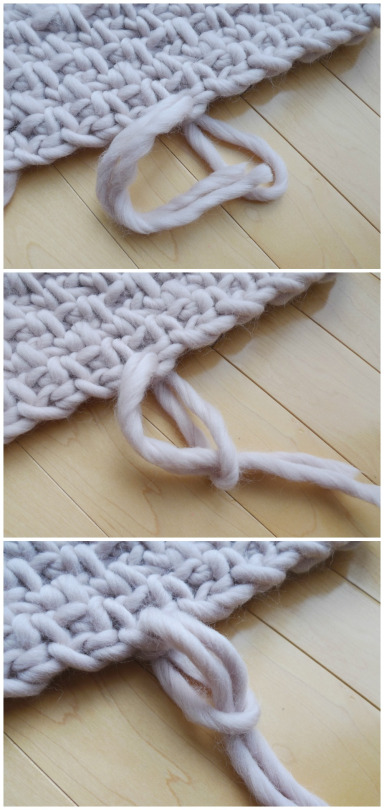
One piece of fringe is complete after you have pulled tight!
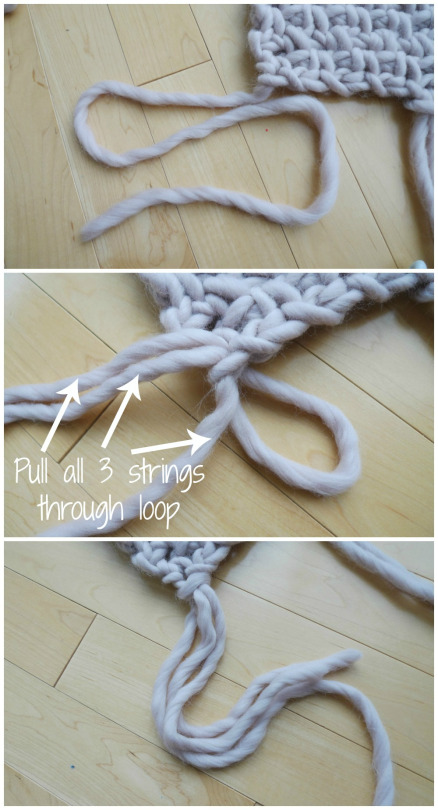
Each end of your scarf should have a long tail/end from when you first began and ended your project. To seamlessly incorporate this tail into your fringe, simply pull all three strings through the loop.
Then you simply repeat this process all the way across both ends of the scarf.
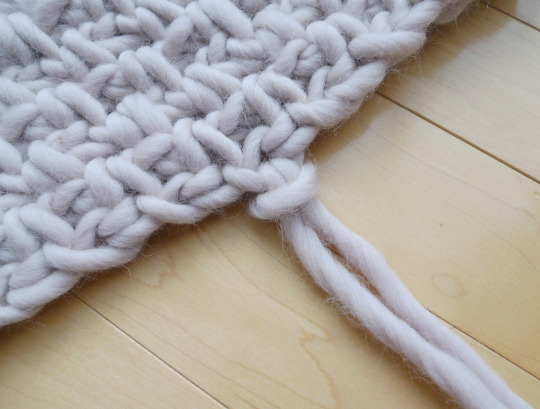
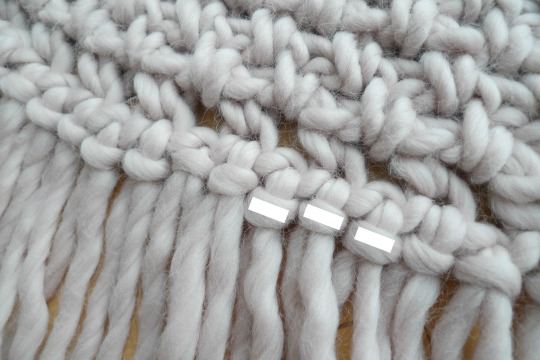
It’s important to note that both sides of the fringe look different, so make sure you are consistent with how you are looping and pulling your fringe. With the technique I showed you above, this is what the fringe looks like on the “right” side or side facing you: you will notice little horizontal bumps across.
When you flip the fringe/scarf on the other side, this is what the fringe looks like on the “wrong” side or side not facing you: you will notice these little upside-down V’s

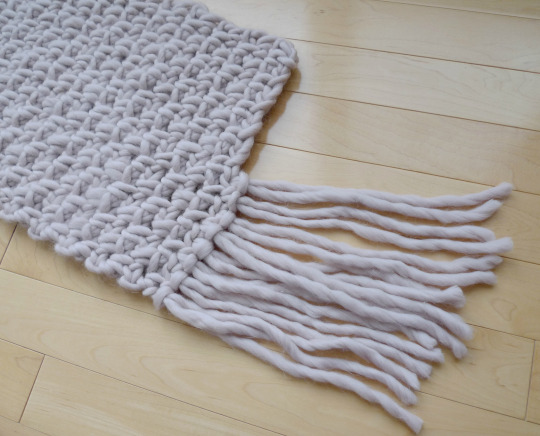
The fringe is now complete! If there is any unevenness, you can trim the fringe!
***************************************
Here is the free pattern for the “Moss Fringe Scarf”!
Materials:
- 15 mm Clover Amour hook
- Super bulky/jumbo yarn (I used “The Wool” by We Are Knitters in the colour Pearl Grey, 3-4 balls)
Chain 19 (use an odd number of stitches) and leave a long tail in the beginning.
Row 1: Sc in the 3rd ch from the hook, *ch 1, skip 1 ch, sc in the next ch* until end. (10 sc and 9 chain 1 spaces)
R2: Ch 2, turn. Sc in the next ch 1 space. *Ch 1, sc in the next ch 1 sp* until end, finishing with a sc in the last chain sp at the start of previous row.
R3-104: Repeat Row 2.
My scarf measured 10″/25.4 cm wide and 84″/213.4 cm long without the fringe.
Add fringe (follow photo tutorial above):
- Wrap wool around a book.
- Cut wool on one side of book to make strands of fringe (each of my fringe strands measured about 21″/53 cm).
- Fold fringe strand in half and pull through the front and back loop of a stitch on end of scarf.
- Pull two ends through loop and pull tight.
- Repeat across and on other side of scarf.
- Trim fringe if necessary.
Notes:
- By the time my “Moss Fringe Scarf” was complete, I had 100 g of the 4th ball left (about half of it). If you decrease the initials chains to 15 or 17, decrease the number of rows, or omit the fringe, you can complete this project with 3 balls of “The Wool”!
- If you are using a thinner yarn, simply increase the number of initial chains- be sure to use an odd number (e.g. 21, 23, 25, etc).
***************************************
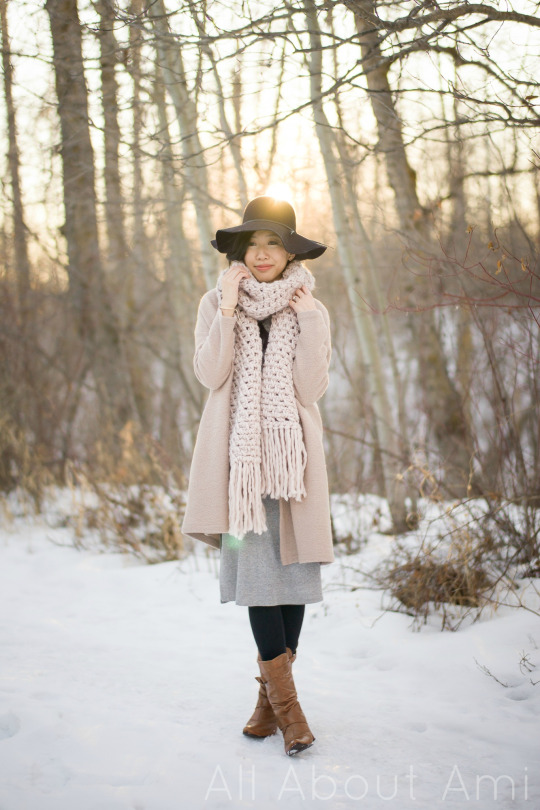
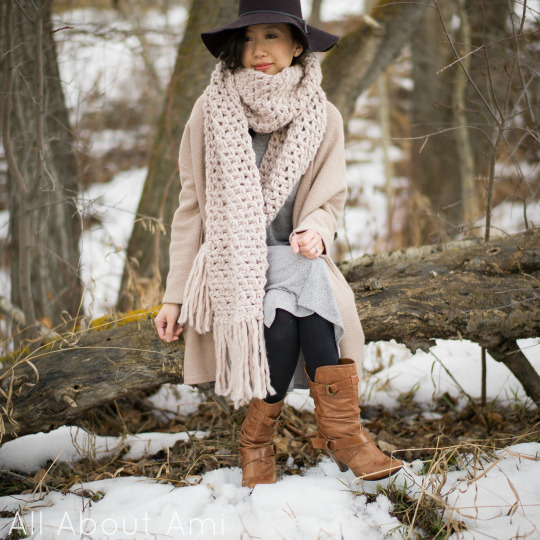
This is my first time crocheting a scarf with fringe and I absolutely LOVE it!
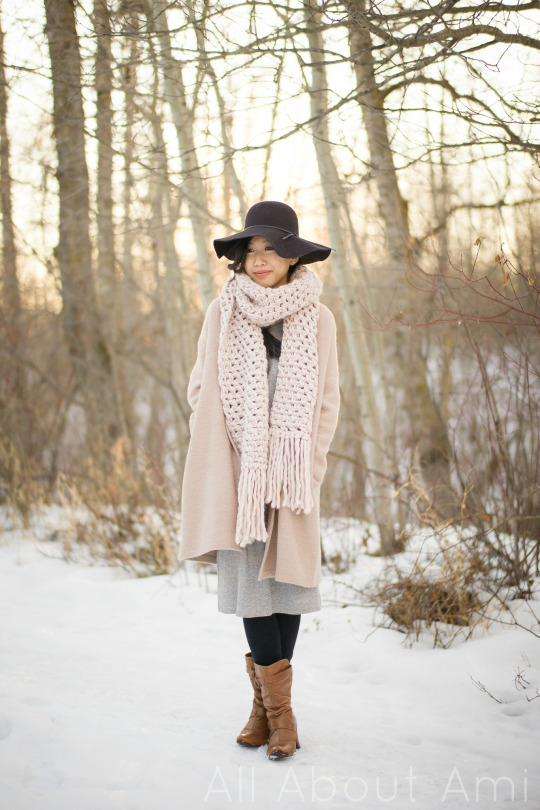
It is such a popular trend right now and it adds such a luxurious touch!
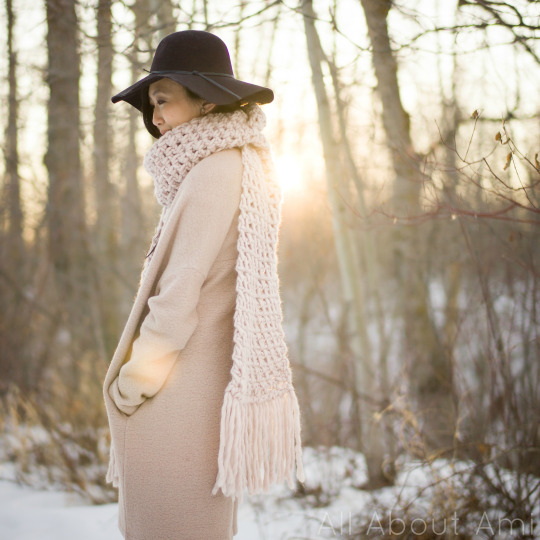
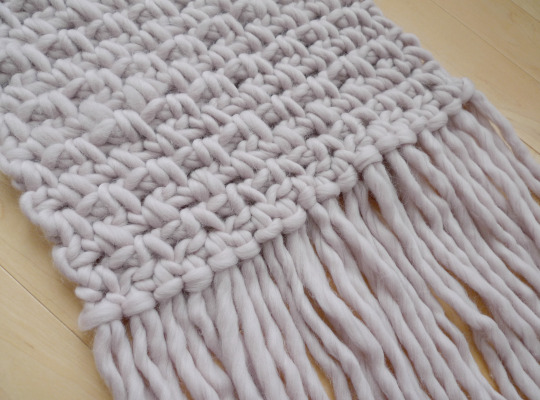
The staggered single crochets give a beautiful texture and the open chain spaces give it an airy and flexible feel as well.
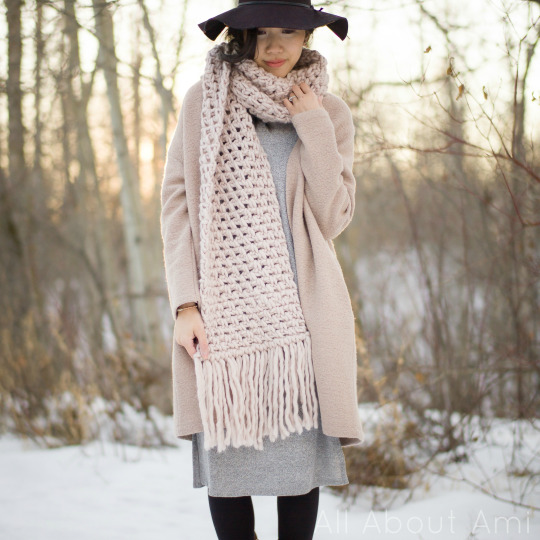
100% Peruvian wool is extremely warm which makes this scarf the perfect cuddly winter accessory!

I always veer towards neutrals since they give such a timeless, sophisticated and classic look! I am so glad I got to add two beautiful and luxurious scarves to my wardrobe this season: my knitted Cucho Scarf and my crocheted Moss Fringe Scarf!
It’s been such a pleasure collaborating with “We Are Knitters”, and I’m delighted to hear that you are all excited about their kits and wool too! Don’t forget that you can use my code “WAKABOUTAMI” to get 15% off your orders (good until the end of March) and that we are currently running a fun GIVEAWAY to win any kit of your choice (valued up to $100) HERE! We’ve just added a new entry method too: if you subscribe to their newsletter HERE, you can get an additional entry (and also $12 off your first order, a free pattern, other discounts, stock updates, and other patterns over time). Leave a comment in the giveaway post that you’ve subscribed to get your additional entry! Also remember that if you are an international reader, you may be charged an additional customs fee (I was charged $19 once again for the four yarn balls- same fee as with the Cucho Scarf Kit).
Don’t forget that you can subscribe to my e-mail list HERE if you never want to miss a post, and you can also follow me on Facebook, Twitter and Instagram to get my updates!
~ Stephanie
Note: Thank you to “We Are Knitters” for providing the wool for this project!
This pattern is an original pattern by Stephanie Lau of All About Ami. Please do not claim this pattern as your own. If you wish to share this pattern, you may link to this pattern but please do not reprint it on your site. You may keep a copy for your own personal use but please DO NOT sell the pattern or distribute it.
You may sell products made from this pattern but please clearly credit the design to me, Stephanie Lau of All About Ami, and provide a link to my blog www.AllAboutAmi.com. Permission is NOT granted for mass production or factory manufacturing of any kind. Thank you for being respectful and for your understanding!