It’s so special whenever you incorporate items that you’ve crocheted in your home or workplace, and I have been loving this new crocheted piece that I use on a daily basis that goes whenever I go in my purse! I found this easy pouch pattern by Melissa “Missa” Hills HERE and was so excited to give it a try. I knew which colours I wanted to use- one of my favourite combos….grey and pink!
What gives this pouch a more delicate, refined look is the use of thin cotton vs. thicker acrylic yarn. I used my trusty Patons Grace yarn that I have used in so many of my previous projects (Teddy Ornaments, Dragon, Mesh Bag). The bottom part is crocheted in joined rounds, thus making the seam visible as shown in the picture below.
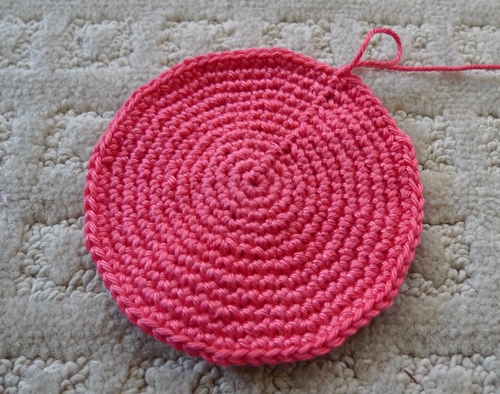
Then you continue working in unjoined rounds after a certain point so there is no more seam as the pouch expands upwards. Isn’t this pink a gorgeous colour?

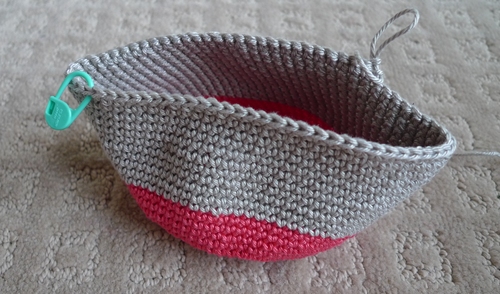
Then you switch to the second colour and continue crocheting round by round. Using a stitch marker for this project was very helpful since I didn’t need to keep the count. I have been loving my Clover stitch marker that I blogged about HERE– it was interesting hearing so many different opinions about stitch markers and what people use!
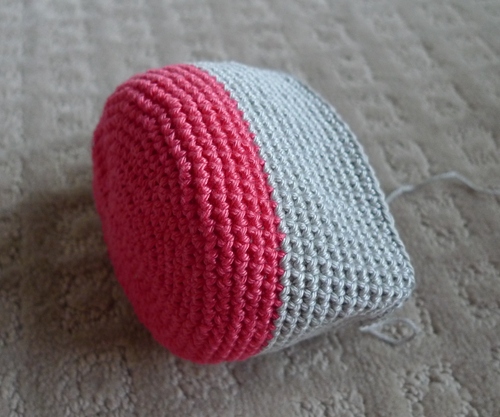
The base has a beautiful round shape! Crocheting this pouch went by very quickly since I didn’t need to keep the count like for amigurumi.
Now the crocheted part is all finished! It actually turned out bigger than I expected…you could always add or decrease rounds to make your pouch bigger or smaller 🙂
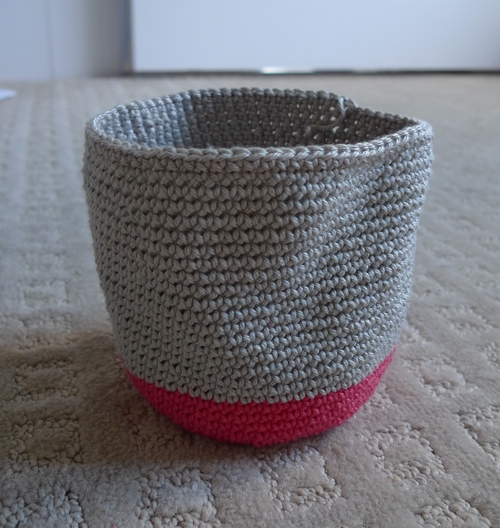
I love the look of these tight, small stitches! Some people added a zipper, velcro or button closure at this point. I knew that I wanted to try and add a zipper as well as fabric lining to give my pouch a more polished look. With the crocheting done, now came the tough part for me: the sewing *dun dun dun*…

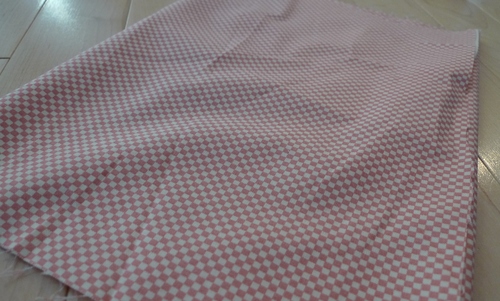
We went to a fabric store and had fun choosing a fabric for the lining! We brought along the pouch and after placing different fabrics into the pouch to see how they’d look, we went for this subtle gingham pattern 🙂
You may remember that I actually sewed the curtains for Myla’s nursery after learning how to use a sewing machine last year! However, I must confess that I haven’t touched the sewing machine since then, which was more than a year ago! Instead of relearning how to do everything, I decided to sew the lining by hand, particularly since there were some trickier elements here (zipper, circular base). Thus, even if you have no sewing experience, have no fear! I have very little sewing experience as well, and I really envy those who are talented in this area 🙂 It is do-able without a sewing machine!
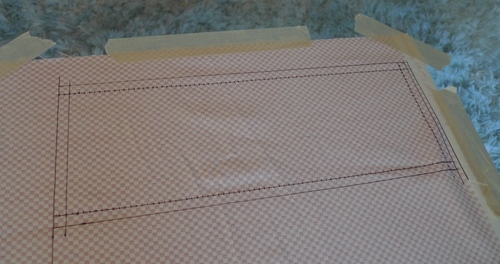
We measured the height and circumference of the pouch with a measuring tape. My pouch was approximately 3.5″ in height and 9.75″ around. You must remember to leave extra room for the seam allowance (when you fold and sew the pieces together). Ryan drew a rectangle that was approximately 3.75″ high and 10.25″ wide. The smaller rectangle is the actual dimensions of the pouch while the larger one includes the seam allowance. Ryan even included little tick marks to show me where to stitch to help make them more even 🙂
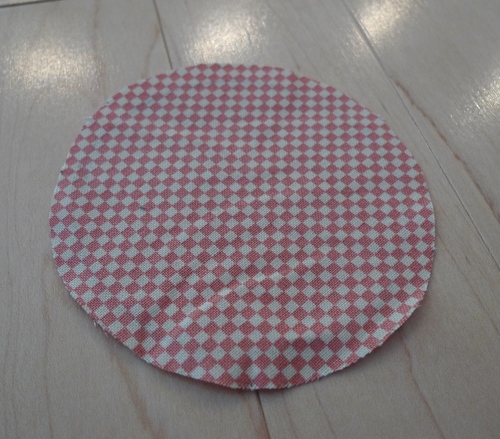
We traced out a circle using an item that was a similar size to the base of my pouch (a cup). Then we added 0.25″ around to allow for the seam allowance and then cut out the circle.
First we folded the top edge of the rectangle down, ironed it and then I backstitched across (see how to backstitch here). Sewing by hand took a lot longer than using my sewing machine 😛 Then I backstitched down the width of the rectangular piece. We then pinned the circular base to the bottom of this rectangular piece.
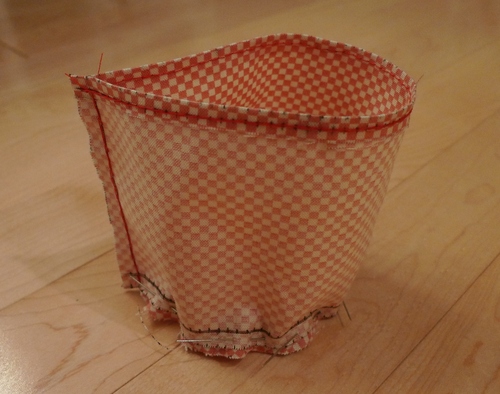
Sewing the circular base to this rectangular piece was tricky and took a lot of time and concentration. I then inserted the lining into the crocheted pouch to make sure the measurements were right and that the lining wasn’t too big or too small!

Next up was the zipper part! My fabric store had a wide array of colours, and adding a colourful zipper can really add a fun pop to your pouch!
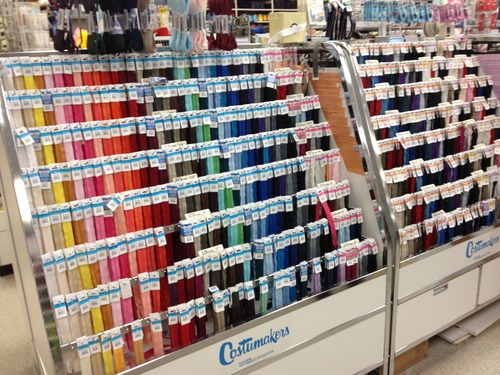
We opted for a more subtle white zipper since we wanted the pink crocheted part to stand out more!
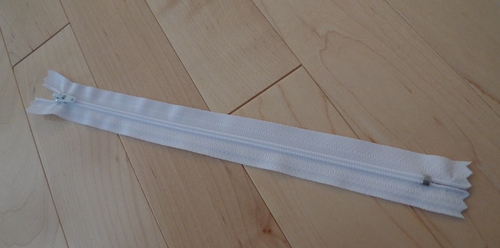
I pinned the zipper in place and then sewed one side of the zipper to the lining (wrong side of zipper facing wrong side of fabric). Ensure that there is enough room for the zipper to be pulled without it catching on the fabric. Then I unzipped the zipper and sewed the other side of the zipper to the other side of the fabric lining. Since the original zipper was too long, I sewed a stop, trimmed the end, and then Ryan added some hot glue to ensure that it wouldn’t come apart.
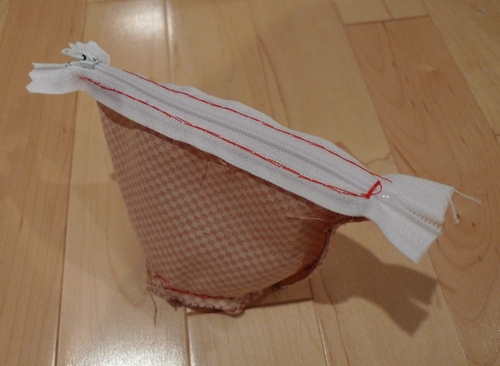
Next I inserted this fabric lining + zipper piece into the crocheted pouch and sewed the white zipper edge to the grey crochet part using grey thread! I attached the zipper towards the bottom of the last round of crochet so that the edge of “v’s” was kept clean! For further information, check out these tutorials I looked up to see how to add a zipper lining to crocheted pieces HERE and HERE!
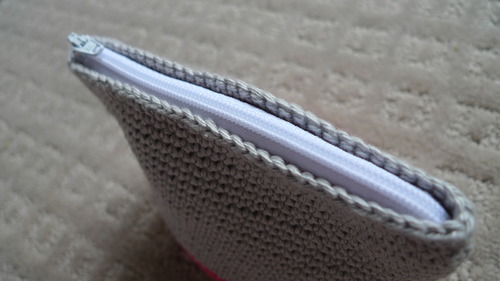
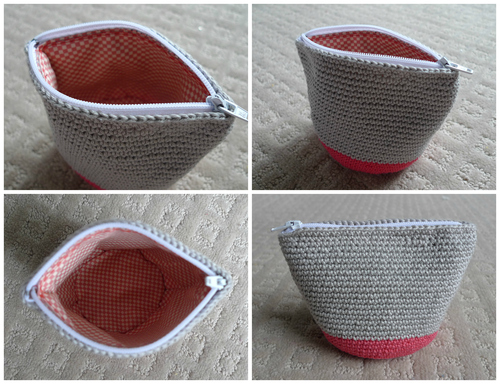
Here are some different angles to show my completed zipper pouch! The white zipper looks so crisp against the crocheted grey and pink and gingham lining. The sewing parts took a long time and definitely required a lot of time and patience. I’m sure this would be a cinch for people with sewing experience, and if you have any advice or tips do leave a comment below! I was so happy with how my pouch turned out, and the uneven hand stitches remind me of all the hard work I put into it 🙂
I am in love with my adorable little pink and grey pouch!
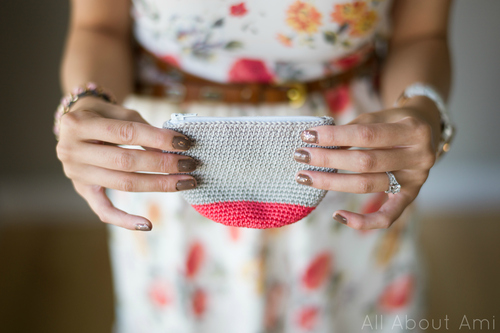
It’s actually quite a good size- I am using it to hold my change, but you could also use it to hold other items, such as your make-up!
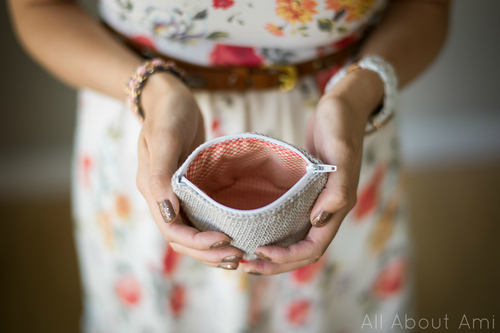
I carry this pouch with me wherever I go now in my purse, and it’s fun unzipping it to get my change!
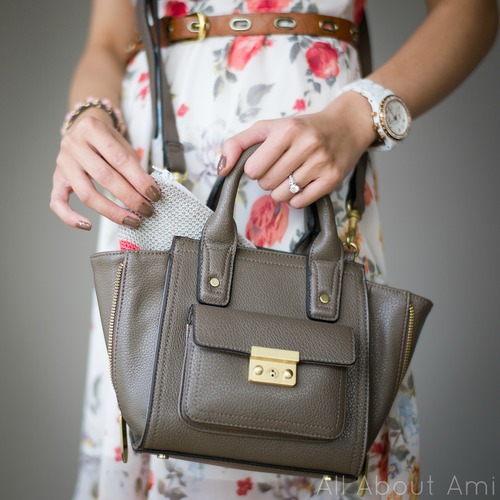
I was tagged by Kay of “Mikaylove” to show what’s in my “Phillip Lim for Target” bag 🙂 I love carrying something handmade and crocheted in my bag 🙂 And I seem to love grey and pink (I’m even wearing my new favourite grey and pink chunky cross weave Mikaylove bracelet found HERE in the pictures above, hehe)!
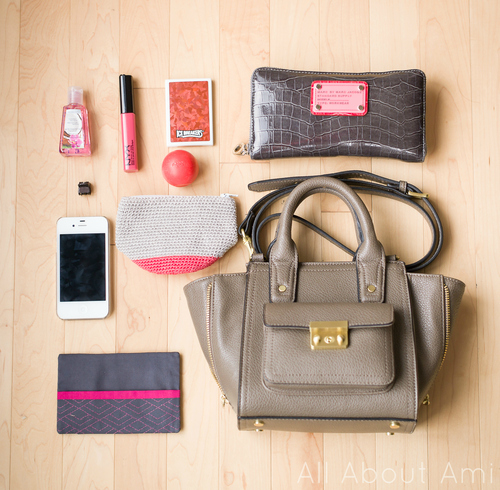
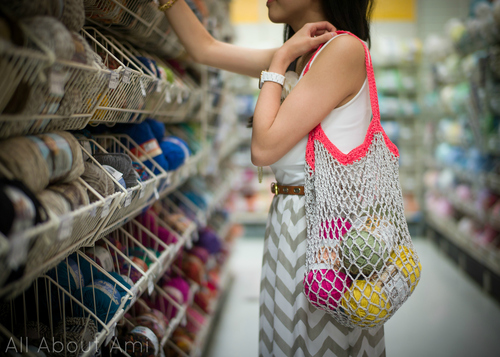
If these colours look familiar, it’s because they’re the exact same colours I used for my mesh bag that I blogged about recently HERE!
To wrap up this blog post, here is a fun Instagram video we took showing the pouch in action! Isn’t it a great way to show off the finished piece?
Hope you had fun reading about this pouch that I made! Once again, get the free pattern HERE. It was a fun challenge adding the fabric lining and I am so proud of how it turned out. I might work on a rectangular zipper case that could function as a pencil case too (or to hold crochet hooks)! Thank you for reading and let me know if you’ll be giving this pattern a try! I followed it exactly and used my trusty 2 mm hook 🙂 Don’t forget to follow me on Facebook, Instagram or Twitter to get my latest updates!