***Please note that this is the step-by-step tutorial showing the making of Chester the cat. The FREE PATTERN can be found HERE! You can also find the pattern as an inexpensive, ad-free PDF in my Etsy store HERE and Craftsy store HERE!
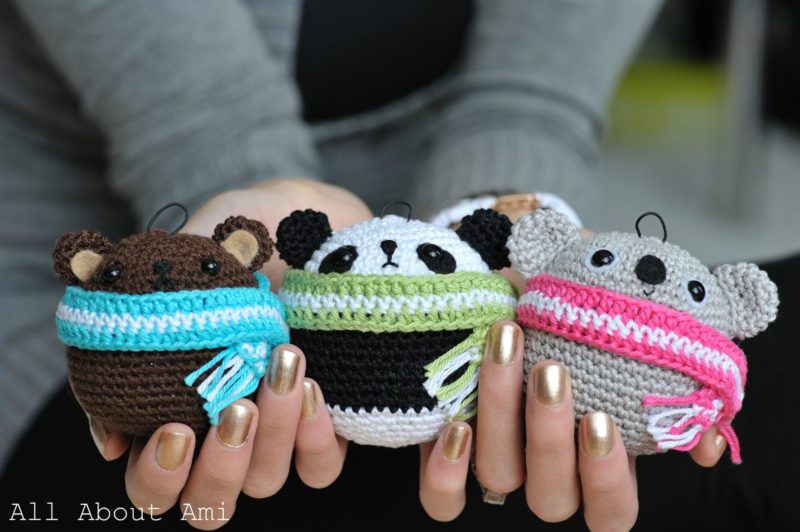
Ever since we designed our Christmas Teddy Ornaments five years ago, I had been wanting to make a new Christmas amigurumi. I crocheted a tiny stocking ornament using this pattern HERE and thought it would be so cute to design my own stocking and have a kitten peeking out of it with its paws and tail visible! I had seen some adorable dust plugs of cats hanging on the edges of cell phones (see HERE), and thought this was such a cute concept. As each Christmas went by, I did not manage to find the time to design this project as I was either pregnant, with a newborn, or with a toddler and a baby! Christmas seemed to creep up so quickly, but I knew I would bring this design floating around my head to life one day.
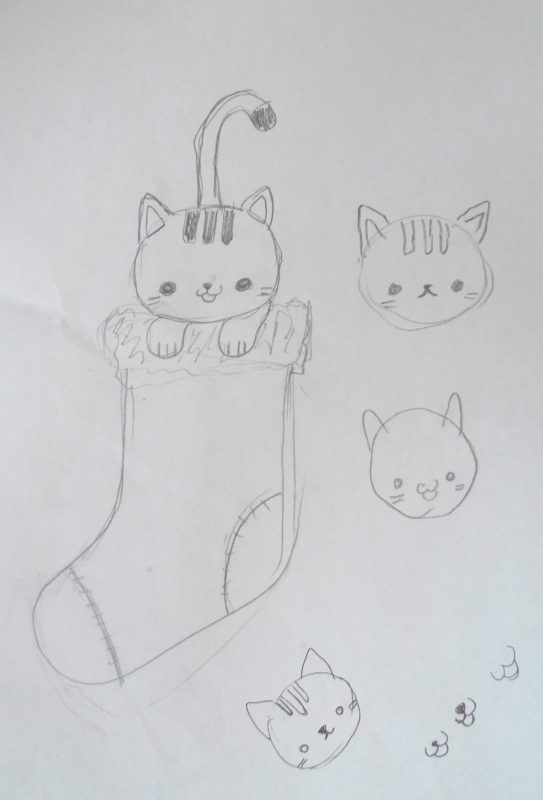
This year, I made sure to plan for this design as my December Lion Brand collaboration project and start early! My initial plan was to make a small stocking with a tiny cat inside so that it could be hung on the Christmas tree as an ornament. However, we decided to enlarge this project so that we would have a functional stocking that could actually hold items. By doing so, the cat would also be larger, and it would be easier to add details such as whiskers, stripes, ear lining, etc to him (compared to if he were tiny). Below is the sketch that Ryan created, and we were excited to get started!
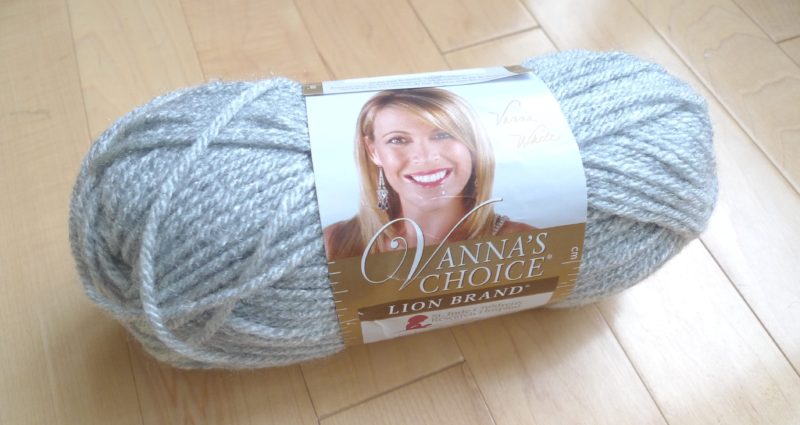
I chose to use Vanna’s Choice for the majority of this project since this acrylic yarn comes in a wide variety of colours and is great for amigurumi. It is a level 4 worsted weight, and I used my 2.75 Clover Amour hook to crochet the stocking and the cat!
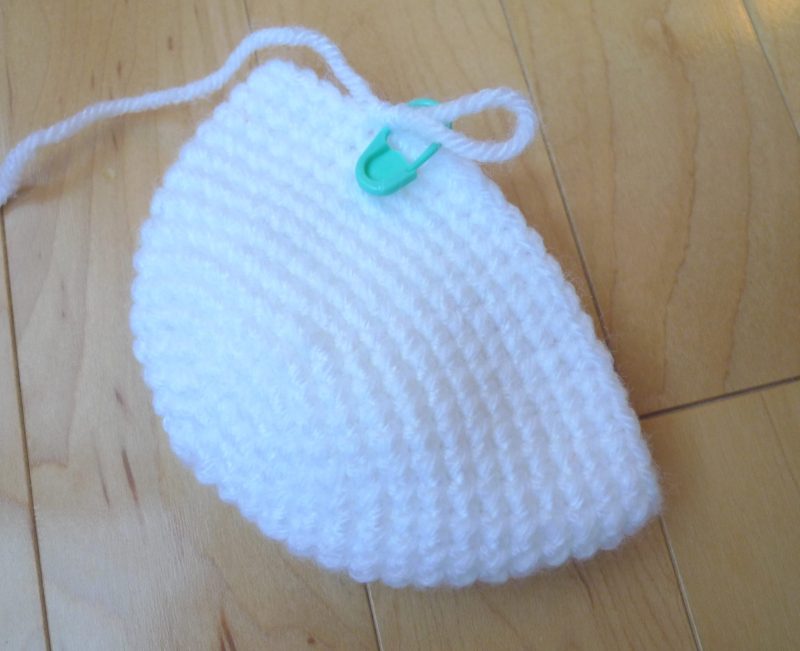
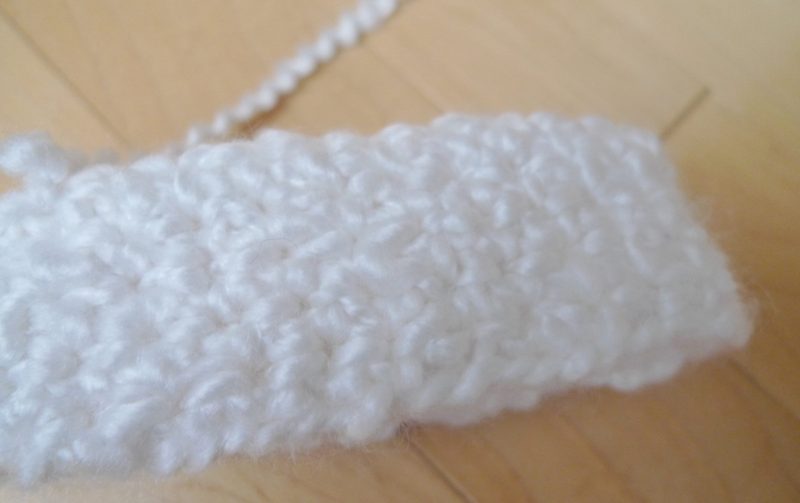
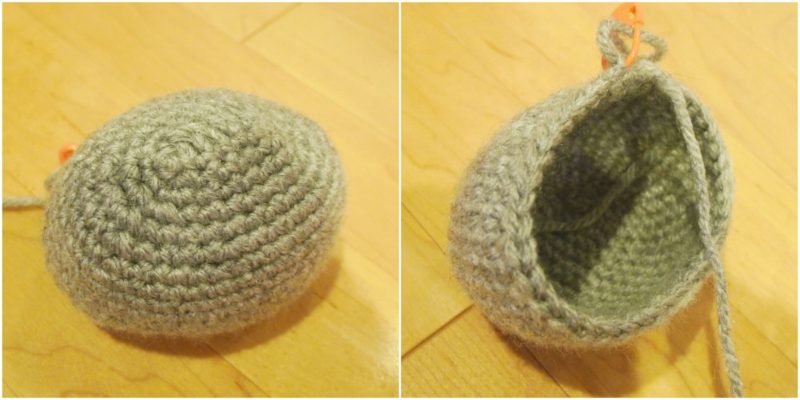
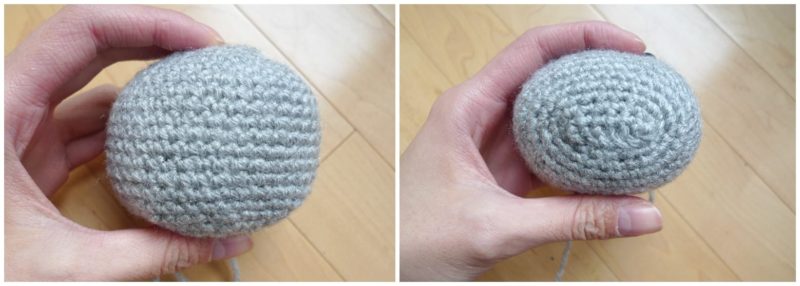
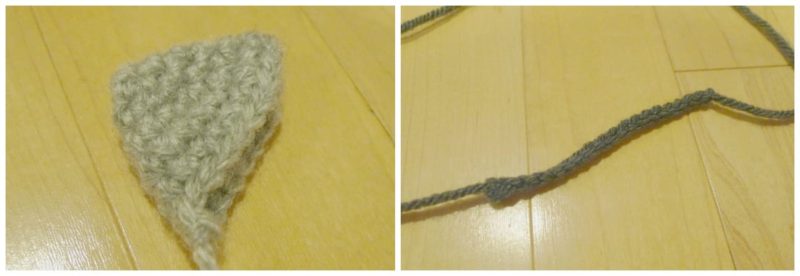
To begin, I started off using white yarn to create the toe of the stocking. I worked in continuous unjoined rounds to form this bowl-like shape.
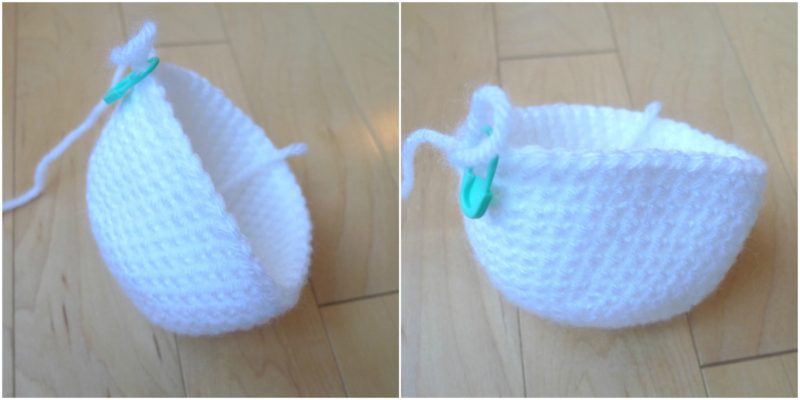
When flattened, it looked like this!
Next, I changed to red yarn and continued working round by round.
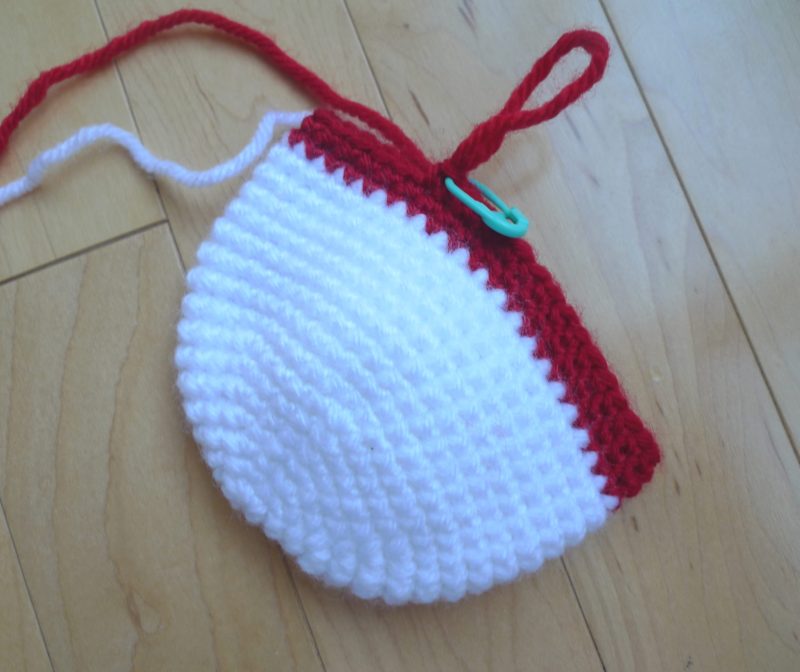
After completing this red portion, it was time to begin the heel of the stocking!
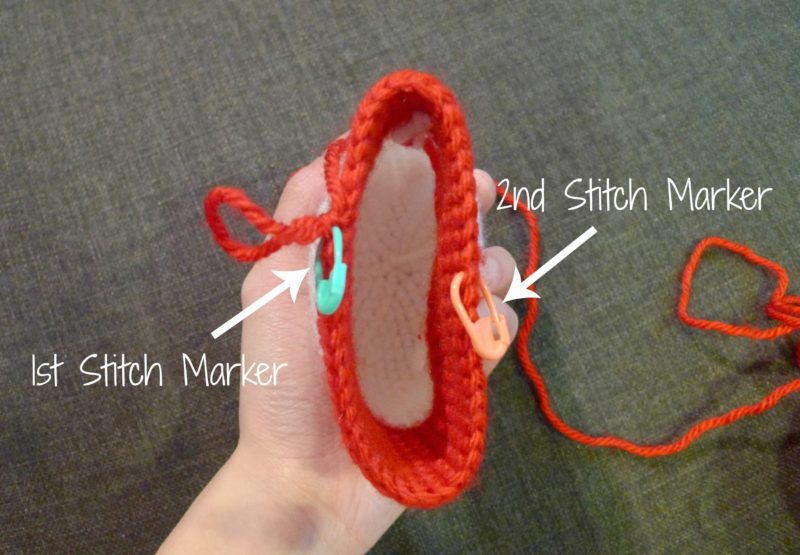
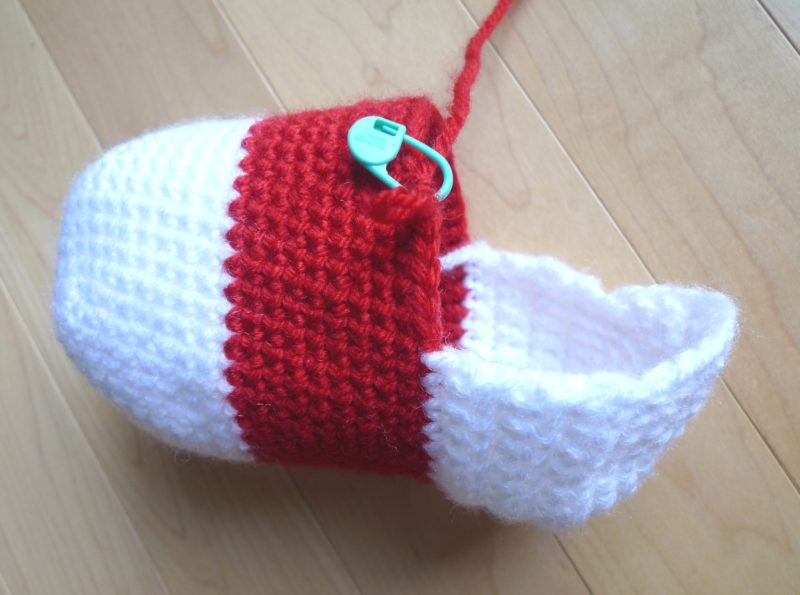
I placed my first stitch marker (green) in the last stitch of my current round. Note that this is where the working yarn is located and I DID NOT cut the yarn (we will continue using this red working yarn later on). I counted 17 stitches clockwise from that 1st stitch marker and placed my second stitch marker (peach). Note that this is where we will begin working the heel with white yarn.
I joined my white yarn where the second stitch marker was located and began working single crochets around. During this part of the heel, I worked in turned rows going back and forth.
One row is complete!
I worked more rows to build up the heel…
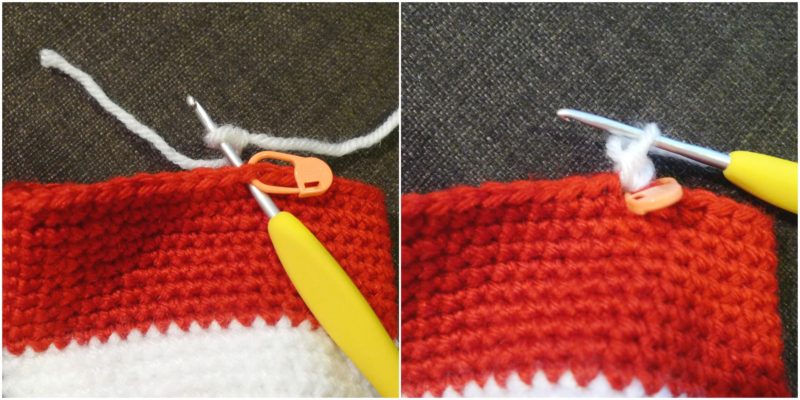
Next, I chained 10.
I then used a slip stitch to join this series of chain stitches to the first stitch of the last row.
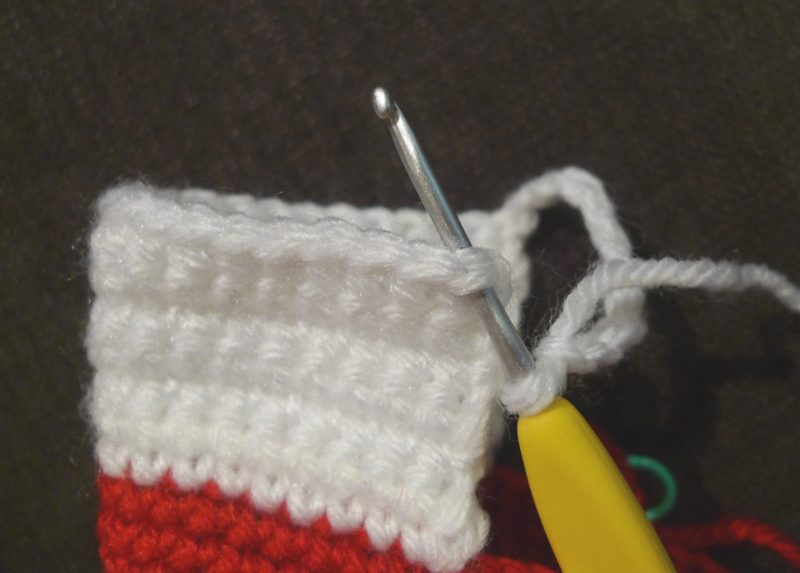
I continued crocheting around the heel as normal and began approaching the series of chain stitches.
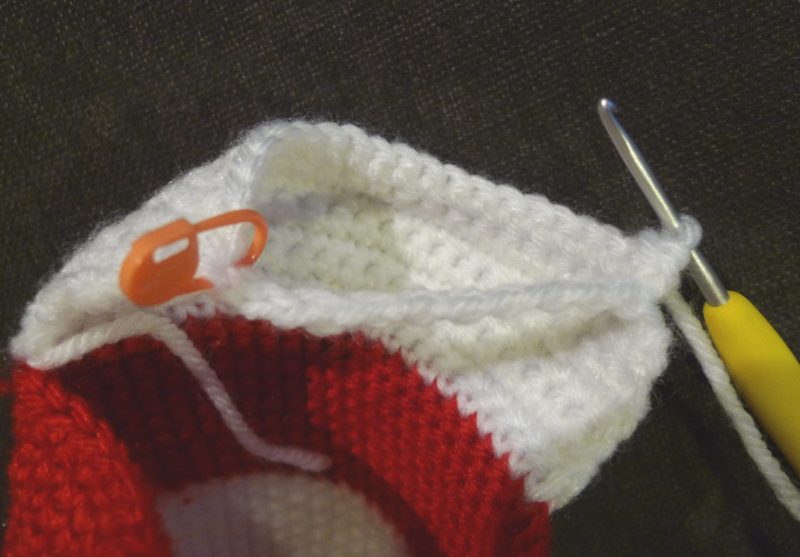
I worked in the back loops only of these chain stitches so that the front loops could be used later on. Note that to close up the back heel of the stocking, I worked in continuous rounds.

I decreased after each subsequent round to close the gap. Here is the circle that was formed!
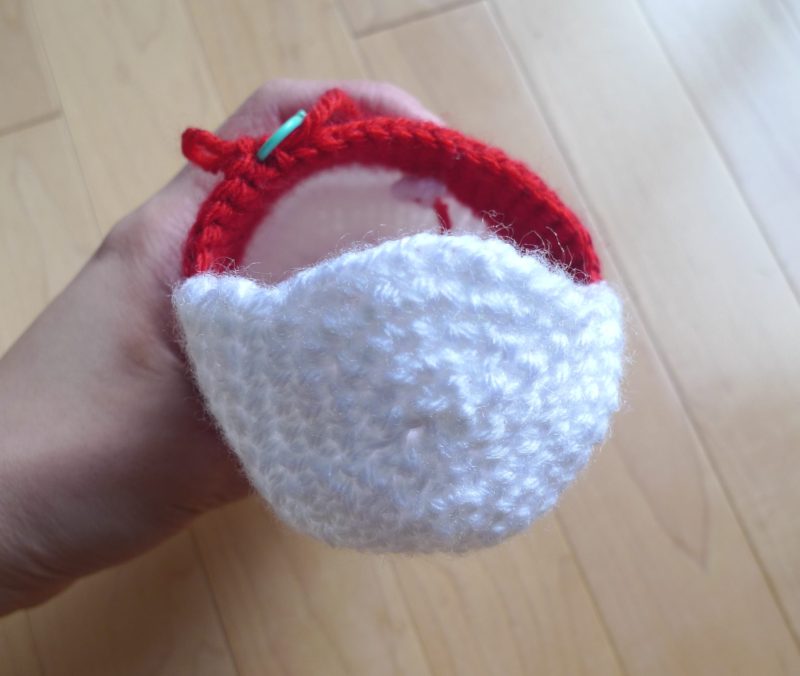
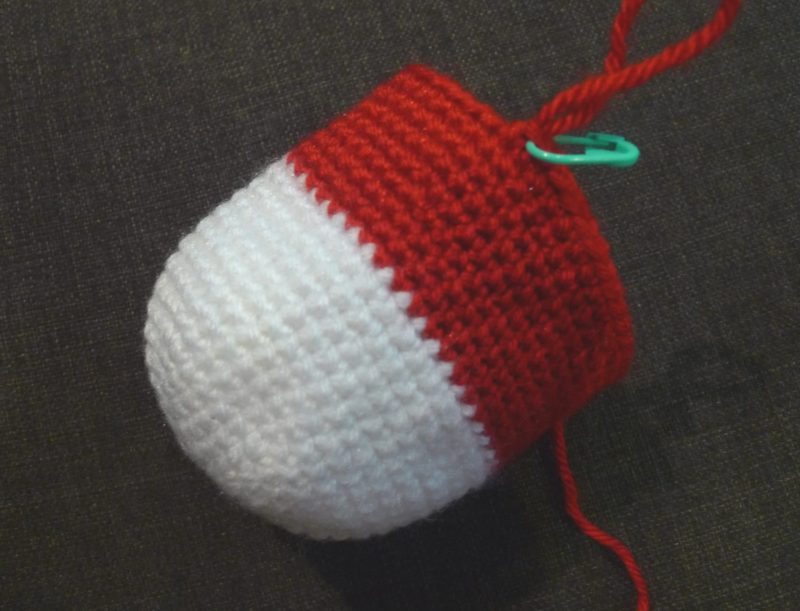
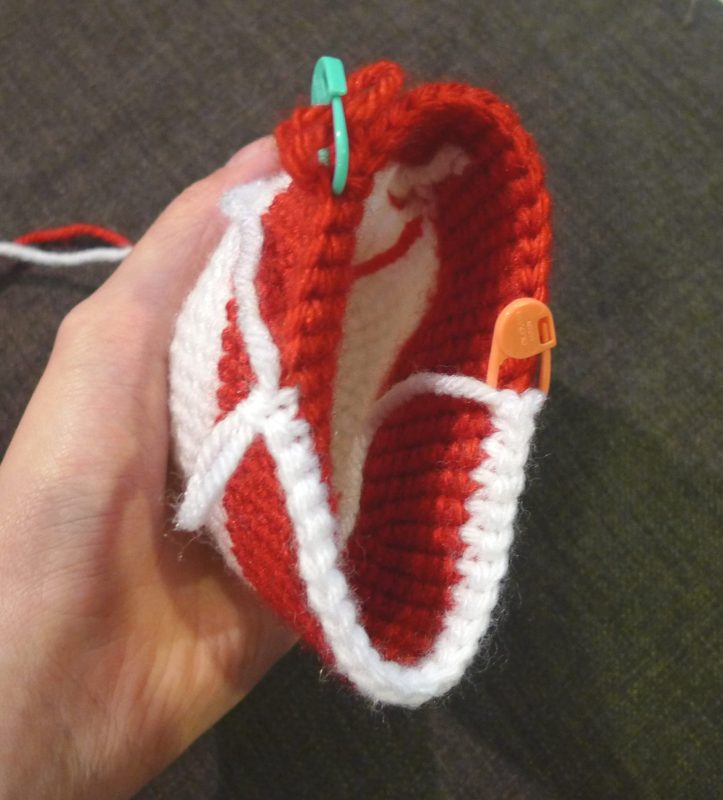
With the toe and back heel complete, it was now time to continue working on the upper part of the stocking! Remember that first stitch marker we placed? It was time to revisit it!
Starting from that 1st green stitch marker, I continued using the working red yarn to crochet clockwise in continuous rounds to build up the height of the stocking.
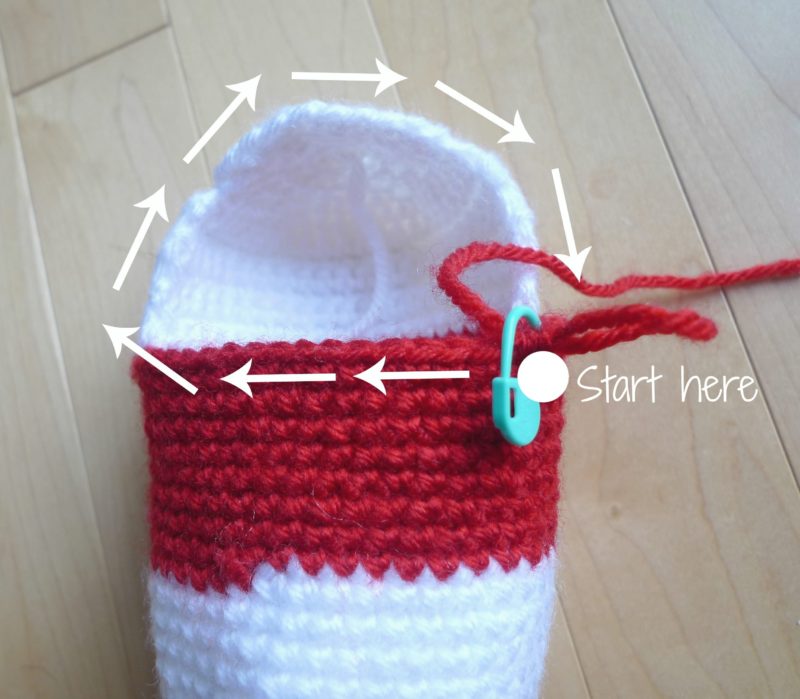
When working across the back white part, I crocheted in the front loops that were left from before!

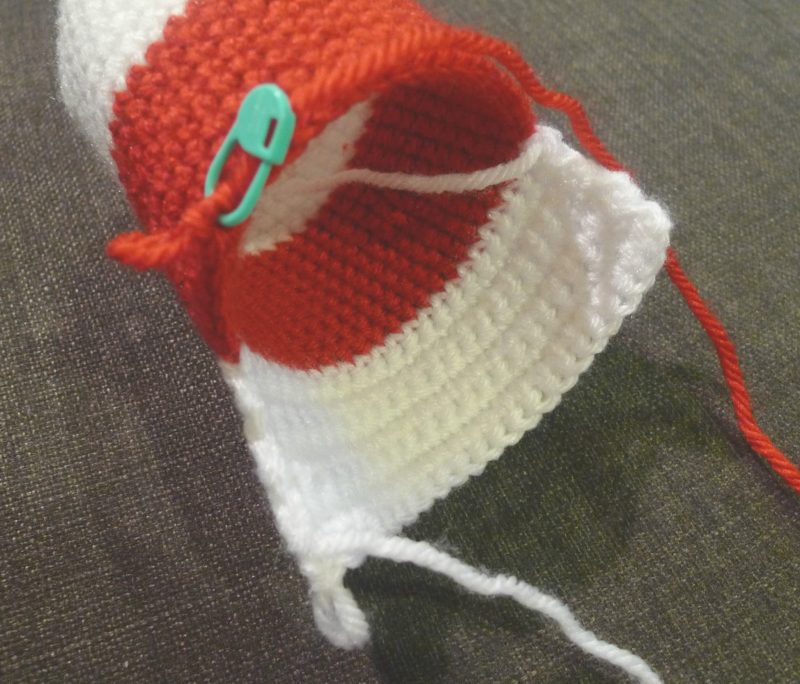
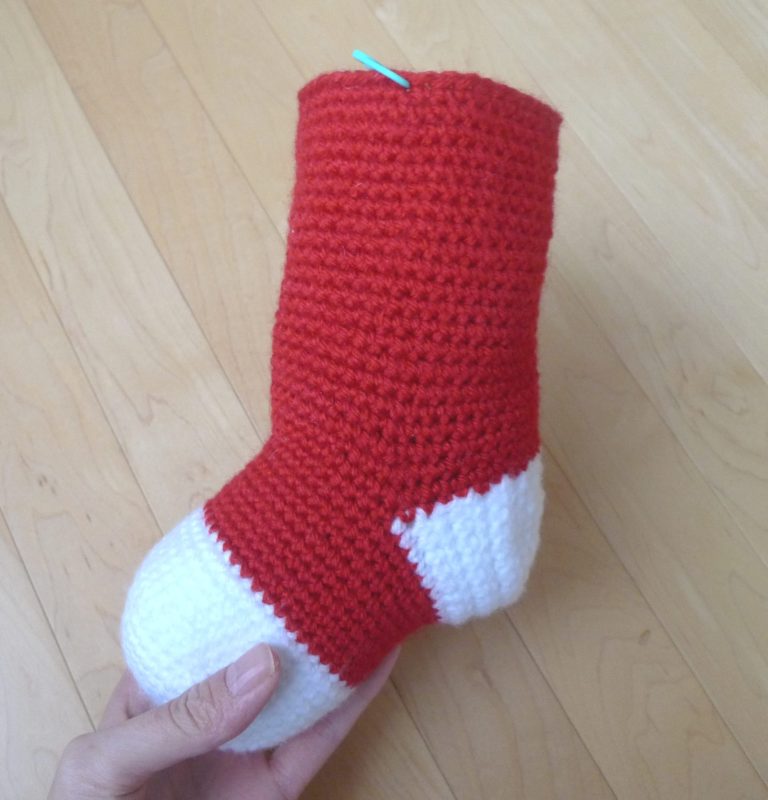
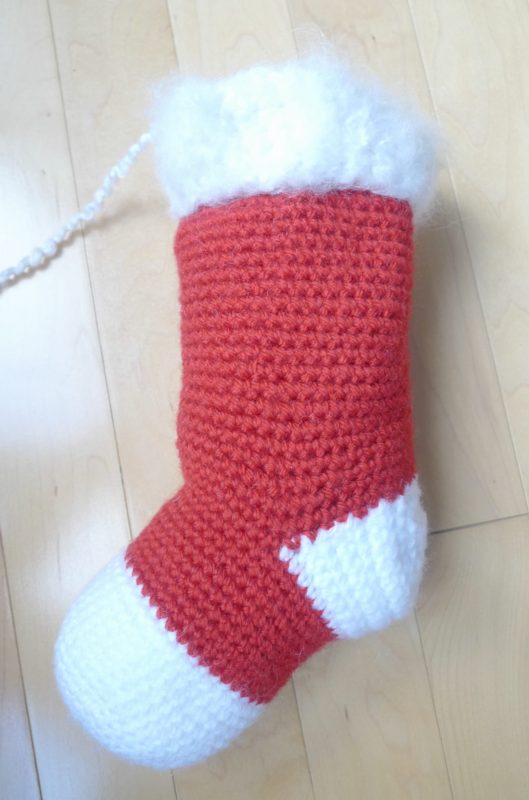
After many rounds of red, I was happy with the height of the stocking! You’ll notice that this is more of a kawaii 3D stocking compared to the traditional flatter ones.
You can stuff the stocking to help it keep its shape!

To create the fuzzy rim of the stocking, I used “Homespun” in Hepplewhite with a 4 mm hook. I worked in joined rounds to create this ring. Note that when working with fuzzy yarn, the “right” side is actually less fuzzy compared to the “wrong” side (read more about the right and wrong side when working in rounds HERE).

Thus, I flipped my ring inside out so that the fuzzier side would be showing! I then sewed this rim onto the top part of the stocking so that the rim overlapped the last round of red.
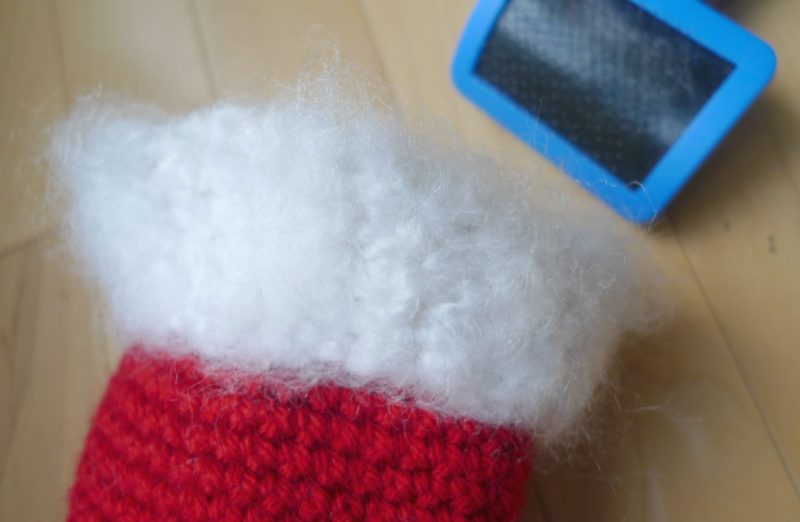
To make the rim even fuzzier, I pulled out my old Dog Slicker Brush (similar HERE). I used this brush when I first started my blog for my “Valentine Teddy” and “Fuzzy White Bear” projects.
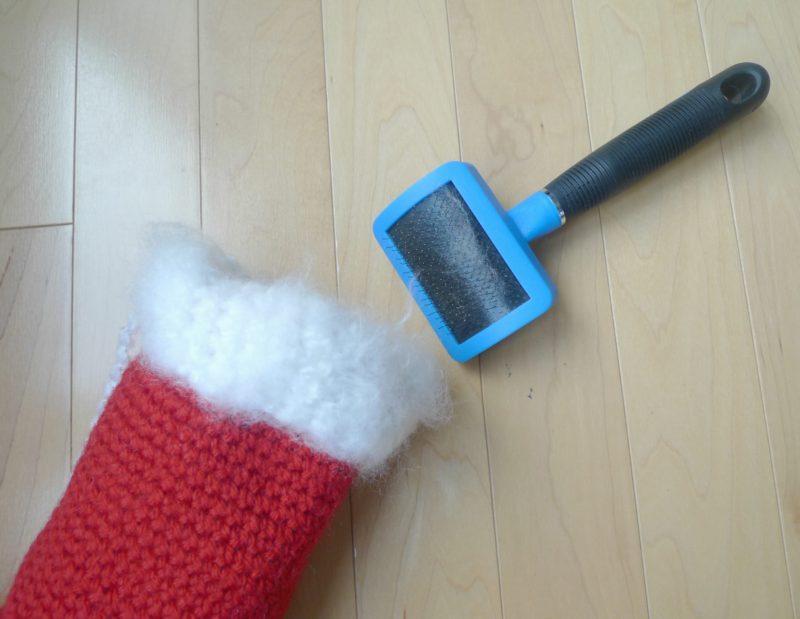
As you can see, by using this special brush on the rim, it became much fuzzier!
Now my stocking was complete! If you were just looking for a unique stocking pattern, you could stop here! You could personalize them with your initials (see this crocheted alphabet HERE) or some fun crochet appliques!
Now it was finally time to begin working on the cat who would be peering out of the stocking! I started off by crocheting around a foundation chain to create an oval shape. See my tutorial on how to do this HERE!
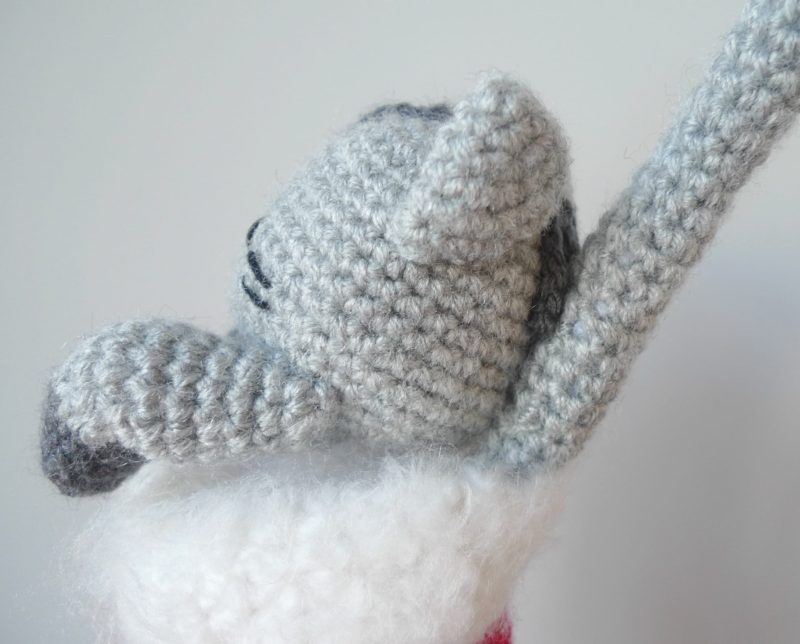
I was very happy with how the head shape was turning out!
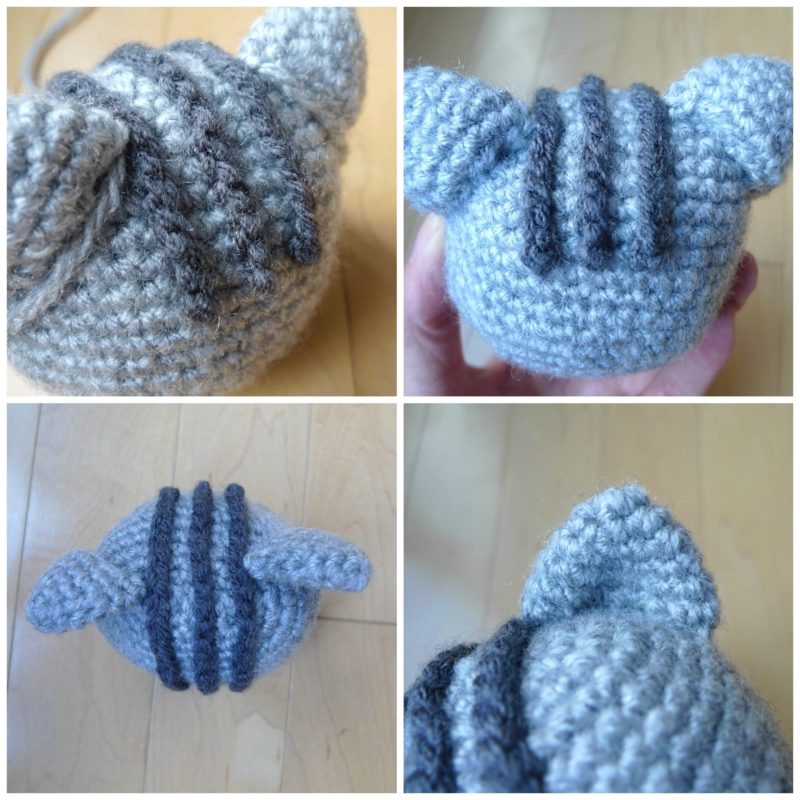
I also crocheted two triangular ears and three series of chain stitches for the stripes atop the cat’s head!
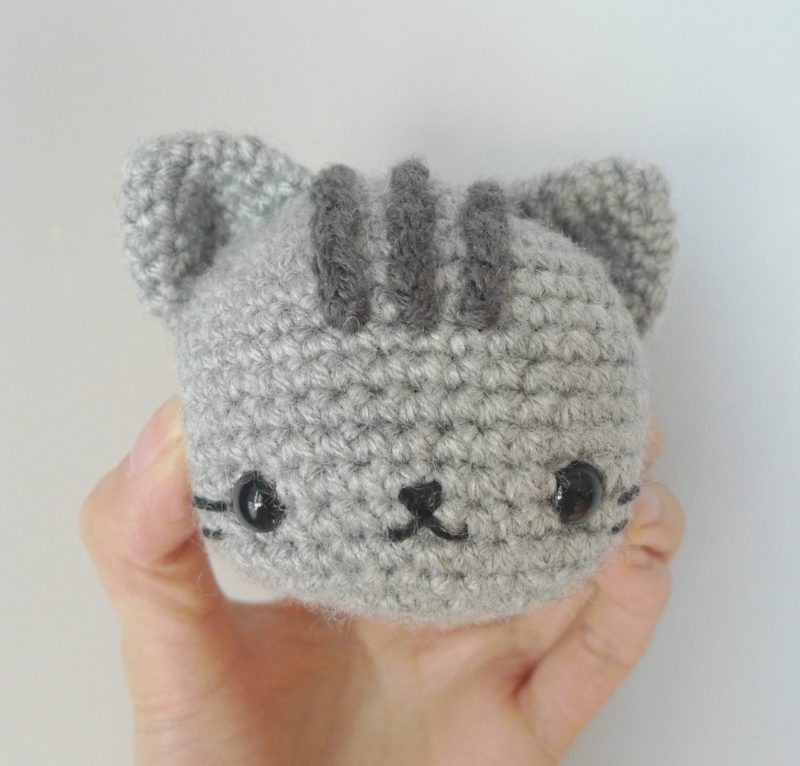
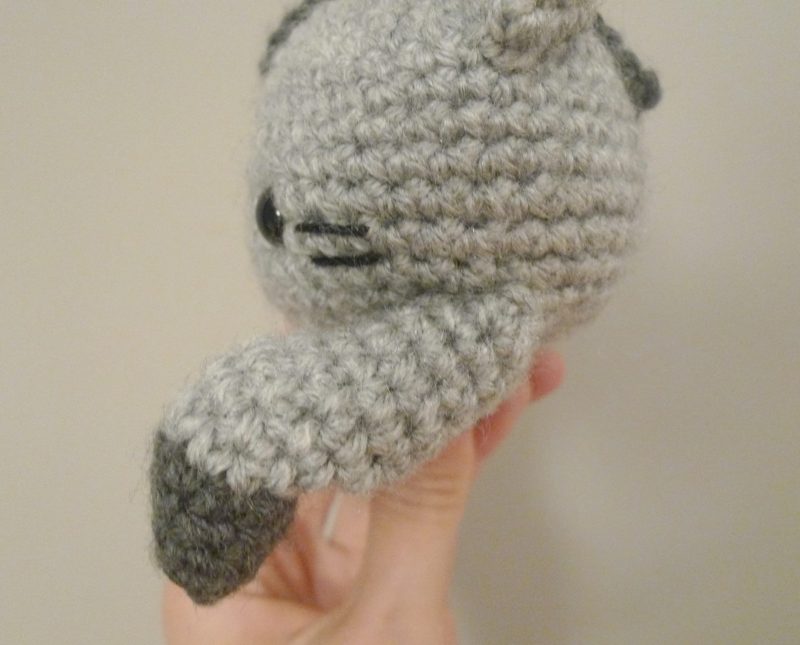
Ryan added the safety eyes and embroidered the nose/mouth and whiskers before I closed up the head. He then sewed the ears and the three grey stripes onto the top of the cat’s head! What a kawaii face!
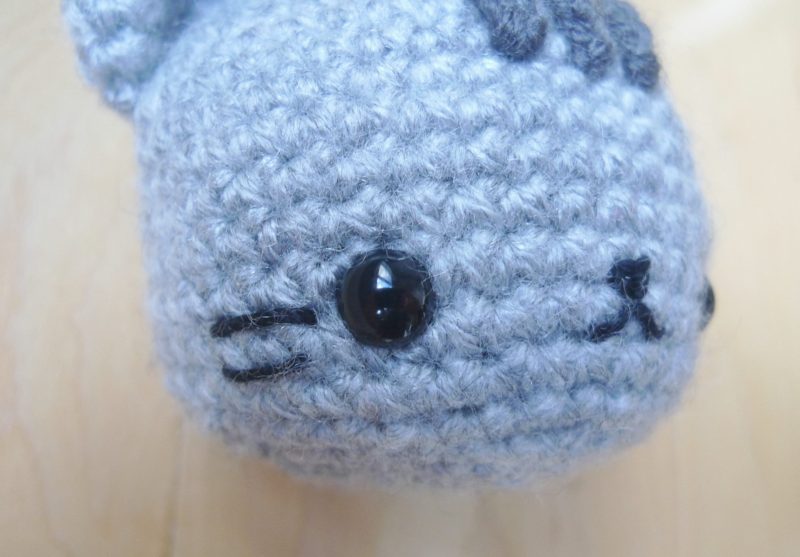
Here is a close-up of the whiskers!
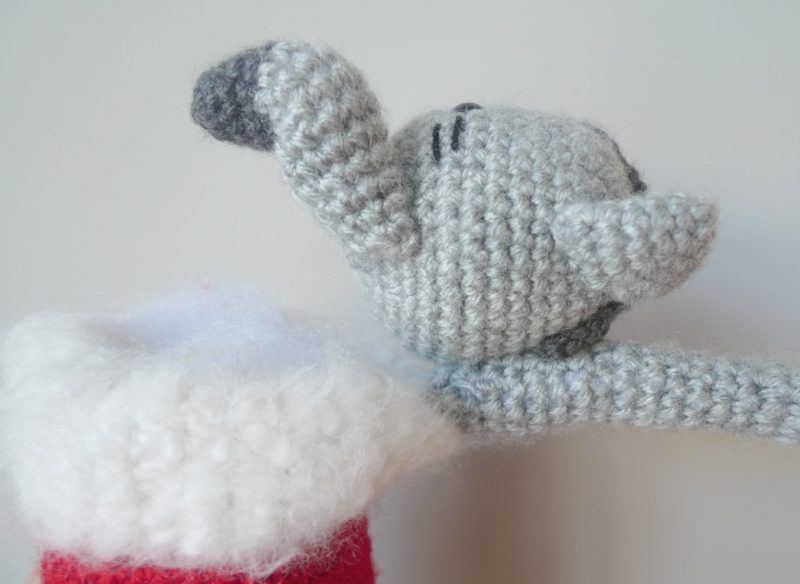
Here is a close-up of the top so you can see how the ears are slightly pinched and where the stripes are placed.
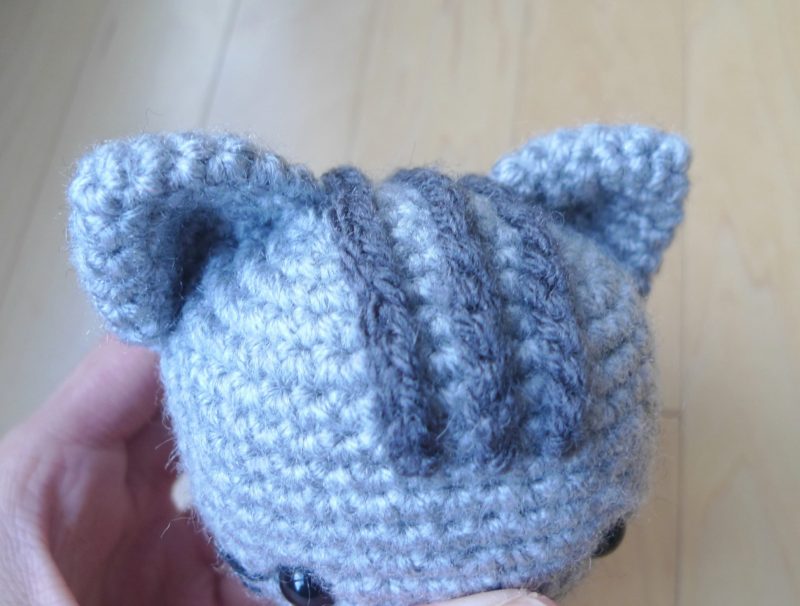
I thought I would include more views and angles of the head too!
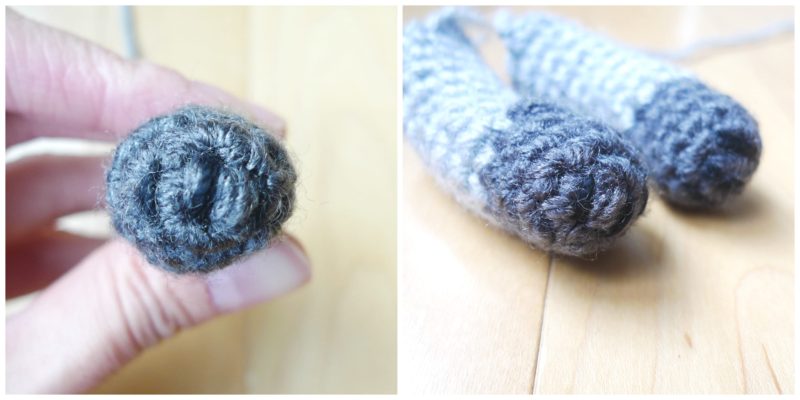
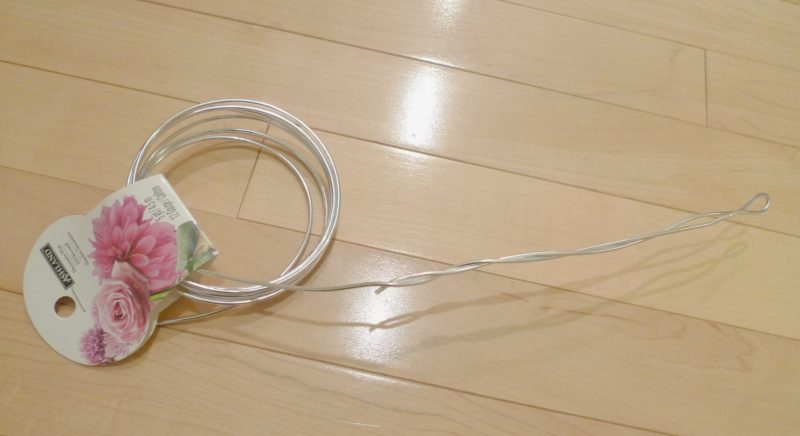
Next, I crocheted some little arms and inserted wire into them so that they could bend. You may remember that I used wiring for my amigurumi Chinese New Year Monkey so that his tail was poseable and his arms could hold a banana. I used decorative floral wiring (12 gauge) and in this case, we wanted him to be able to hold onto the stocking!
We also added three black lines for each paw as an optional detail!
We then sewed the arms onto the bottom of the cat’s head!
Here is a view of the attachment from underneath.
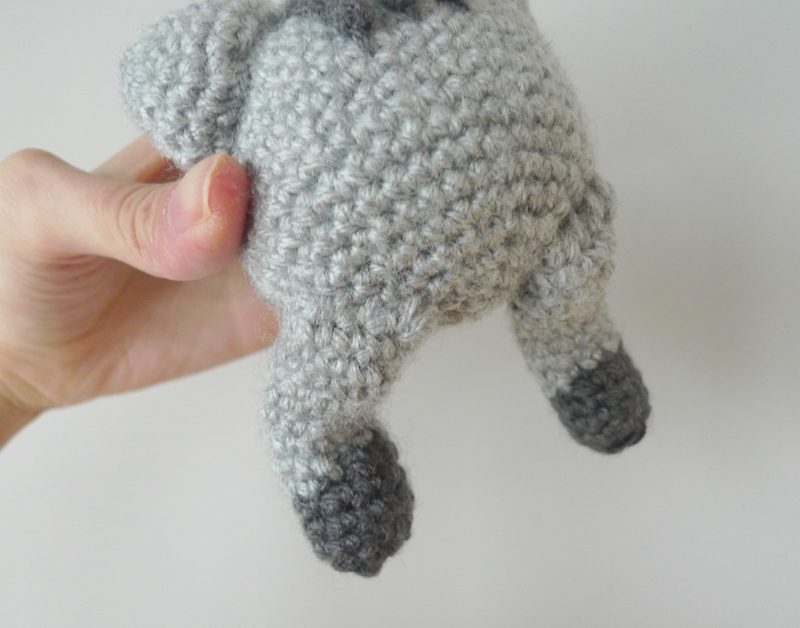
Instead of a sharp right angle, we bent the arms so that it was more of an “S” shape slanting downwards.
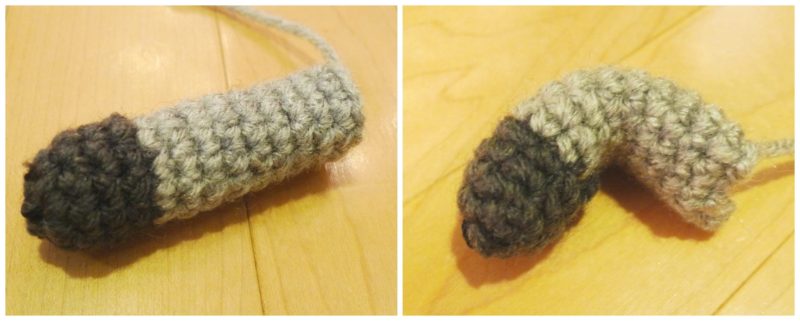
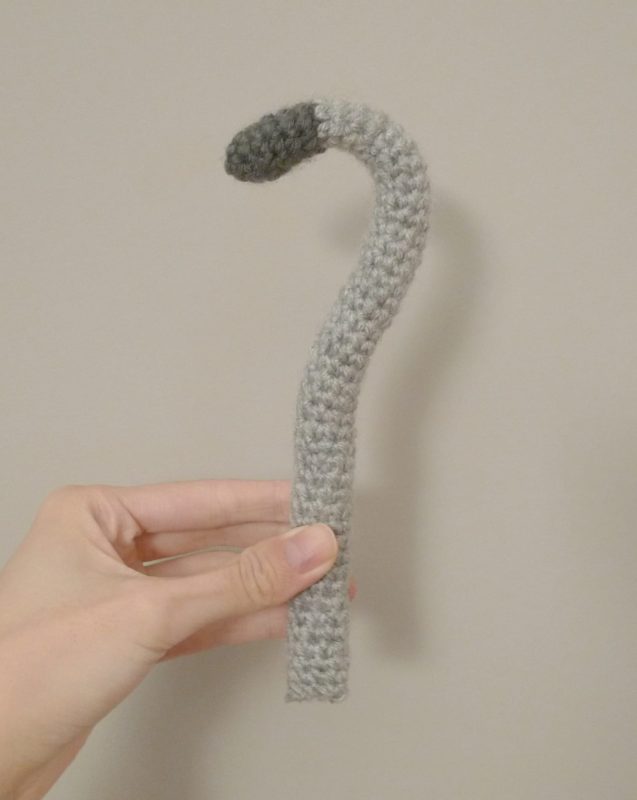
I crocheted a long tube for the tail and stuffed gently as I went along.
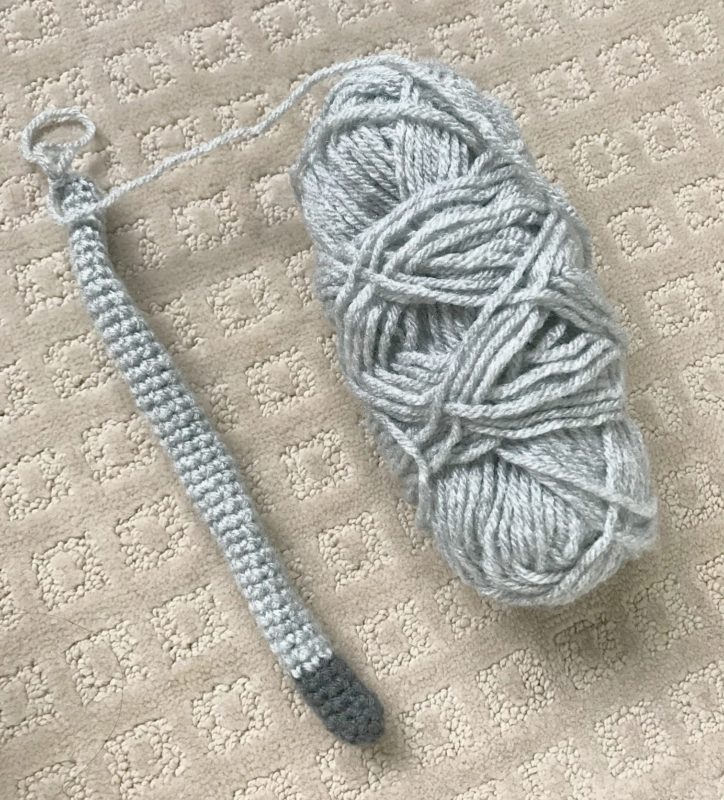
To get ready for the tail wiring, we folded a long piece of wire and cut it. We inserted the bent tip into the tail so that it was at the tip of the tail (thus no sharp ends would have a chance to protrude outwards).
With the wiring inserted into the crocheted tail, it could take on a beautifully curved shape!
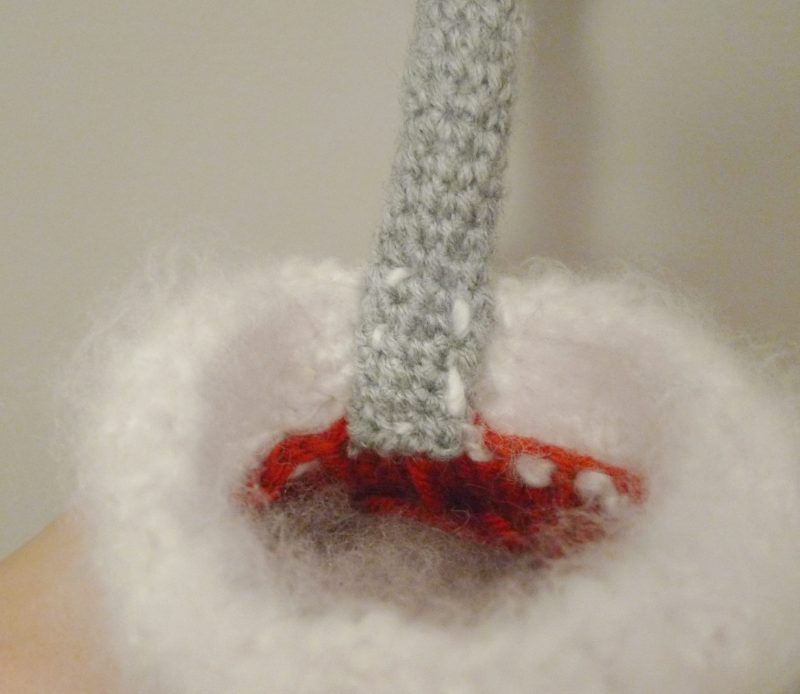
Ryan then inserted the tail into the stocking and sewed the bottom part of the tail onto the top of the stocking using white yarn as shown below. By using white yarn, the stitches would not be visible on the outer rim of the stocking.
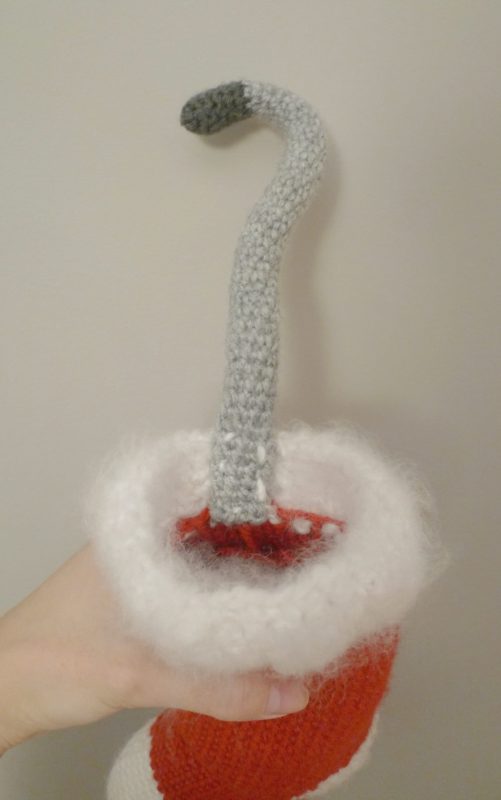
Here is a closer-up view:
This next part is the trickiest part: Ryan sewed the cat’s head onto the tail. He positioned the cat’s head and paws so that at resting position, the cat would cover the opening of the stocking.
By securing the cat’s head only on the tail, this allowed the tail and head to pivot backwards, thereby making the stocking functional!
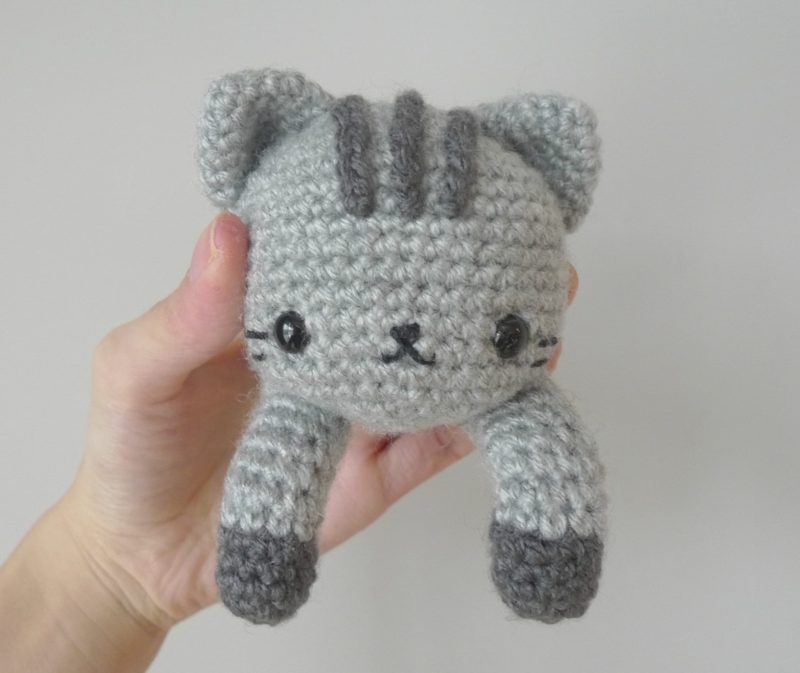
After all the crocheting, wiring and attaching, our cat and stocking were complete! The curved tail serves as a wonderful way to hang your cat stocking onto the mantle, doorknobs or anywhere you want!
![]()
When we were creating this little fella, the name “Chester” immediately came to mind! Don’t you love Chester’s sweet face?
![]()
Chester is such an adorable way to add some Christmas decor to your home! If you are ambitious, you could make one for every member of your family! Can you imagine cats of all different colours? Or maybe different kawaii animals in each stocking? You could use Chester’s pattern as a guide and modify the ears and tails to make different animals!
![]()
I am delighted that we could finally bring this Christmas design to life after all these years of wanting to make him! He turned out so well, and I love how the stocking is actually functional too!
![]()
You can check out this short video we filmed showing how Chester and the stocking work!
Chester is such a curious little fellow who loves exploring and climbing into various objects around the house. Who knows, you might find him peering out at you from inside a basket, a mug, or a vase! If there is enough interest, we might design a stand-alone Chester the Curious cat who is independent of the stocking too!
![]()
We hope you enjoyed reading the step-by-step blog post showing the making of Chester the Curious Christmas Cat! If you are a cat lover (which I know many of you are), you must try this project! How adorable would it be to use the colours of your own cats? Chester and the stocking would make such special gifts for families and friends since they would use him every year during Christmas! The FREE PATTERN can be found HERE and the concise, inexpensive, ad-free PDF in my Etsy store can be found HERE! You can subscribe to get e-mail updates whenever I publish a new blog post HERE and also follow me on Facebook, Twitter (@AllAboutAmi) and Instagram (@AllAboutAmi) to keep up with my work! Happy Christmas crafting, everyone!
![]()