Last week I blogged about how I was crocheting some amigurumi gifts for the daughters of some of our good friends. One of the girls loves elephants (see the one I made for her here) while her sister’s favourite animal is a pig! And so, I scoured Ravelry to look for a free and cute pig pattern. I really liked the look and simplicity of Studio Ami’s “Micropig”, so I decided to give it a try!
However, I knew that the original pattern would yield quite a small pig, and I wanted to give the girls an elephant and a pig that were similar in size. I also wanted to use the same yarn that I used to make the elephant (Loops & Threads Impeccable Solids) so that the amigurumi would match! Instead of modifying the pattern to make it bigger, I wanted to keep it simple and follow the existing pattern but hold two strands of worsted weight yarn while crocheting. I used a 5 mm crochet hook to accommodate for the thickness, the largest hook I’ve ever used to make an amigurumi! As you know, the thicker the yarn and the larger the crochet hook you use, the bigger your amigurumi will turn out!
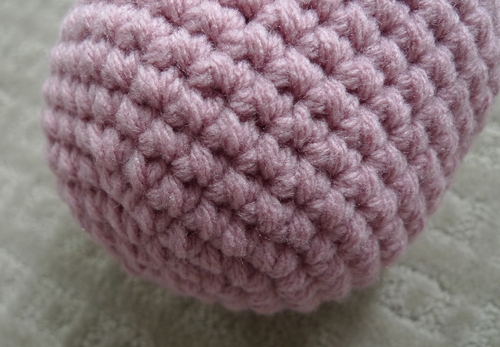
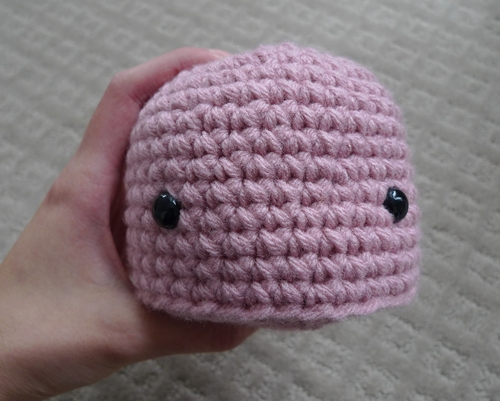
As you can see, the stitches are massive but no holes are visible and the piece has a sturdy feel to it because of the thickness.
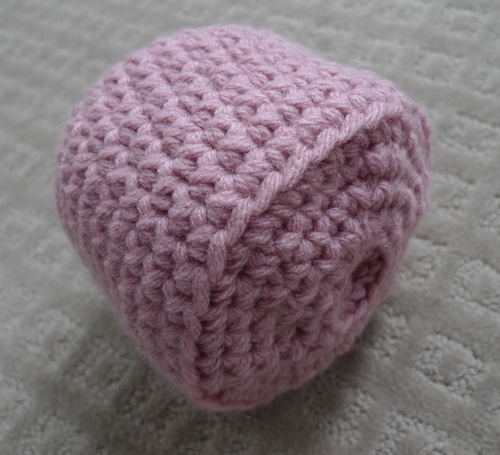
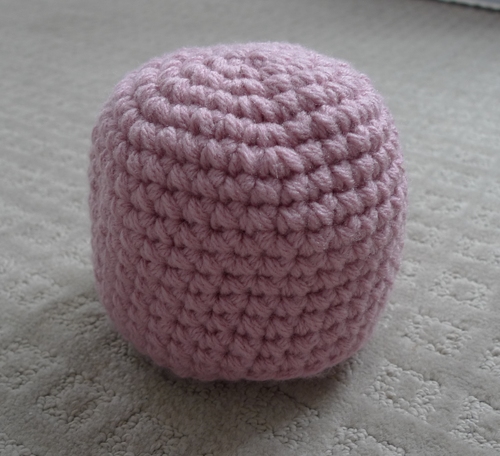
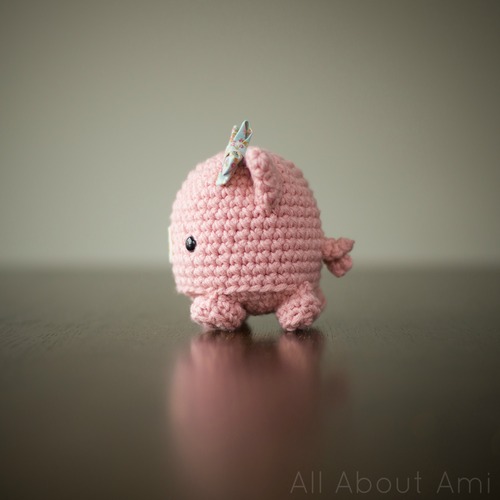
This pig works up really quickly! I love how simple this pattern is as the body/head is already complete 🙂
With the eyes in place I thought this little one was starting to look like a Sackboy!
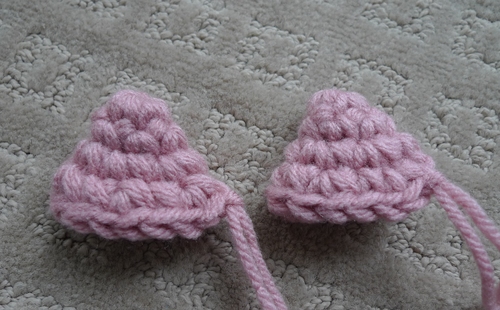
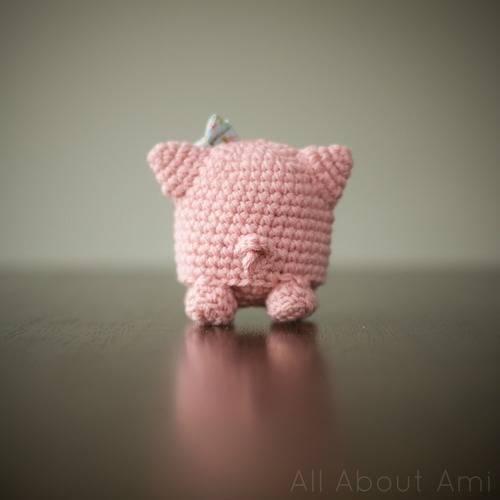
Next I crocheted the pointy ears…
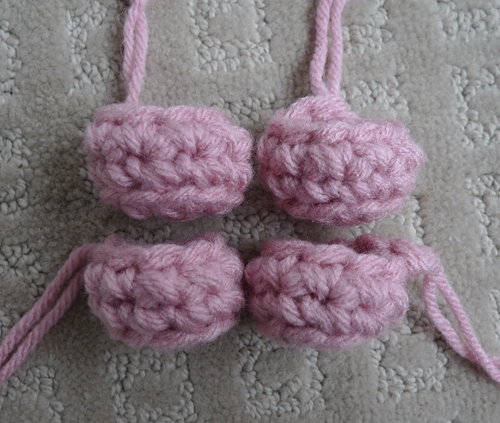
And then the four stubby legs! When attaching the ears and legs to the body, I only used one strand of yarn as it was simply to thick and difficult to use both strands to sew the pieces together.
After attaching the ears, legs and also the felt snout, here is what our pig looked like!
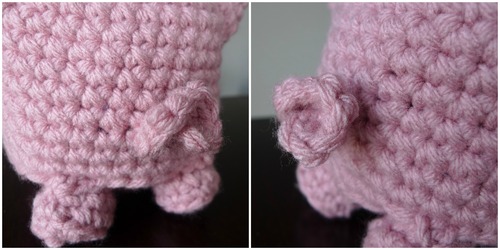
The original pattern does not include a tail, but I thought it would be fun to add a little curly tail! I crocheted the tail as follows:
Ch 5. 3 sc in 2nd ch from hook and in each chain across (12 sc). Fasten off and leave long end to attach tail to bottom-back of pig.
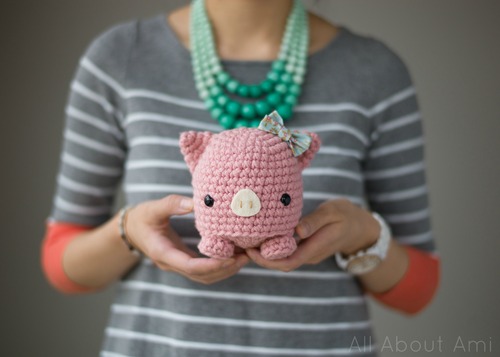
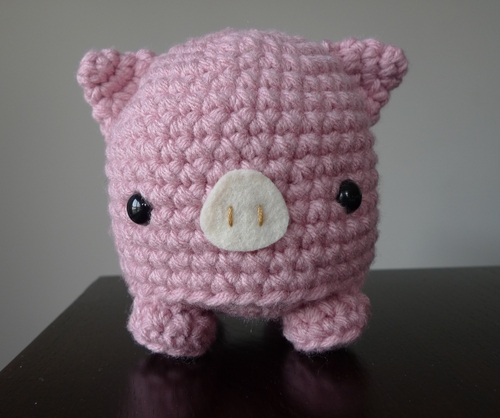
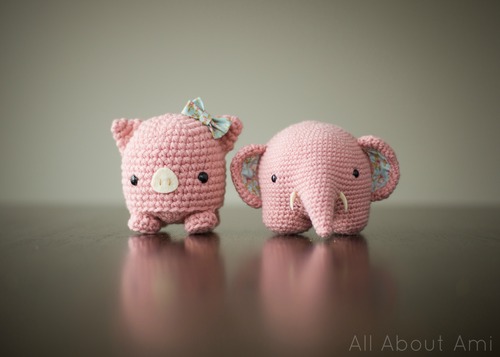
To make our elephant and pig amigurumi match even more, we added a cute floral bow to the pig using the same fabric we used for the lining of the elephant’s ears! What do you think of her?
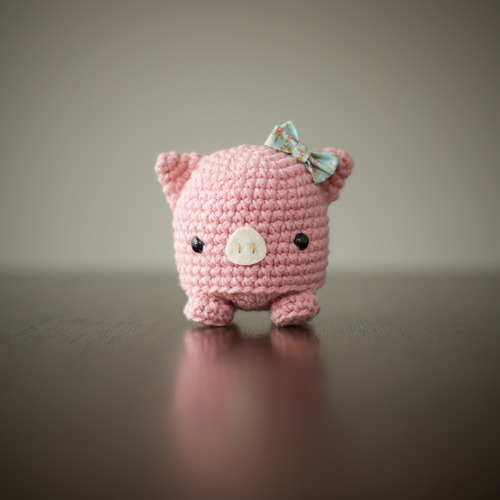
She is a ball of cuteness, so round and sweet!
The curly little tail adds a nice touch, don’t you think?
I was really happy with how this pig turned out and how it was similar in size to the elephant I blogged about last week!
Have you ever tried holding two strands of yarn together to make amigurumi before? What have you done to make your amigurumi larger? If you’ve been looking for a cute amigurumi pig pattern, I highly recommend checking out the free one provided by Sylvia of “Studio Ami” HERE! Thanks for sharing your free pattern with us, Sylvia!