***This is the step-by-step blog post of our Valentine Teddy! The free pattern can be found HERE. You can also purchase an INEXPENSIVE AD-FREE PDF of this pattern on Etsy HERE The printable PDF with step-by-step pictures has been condensed into a total of 4 pages including the cover page!
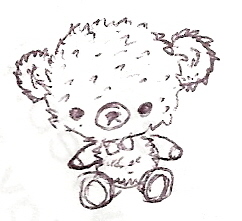
After making the little fuzzy white bear with brushed fur, I wanted to make another teddy bear, but this time a bigger one using thick brown yarn that I had picked up. I took inspiration from Pepika’s absolutely adorable bears with big fuzzy heads and limbs of a different colour.
We did a very rough sketch of what the bear would look like and thought it would be sooo cute to give the big bear a tiny bowtie. I made up my own pattern for this bear and excitedly began…
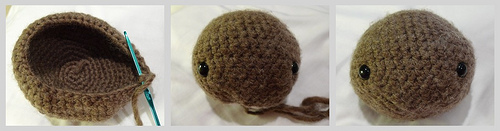
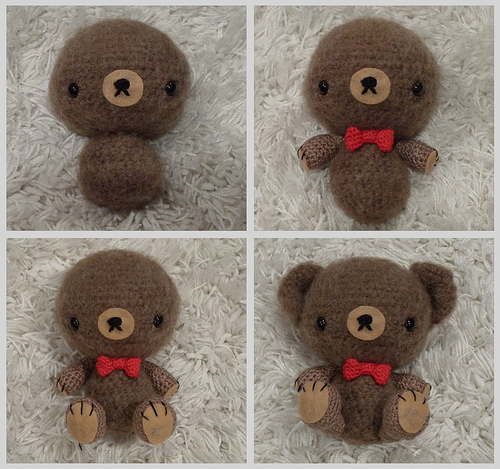
I started off by crocheting a big round head, placing 12 mm safety eyes, and then stuffing it. He kind of looks like an alien since he doesn’t have a nose or ears yet, hey?
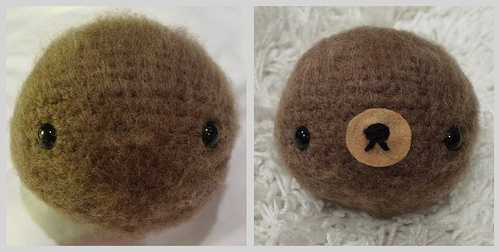
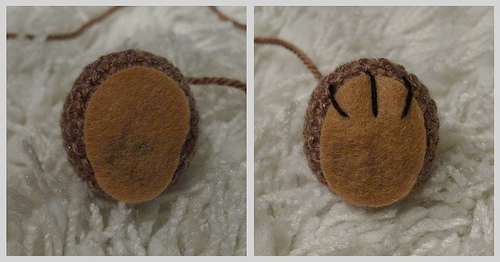
Then we brushed the yarn vigorously with a dog slicker brush (see fuzzy white bear post to see what this brush looks like) to fuzz up the yarn. To make the nose, we used a piece of felt and black yarn.
I crocheted the head, body and ears using the same thick brown yarn that was easily fuzzed up. I used a different yarn for the arms and legs to give a nice contrast. Once all the pieces were crocheted, we were ready for assembly!
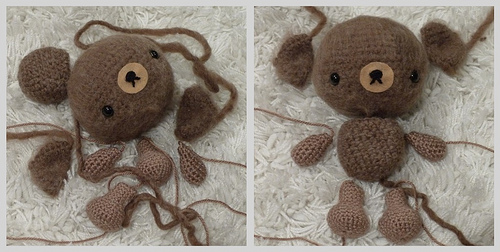
Before assembly, however, we decided to add more details to the arms and legs. Ryan helped me add a piece of felt (we used a glue gun, but you could also sew it on) and then sewed three black lines on the top portion of the felt, giving a cute “bear paw” effect.
Then it was time for assembly! We attached the body, the arms, the legs, and the ears! Teddy bears look so funny without their ears, hey?
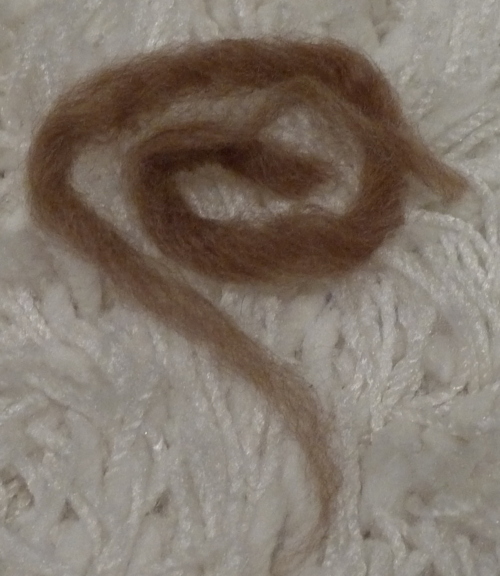
I must say that sewing the body and ears to the head proved to be a bigger challenge than expected. I used the same thick brown yarn to attach these parts, and this particular yarn became stretched very thin when I pulled too hard. You can see how wispy it could get in the picture below:
There were a number of occasions where it actually just came apart when I was sewing. This was quite frustrating, so I tried to be as gentle as possible. Thankfully, I used the “normal” yarn to attach his arms and legs, so that was done much more easily.
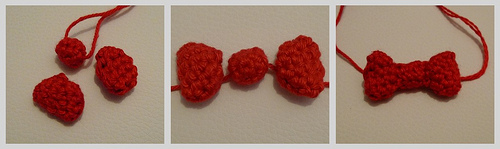
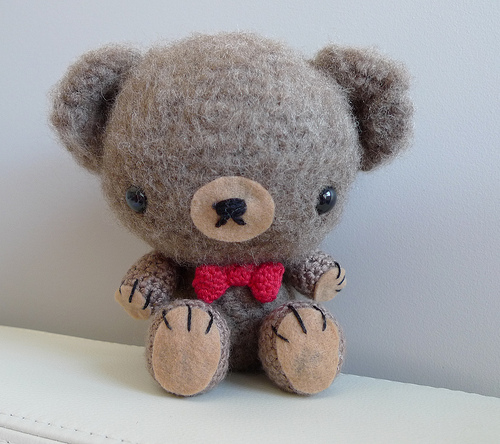
To make the bowtie, I made three separate parts: two “triangular-ish” parts and one round ball. Then I attached the three pieces together! The bowtie gives the teddy a classy look, hey?
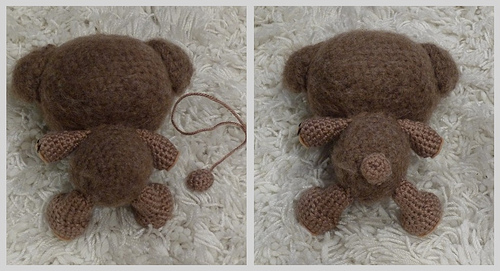
I also made my teddy bear a tail so that he could sit more easily. These pics are funny because it looked like poor teddy face planted onto the ground 🙁
Here is how he turned out!
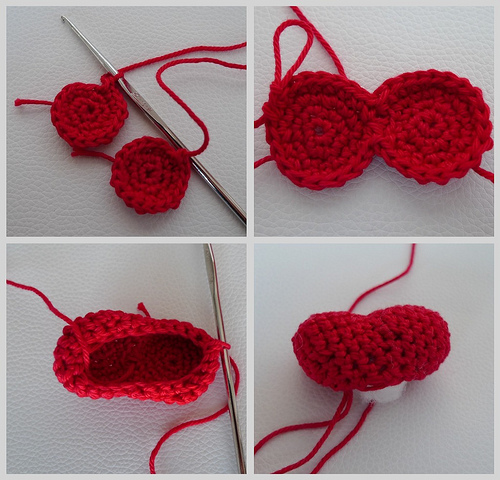
I thought it’d be nice to make this bear a Valentine Teddy since Valentine’s Day was coming up, and he already looked so classy with his red bowtie. I followed Pepika’s free tutorial on how to make a 3-D heart.
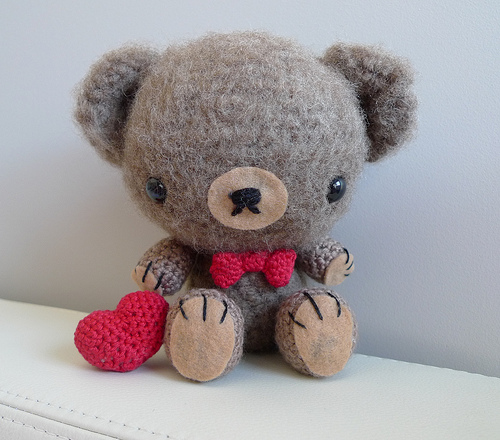
And now to give the teddy this special heart!

This is the biggest amigurumi project I’ve ever made! Look how big he is when I hold him up!

And this is how big he is compared to the little fuzzy white bear!

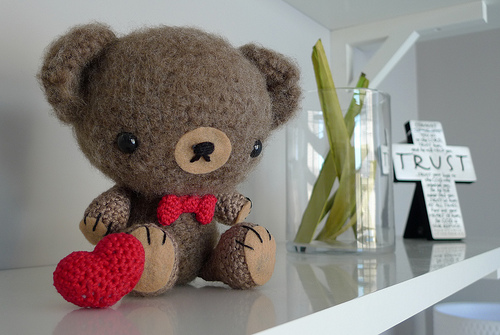
And here’s one last pic of the Valentine Teddy sitting atop my shelf 🙂
Happy Valentine’s Day, everyone! I hope this teddy brings a smile to your face no matter how you’re spending the day 🙂 The free pattern to this Valentine Teddy can be found HERE. Check out how other people’s Valentine Teddies turned out in my “Crochet Corner” post here! Please “like” my facebook fan page if you would like regular updates on my projects!
![]()