Three weeks ago we attended a little girl’s first birthday party! We were very excited to go as we’ve been friends with her parents for a long time. They choreographed the waltz and rumba during our wedding reception and years later we both ended up having little girls born just a few months apart! I knew that I wanted to crochet her something special for her first birthday, and I knew exactly what: Loop Boots! That way, our little girls could match with each other 🙂 See the full blog post for Myla’s “Crochet Loop Boots with Suede Soles” HERE!
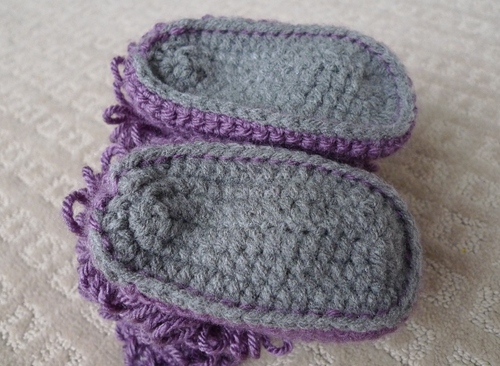
However, rather than using suede for the soles, I wanted to investigate another method to make these boots non-slip that had piqued my interest. Crocheting these boots was a lot of fun and they worked up quickly since I was used to the pattern! I used grey yarn for the soles and purple yarn for the rest (Vanna’s Choice in “Silver Grey” and “Dusty Purple”).
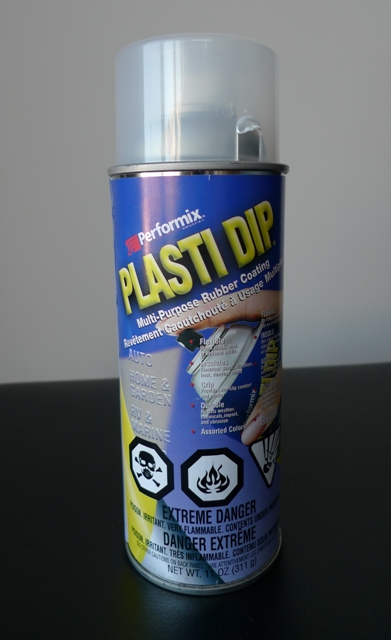
During my research trying to figure out how to make crocheted footwear non-slip, I came across a YouTube video in which a lady used something called “Plasti Dip”. Plasti Dip is a multi-purpose rubber coating that can be used for “comfortable grip, slip resistance, anti-moisture protection, abrasion, and corrosion resistance”. I knew that people had successfully used the canned version to dab on dots of Plasti Dip to make rubber grips. However, I was intrigued by the aerosol version that I had seen in the video!
The aerosol comes in different colours but we made sure to get the clear one (with the clear lid) so that it would not affect the colour of the soles and keep them grey. We picked up this Plasti Dip at Lowe’s for $20 but you can find it cheaper on Amazon (see affiliate link below if you’re interested in purchasing it on-line for $10).
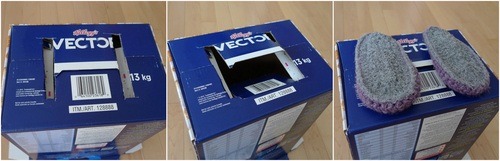
After reading the instructions, Ryan was excited to begin spraying the boots! However, he wanted to make sure that the Plasti Dip only got on the soles and not the rest of the boots (such as the loopy parts). Thus, Ryan made some cut-outs in a cereal box so that he could place the boots in it while isolating the soles like so:
Here is a video showing how we sprayed our boots! The instructions say to allow a minimum of 30 minutes between coats and to apply at least 3-4 coats. Then you need to wait a minimum of 4 hours to let the Plasti Dip dry before you are completely done. Be warned that it smells really bad when spraying the Plasti Dip but when everything is dried, no scent remains.
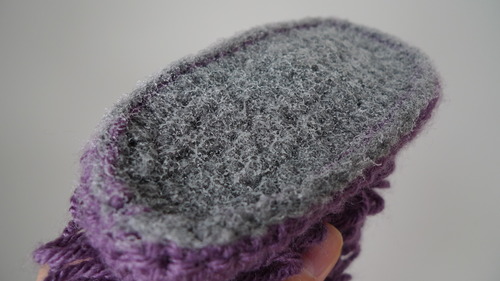
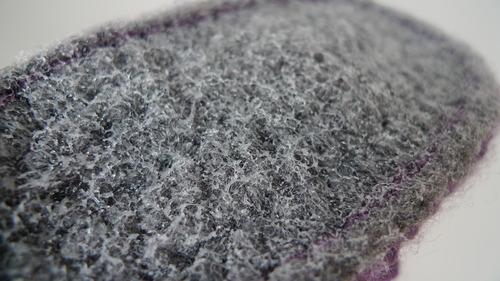
Here is the finished product! We were sooo curious to see how the soles would look and feel after all the coats were applied! The rubber coating gives a very interesting, bumpy texture that will no doubt provide a lot of grip to these boots. I originally wondered if the other side of the soles would be affected (inside the boots) but thankfully they remained soft and did not harden. I think that if you have large stitches with holes in between, however, there is a chance that the Plasti Dip may affect the other side and cause it to harden!
Apparently Plasti Dip is waterproof (people use it on their cars) as water will not stick to the surface and will actually bead up and fall right off. The following question can be found in the Plasti Dip FAQ section as well:
- “Is Plasti Dip safe to use on children’s toys, animal containment, and/or on kitchen utensils?”
- They answered, “Plasti Dip does not contain any heavy metals, and when completely dry, is considered harmless. However, it is not recommended that it be used on items that may be chewed or inserted into the mouth as it may present a choking hazard.”
Thus, don’t let your kids chew on this (although you probably wouldn’t want them chewing on any of their shoes anyway!)!
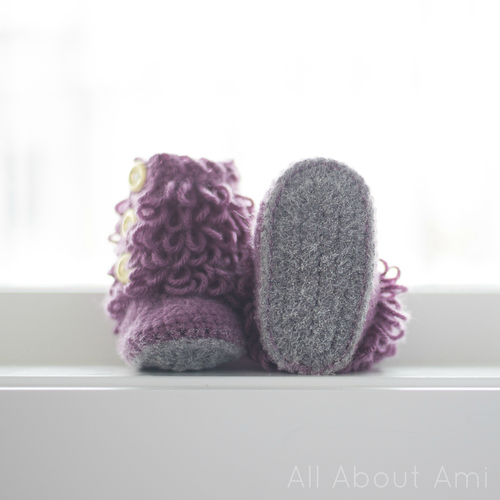
Here are the finished purple loop boots! We loved the look of Myla’s gold buttons so much that we went out and bought the same ones for these boots 🙂
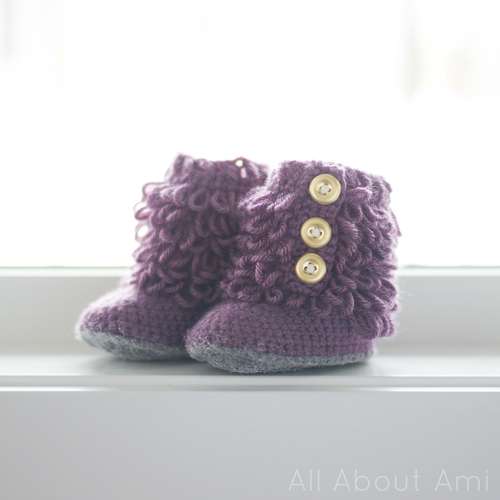
The Plasti Dip spray preserves the look of the boots while providing plenty of grip and texture!
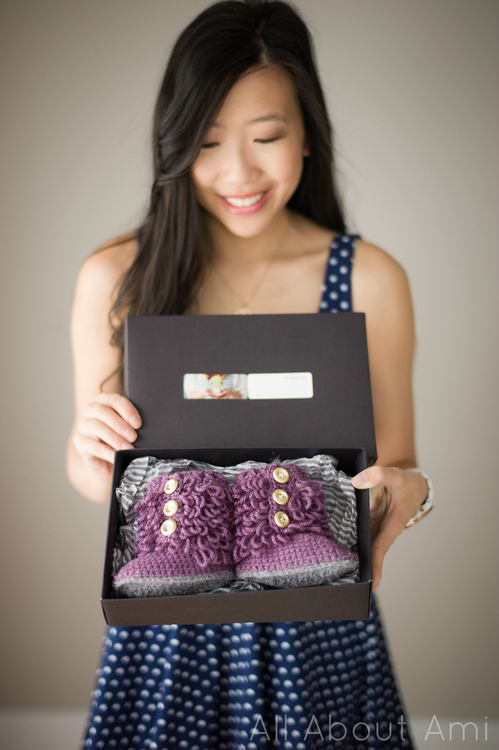
We had fun trying to package the boots in a beautiful way: we ended up using a gift box and I attached some of my business cards onto the top! The boots were very well-received and I cannot wait to see the little girl wearing them in the future 🙂 If you’re interested in purchasing the pattern for these loop boots, check out the “Two Girls Patterns” shop run by Kris and Lorin on Etsy HERE (this pattern comes in baby, toddler and adult sizes). See the step-by-step making of the loop boots I previously made with suede soles HERE!
I think using this aerosol Plasti Dip is a great option to make crocheted footwear non-slip. For other methods, check out Moogly’s round-up HERE. This rubber coating will not wear down easily and you most likely will not need to reapply (I’ve heard that dots of glue or puffy paint tend to wear down easily). There is no extra sewing required, it does not leave ugly or irregular marks, and it covers the entire surface area of the soles. One can of the aerosol Plasti Dip will probably last a while and I think this will be the option that I myself choose whenever I want to make my crocheted slippers or boots non-slip! On an ending note, if you’ve never seen my crocheted slippers blog post before, check it out HERE as I made 6 different variations based on the same pattern!
Amazon Affiliate Link: