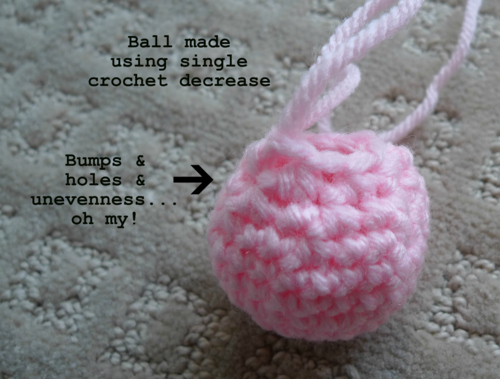
A few weeks ago, I found out about another technique that has changed and greatly facilitated the way I make amigurumi, much like the Magic Circle which I previously blogged about. Before, I would lament about how there were holes and bumps when I decreased my stitches when closing up a ball. Imagine my delight when I learned about “The Invisible Decrease” method, in which you can’t even tell that the stitches are decreasing- there are no holes or bumps in sight!
Typically when you are decreasing, you are instructed to either single crochet 2 together (sc 2 tog) or single crochet decrease ([insert hook into next stitch, yarn over, pull up a loop] twice; yarn over and pull through all 3 loops on hook). The Invisible Decrease uses a different method, and it is very important to know the difference between the front loops and the back loops of stitches. When crocheting amigurumi, you usually work through both loops of the stitches. The front loops are those on the outside of the circle closest to you. The back loops are those on the inside of the circle.
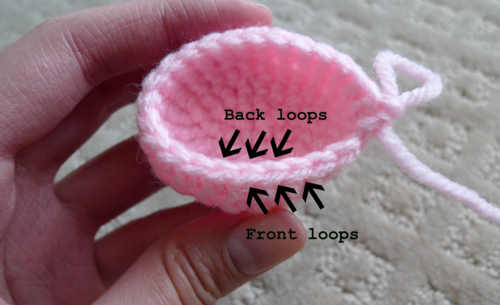
Let’s begin doing our Invisible Decrease!


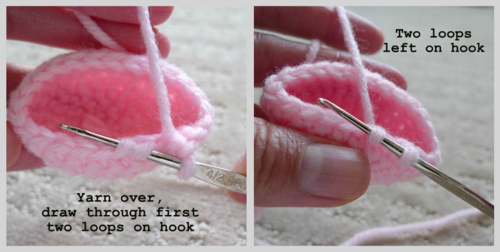
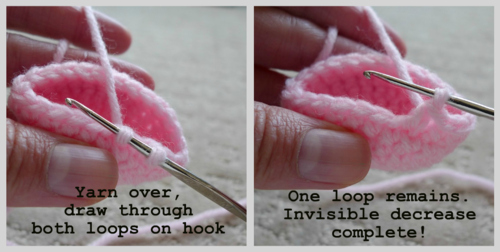
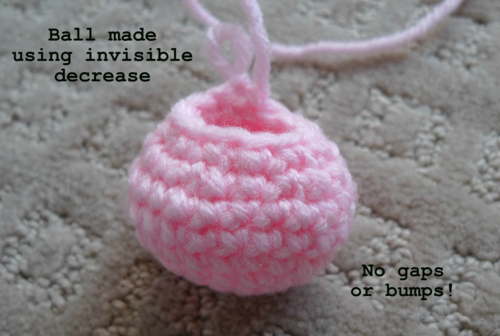
Sometimes it’s easier seeing this all in action, so you can check out this video HERE in which Nerdigurumi demonstrates the Invisible Decrease! It is also very important to note that the Invisible Decrease only works when you have the right side of amigurumi facing outwards since you are working with the front loops- check out my blog post explaining the ‘right’ vs. ‘wrong’ side HERE! If you are not already using “The Invisible Decrease” when making amigurumi, I HIGHLY recommend trying it out. Just like the Magic Circle, once you’ve started using it, you won’t ever go back as the decreases are so smooth and even!
