Note: This is the step-by-step making of the Fluff Bears! The free crochet pattern for these two teddies can be found HERE!!! You can also purchase an INEXPENSIVE AD-FREE PDF of this pattern on Etsy HERE. The printable PDF with step-by-step pictures has been condensed into a total of 4 pages including the cover page!
Two years ago Ryan and I came across some white eyelash yarn while shopping at Michaels, and we decided to pick it up along with some other yarn since we thought it would be so cute to make a fluffy bear! I’m embarrassed to admit that this white eyelash yarn remained in a Michaels bag on a shelf in my desk as months and months went by. I continued to work on other projects and once in a while Ryan would say, “Hey, weren’t we going to work on that bear with that special yarn we bought a while ago?” It wasn’t until this past summer that we decided to finally pull out this yarn and use it to make an amigurumi!
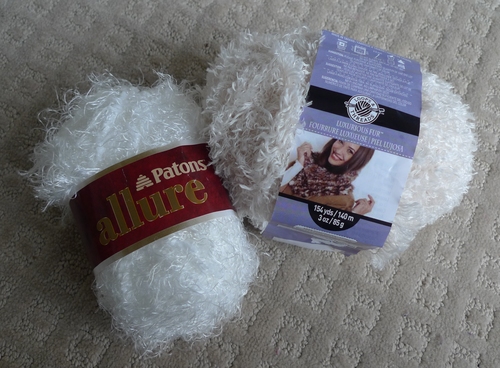
This was my very first time working with eyelash yarn which is a type of novelty yarn that “appears as a thread base with several long strands spaced at even intervals that jut out at an angle from the main strand” (according to Wikipedia). The particular brand that we had purchased two years ago was “Patons Allure” in “Diamond” and more recently we purchased “Loops & Threads Luxurious Fur” in “Lynx” to make a second bear! It’s interesting because both eyelash yarns are made of 100% nylon whereas previous yarns I’ve worked with are typically cotton or acrylic.
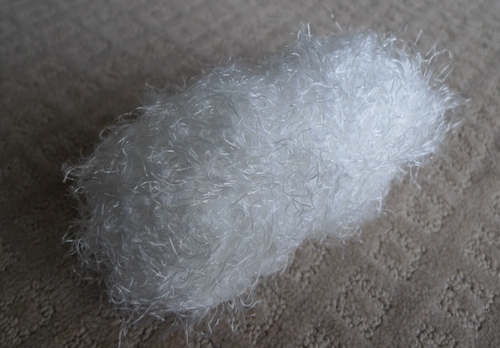
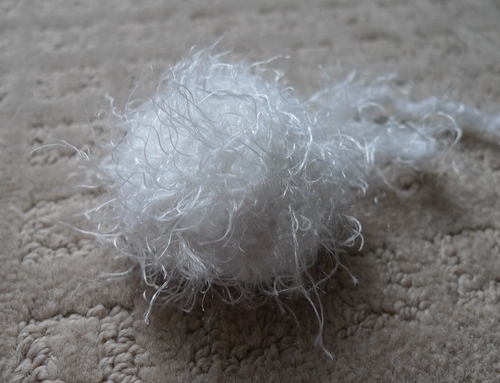
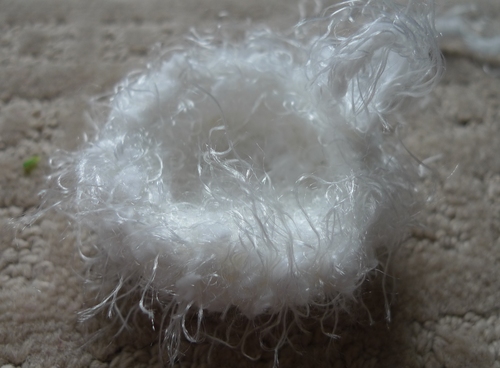
As you can see, eyelash yarn is very fuzzy! The white yarn had a more scraggly look to it…
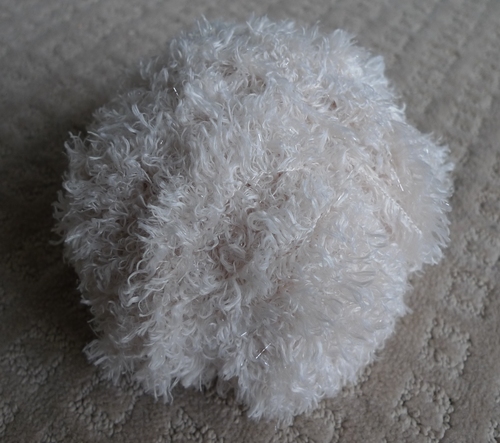
The beige yarn was less scraggly and actually had a beautiful shimmer to it! It’s neat how various eyelash yarns have different looks to them which help give the resulting amigurumi different looks too!
I was unaware of this at the time of purchasing the yarns, but they were of different thicknesses. And so, I ended up not being able to use the same pattern when making both bears because of this. As shown in the picture below, the white yarn ontop was bulky (5) while the beige yarn underneath was medium (4).

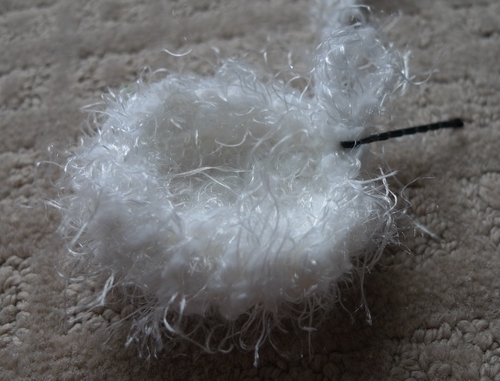
I started off making the white bear and since the white yarn was bulky, the whole pattern worked up very quickly! I began by working on his head…
When working with fluffy yarn, it is important to leave the “wrong side” of amigurumi on the outside as it is actually fluffier than the “right side” (read about “The RIght Side of Amigurumi” in my blog post HERE).
I must also warn you that working with eyelash yarn is not for the faint of heart or for beginners as it is extremely difficult/nearly impossible to see the individual stitches. Using a stitch marker to mark the beginning of each round is imperative! I used a bobby pin before purchasing actual stitch markers as you can see in this picture below. If the next round was supposed to have 12 stitches, I knew that directly across from the bobby pin I should be at around 6 stitches and so a quarter of the way around the circle I should have about 3 stitches. This is how I estimated where to stick my crochet hook round by round 🙂 Working with this yarn is also very forgiving, so even if you miss a stitch here or there or make a couple of mistakes along the way, it will not be visible!
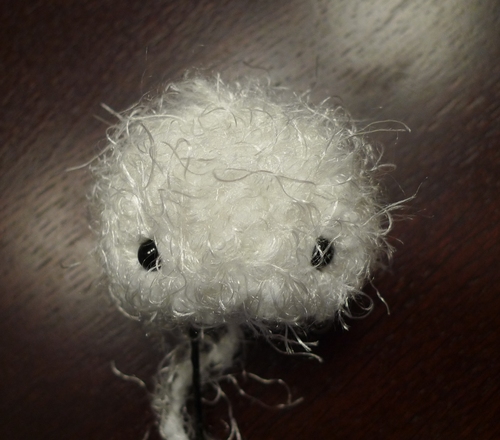
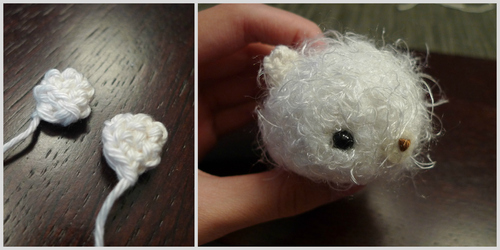
When I was about to close up the ball we added our safety eyes! He looked so cute, and kind of reminded me of a soot sprite from Totoro!
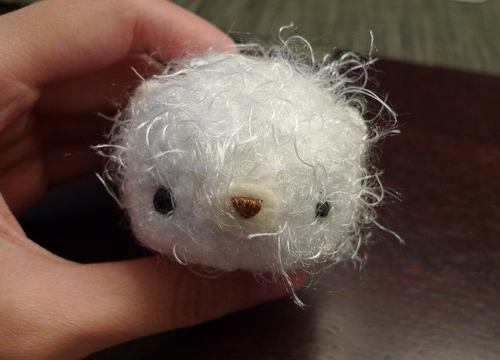
Ryan then embroidered this sweet little nose on felt and glued it onto his face. I love how different noses can give amigurumi various expressions and character. Ryan always does a great job with the noses, and here he is showing off his handiwork!
I crocheted these tiny ears and then sewed them onto the teddy’s head!
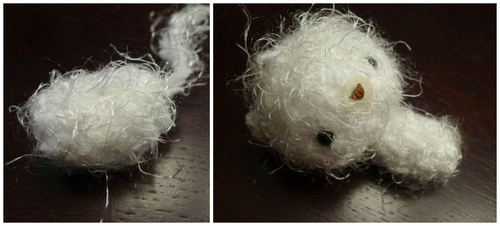
Next came the fluffy body!
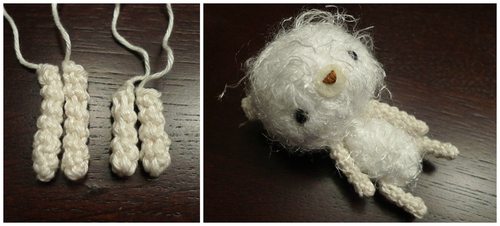
For the limbs and the ears I used a lightweight (3) mercerized cotton (“Patons Grace”). This type of yarn contrasts nicely against the fluffy eyelash yarn and really helps the limbs and ears stand out! The arms are actually longer than the legs which gives a really cute look!
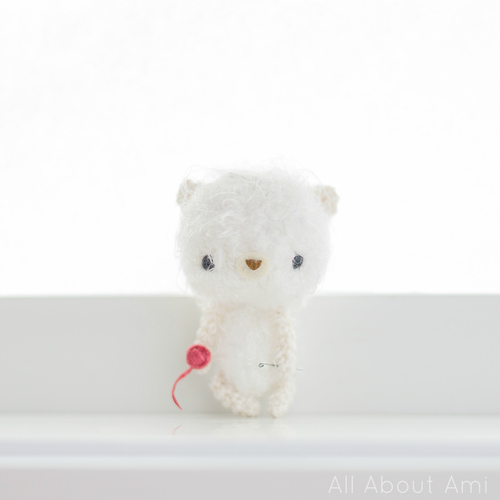
We knew we wanted to have this teddy hold something and we brainstormed different ideas…. I thought it would be SO cute if he was a crocheting bear so we quickly made some accessories for him with items we already had around the house! For the crochet hook we used some wire that we use to hang our Christmas ornaments onto our tree- Ryan cut and shaped the tip to make it look like a hook! And for the yarn, we used embroidery floss: Ryan tied many knots to form the base and then wrapped the embroidery floss around the knots while adding glue from a glue gun along the way so the floss would remain in place. To give you some perspective on how tiny his accessories are, this next photo shows a comparison of the yarn and hook with a Canadian penny:

Once we placed the yarn and hook into the teddy’s hands he was all finished, and I absolutely fell in love with him! I love his sweet face and how fluffy he is, and of course I adore how he’s doing my favourite hobby…crocheting! I decided to name him “Mochi” with the help of “artsysketchpaper” on Instagram! Mochi is one of my favourite foods and it is chewy and fluffy….I thought it would be the perfect name for this little cutie!
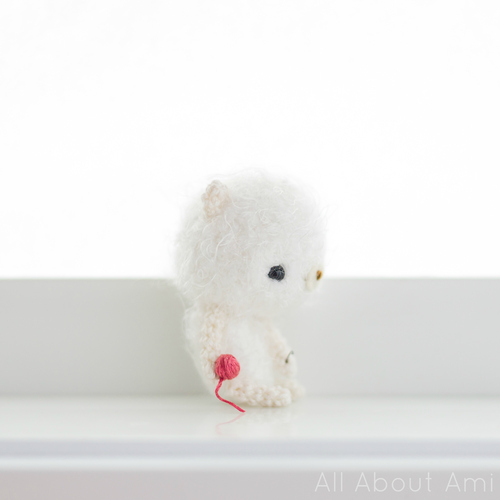
Here is a side view of Mochi!
As soon as we finished Mochi we knew we wanted to crochet him a little companion. Ryan came up with the idea of having a second female bear wearing a scarf using the same embroidery floss that Mochi was holding! Mochi would express his love by crocheting a scarf for his sweetie! And so, I quickly whipped up a second bear using the beige medium (4) yarn and adapted my pattern along the way. We gave her a pink nose and had her hold a flower for Mochi so that she could give him a gift too (the flower is from one of those scrapbook accessory kits)!
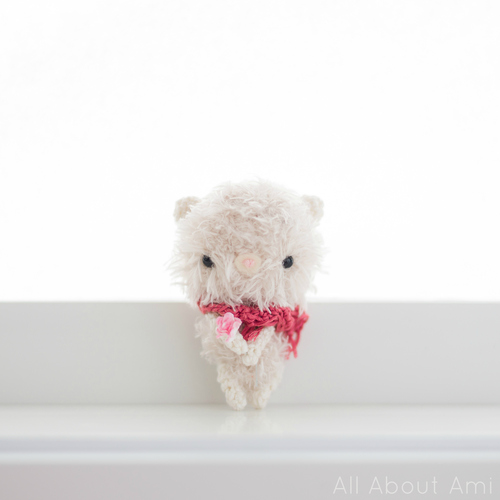
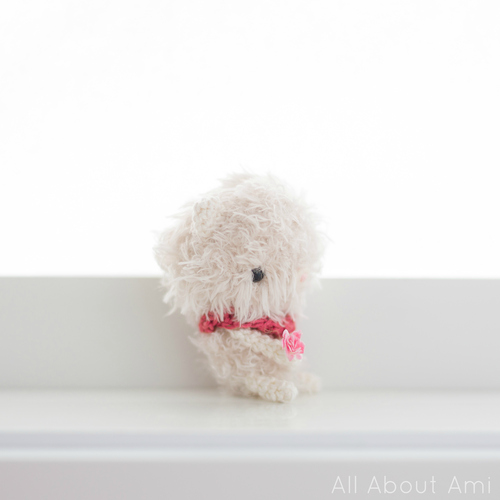
We decided to name the girl bear “Coco” which is short for coconut since it’s fluffy and continues with the food theme 🙂 Thank you to Betty, both Emmas, Kim and “disqus_bqN3KZ6mig” (I don’t know why your name didn’t appear, sorry!) through the blog comments and “iamanhera” on Instagram for helping me name her (as you can see, this was a popular name choice)! Here is a side view of Coco- I love how fluffy she is!
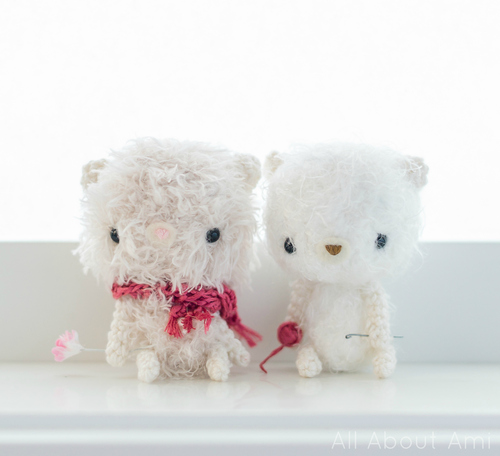
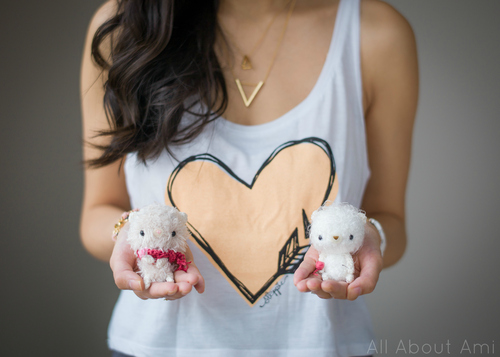
And here is a pic of Coco and Mochi together! I really appreciate your help in naming these two…. I could not think of any creative names for them and I am SO GLAD I could draw upon the collective minds of my blog readers!!! So many of you suggested very cute and meaningful names- I hope you’ll use them for your own bears! I decided to call these two “The Fluff Bears” as a set! Who knows…maybe we’ll be adding more bears to the Fluff Family in the future 🙂
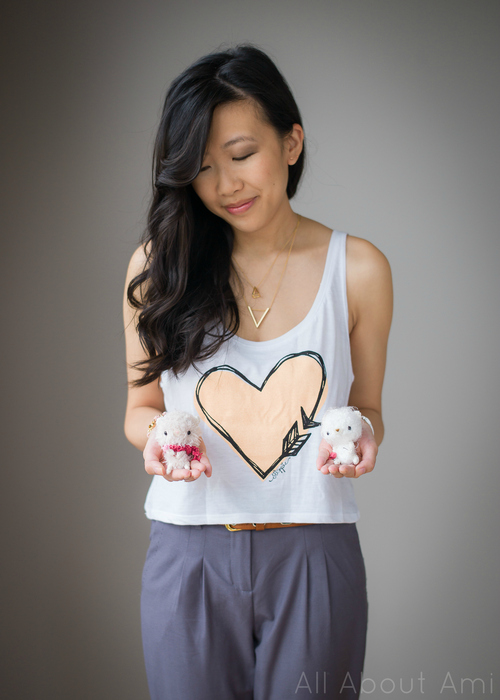
To give you some more perspective on just how tiny these two are, here’s a picture of me holding them! They fit nicely in the palm of my hand!
Aww, Coco and Mochi are so very much in love 🙂
[Arrow x Heart Flowy Tank Top by “The Steppie”; Necklaces by “Loft 82”]
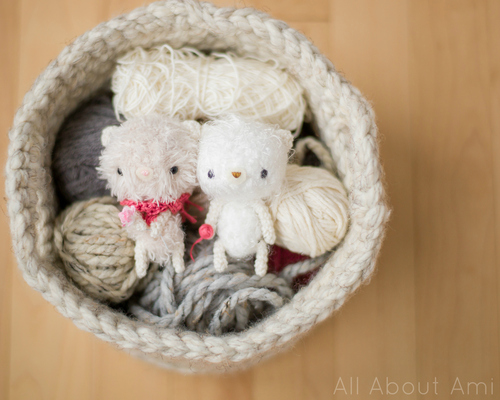
Here is one last picture of the two Fluff Bears Coco and Mochi lounging in my crocheted basket (check out the blog post for the basket HERE). Aren’t they just adorable?
Ryan and I wanted to show Coco and Mochi in action so we shot this little stop motion video for you to enjoy!
Prior to making Coco and Mochi, the only fuzzy amigurumi I had made were “Valentine Teddy” and “Fuzzy White Bear”. The fuzzy look for these two was achieved by using a dog slicker brush to fuzz up the yarn. Using eyelash yarn gives a very different look as the individual stitches are not visible at all. This results in a very plush and furry amigurumi that does not even look crocheted! I really enjoyed working with eyelash yarn and I am excited to work with it again 🙂
I think it would be so cute to personalize these teddies by having them hold or wear different objects (e.g. guitar, book, hat, ballerina tutu) based on your own interests or the interests of the person you are gifting them to! The free pattern for these two teddies can be found HERE!!! Follow me on Facebook, Twitter and Instagram to get my updates 🙂 Thanks for reading the story behind Coco and Mochi and I hope you’re excited to make your very own fluff bears!