I had always wanted to make an amigurumi penguin, so when I stumbled upon this pattern found on Kay’s blog “I’m Hooked“, I jumped right in and gave it a try.
As I read through the pattern, I was intrigued that for the head, you needed to work with two colours at the same time, and that all the stitches within the {} brackets used white yarn: the black and white stitches switched back and forth within each row! I had never before worked with two colours of yarn at the same time, and I had always assumed that if you needed to switch colours, you had to cut one colour off in order to start with a new colour. Thus, any patterns with more than one colour seemed tedious to me. However, I found this helpful video on how to crochet with two colours in the round.
As it states in the text of this video, when you work with two colours, you carry along both threads. You simply crochet around the thread that you are not currently working with in order to carry it along. It is important to note that you should switch to the new colour you want during the last pull through of the final stitch of the old colour. That probably sounds confusing, but watch the video to see it all in action!
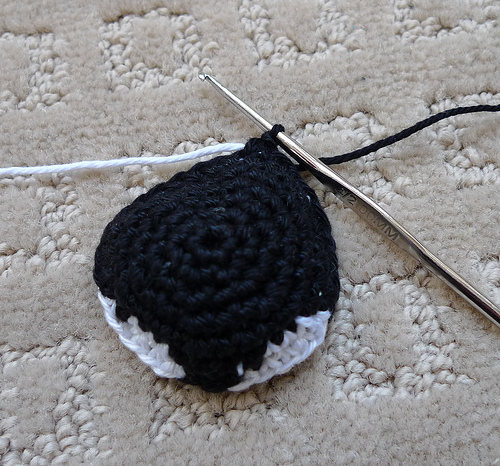
In this picture, you can see how I am carrying along the white yarn as I use the black yarn to crochet around it. This technique makes switching colours very easy (no need to cut the yarn every time!). It is also very important to keep the count during each round since some stitches will be black and some will be white. Typically if you make a mistake when counting (using only one colour), it won’t make a huge difference. However, if you miscount a black or white stitch, the nice white curved pattern on his face will be misaligned! I made a few mistakes along the way and had to redo certain rows!
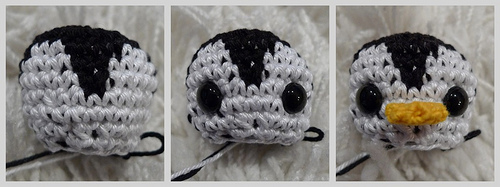
I was so happy when I finished his head! Then I added eyes and a cute yellow beak!
Next I made his little wings, body and feet. He’s already looking adorable!
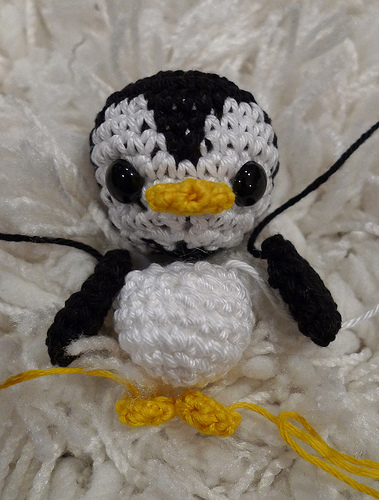
I attached his body and his wings…
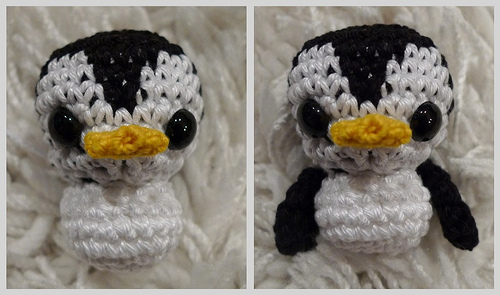
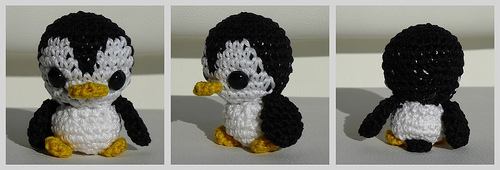
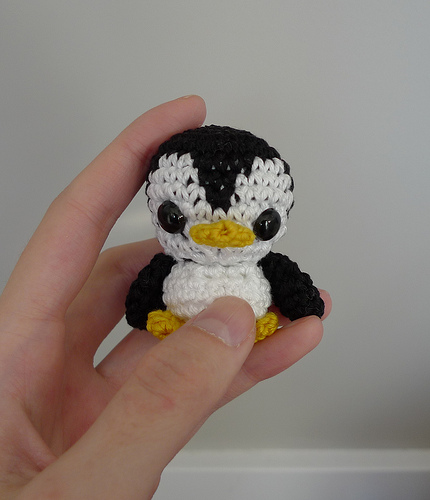
And here he is all complete from the front, side and back! I made a tail for him so that he would sit better. As you can see, the colour that was carried along is still somewhat visible. Perhaps if I had made my stitches tighter, these colours would’ve been less visible…
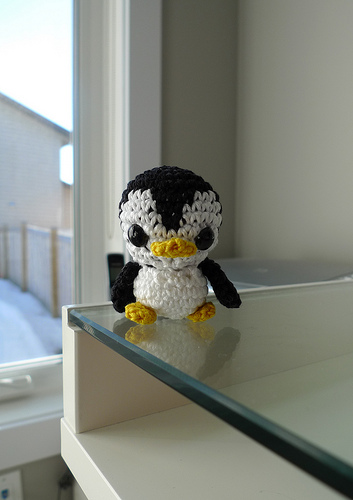
He certainly is a cutie!
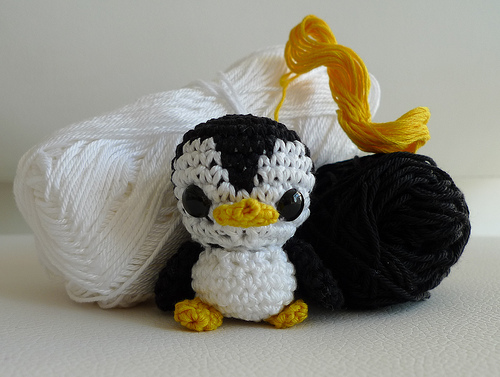
I used mercerized cotton (one of my favourite yarns to work with because it is strong and lustrous) and yellow embroidery floss to make this penguin.
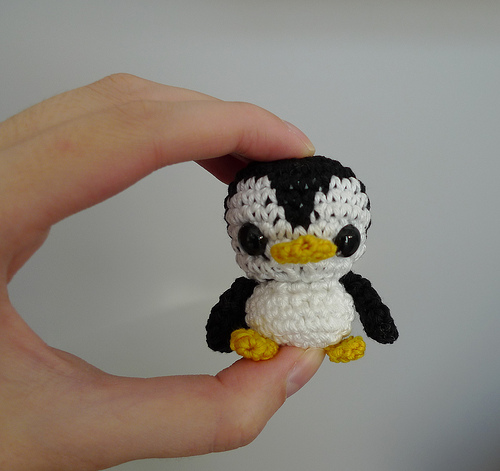
Penguin is very small…
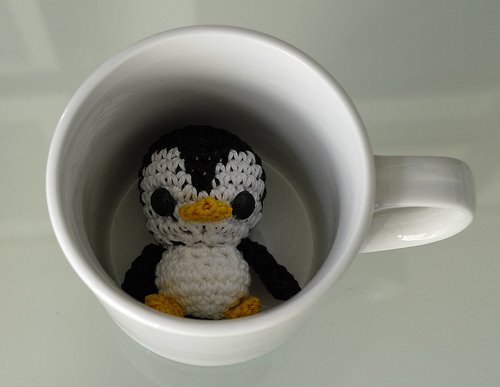
*Squish*
I would like to thank Kay for testing out this pattern and fixing up the errors (the original was written in Thai and translated by someone on google). Definitely give this pattern a try! I think making a series of different-coloured penguins would be so cute!
Kay also tried her hand at my “Valentine Teddy” pattern and took step-by-step photos along the way: check out her blog post about her experience here. She also makes adorable amigurumi popsicle keychains and cute mini wallets/pouches. It’s been great connecting with other crocheters and bloggers around the world 🙂 Let’s continue spreading the amigurumi love!