I’m so glad I started my “All About Ami” facebook page shortly after I started my blog. It’s been a great way to connect with people from all around the world as it’s so easy to share photos, ask questions and comment on each other’s work! I love seeing the work of other amigurumi artists, and one day back in October, I was browing through an album by Sharon Ojala of ”Amigurumi Freely“. What caught my eye was a photo of two beautifully-made Mario brothers: Mario and Luigi! Sharon linked to the original pattern by Nikki or ”FullMetalPiglet“, and I was blown away by her awesome patterns which she also provides for free. Her work ranges from anime and video game dolls to awesome sackboy patterns, most of which are accompanied by videos!
My brother Corey is a BIG Luigi fan…whenever we play Mario Kart, Mario Party or any other Nintendo game that requires you to choose a character, he always chooses Luigi. He collects Luigi memorabilia, from shirts to figurines, so when I saw such an amazing Luigi amigurumi, I knew I had to make it for him!
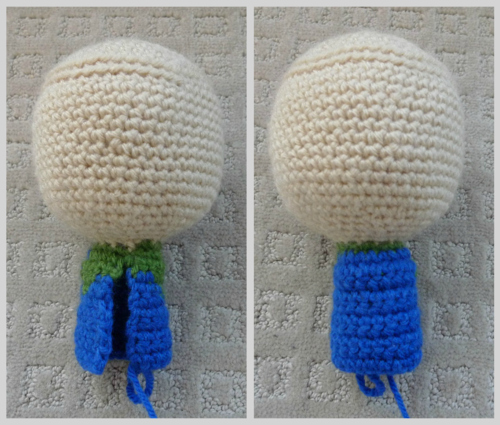
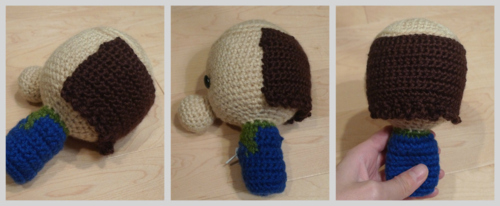
I started off by crocheting his head and then working on his body. It’s such a great idea to crochet in the back loops only for a couple of rows (near top of head) so it’s later easier to attach his hair. I also love how the body continues from the head so you do not need to sew them together later on.

Next I crocheted more of Luigi’s body, leaving an opening in the front.
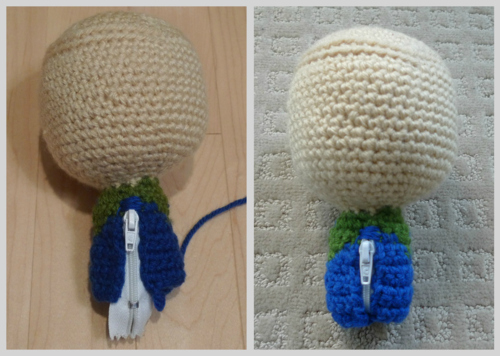
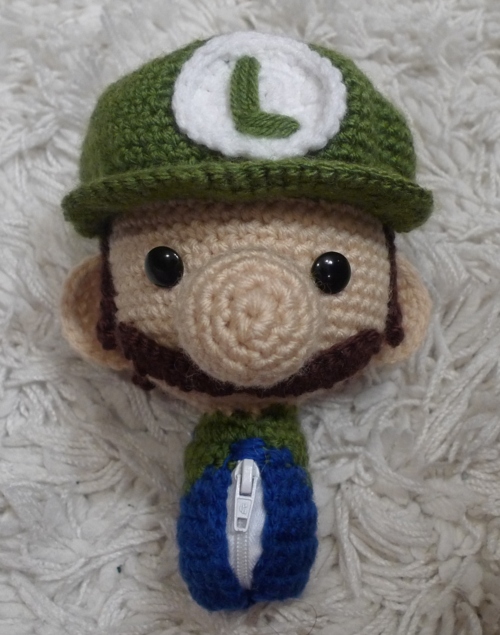
Then we sewed a zipper in this opening, which is characteristic of the Sackboys (Sackboy is a character from the game LittleBigPlanet– see what he looks like here if you’ve never seen him before).
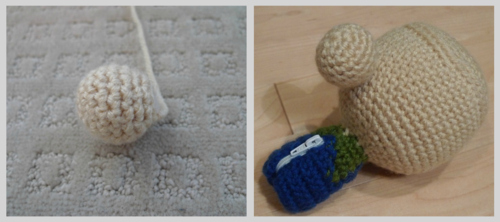
Next up was his round nose which we then sewed onto his face…
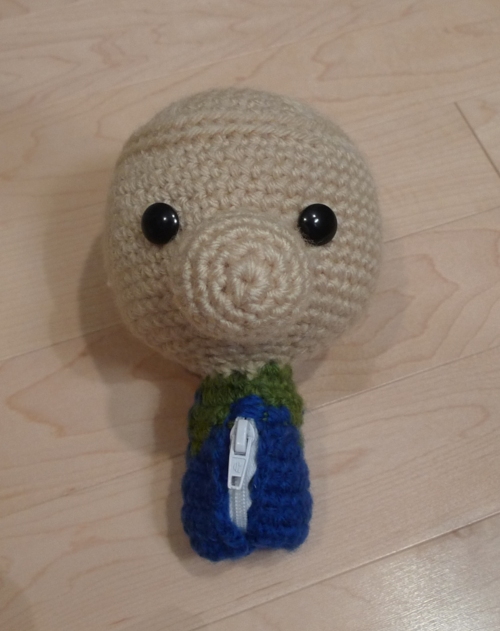
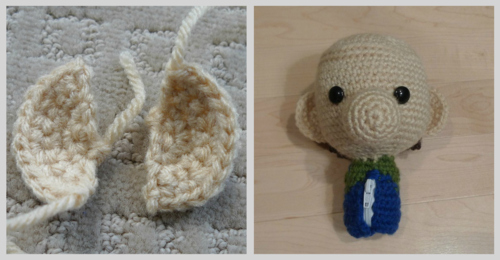
Then we sewed on his flat button eyes which we got from Walmart (see how Nikki attaches them here towards the end of the video). I’ve only ever used beads and safety eyes for the eyes of my amigurumi, but I love the look of these buttons! They give a very doll-like effect 🙂
Our bald Luigi then needed some hair! The hair was crocheted row by row as a separate piece with some picots added at the end for a wavy look. The hair piece was then attached to the back of Luigi’s head.
Next we crocheted some semi-circles for his ears and attached them on the sides of his head where his hair ended.
On the other side of his ears we added his sideburns! Hee hee…Luigi looks like an aging man with no hair ontop- only on the sides and at the back!
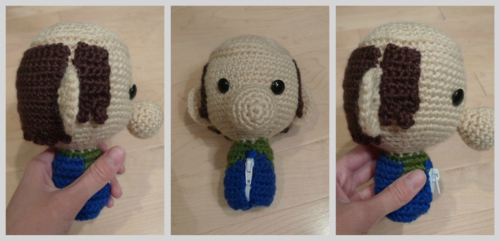
Next up came a very defining feature of Luigi’s face: his mustache! He looks very distinguished now 🙂
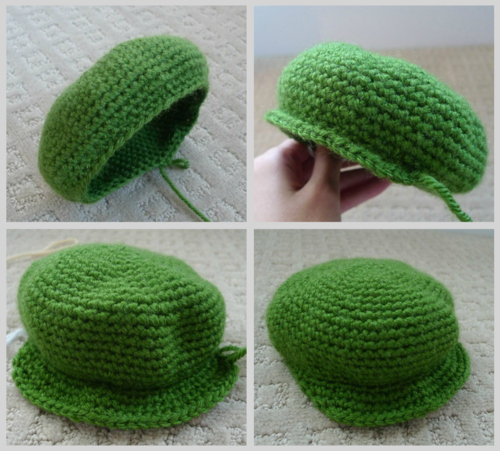
I then worked on Luigi’s green hat with a brim…
But we couldn’t forget to personalize his hat! We embroidered a green “L” onto a white oval and then sewed it onto the green hat. See the making of Luigi’s hat in this video here.
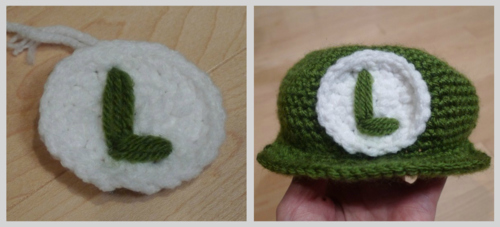
We were so excited to have Luigi try on his hat! It really helps complete his look 🙂
Haha, but of course Luigi was still missing his limbs! His legs were crocheted by picking up stitches on the lower part of the body and crocheting downwards- once again, I love this technique since you do not have to attach the legs separately later on. We switched from blue to brown yarn towards the bottom so that Luigi could have some brown shoes to wear! See how Nikki picks up stitches in her videos here and here.
His arms were crocheted in a similar fashion by picking up stitches in the upper part of the body. I then switched from green yarn to white yarn to get ready for the gloves.
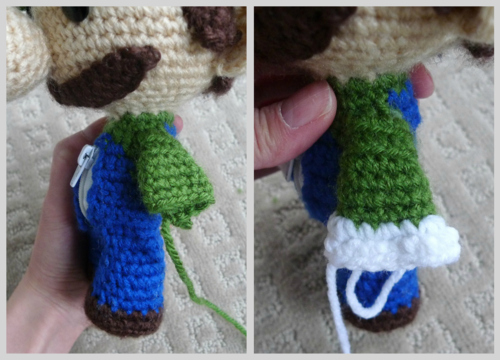
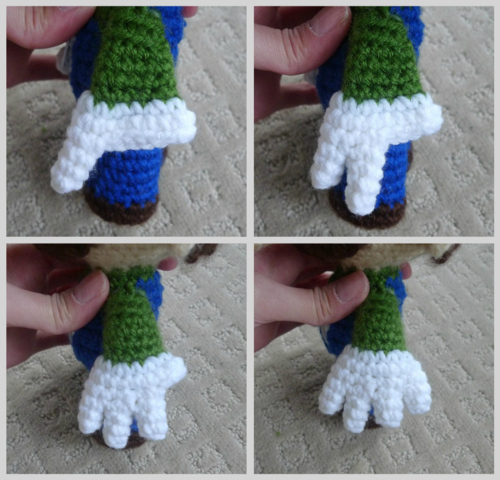
I really love her technique of making fingers for the gloves. See how she makes them in this video here. Each finger is a little tube branching out from the glove base. Once again, I love how you do not need to make each finger separately and individually attach them later on.
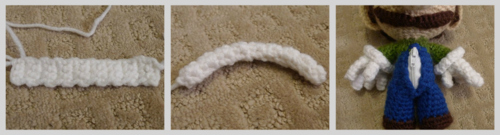
I then crocheted a white band, folded it, sewed the ends together and then wrapped it around the glove base to give the gloves a more finished look.
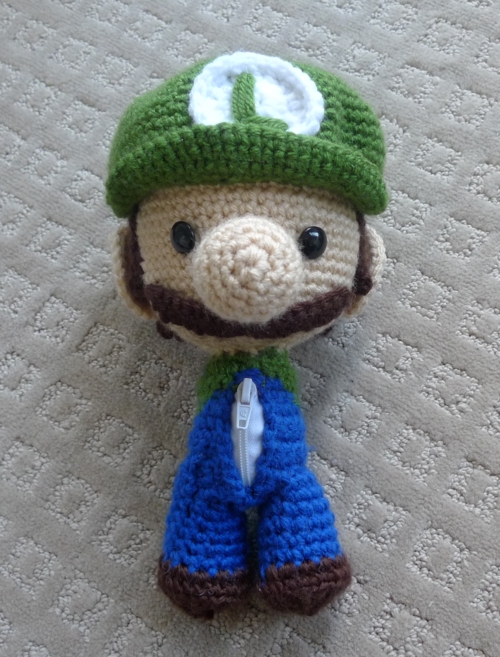
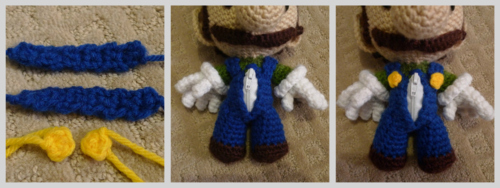
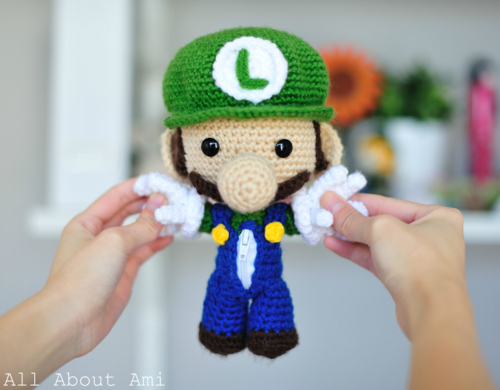
Then we added Luigi’s blue overall straps and yellow buttons to complete his clothing!
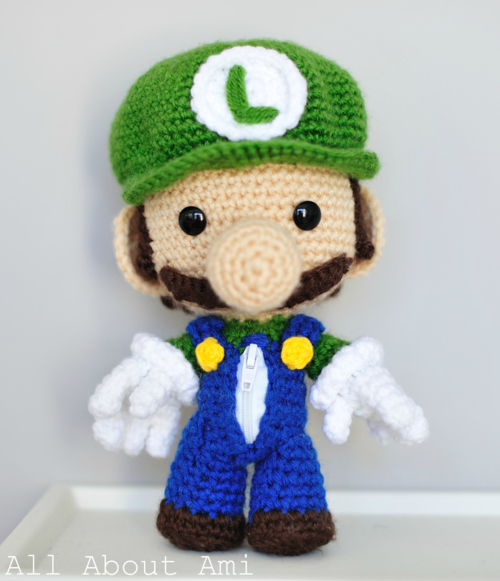
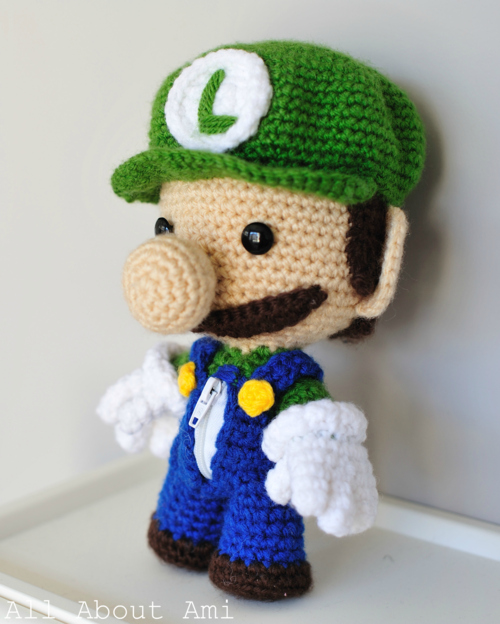
And voilà, our Luigi Sackboy is finally complete with all of his wonderful details!
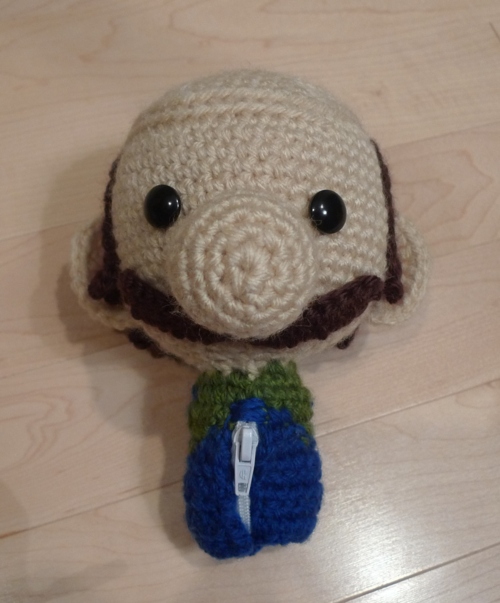
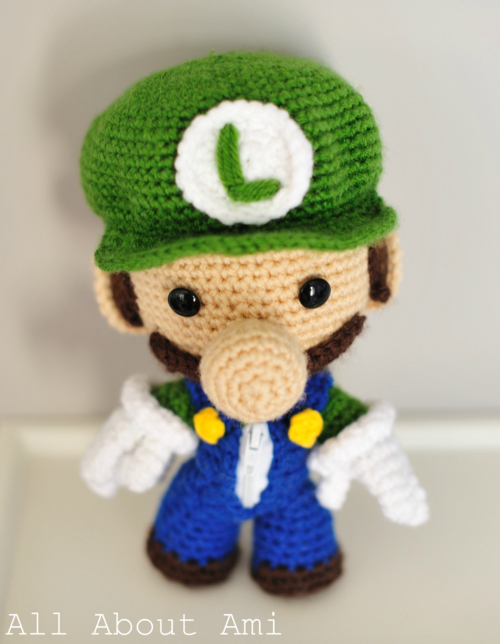
Here’s a top-down view:
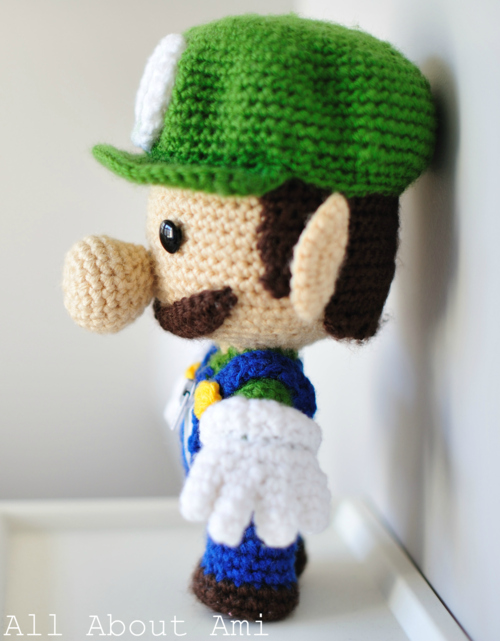
And a side-view…hee hee, I really love his nose!
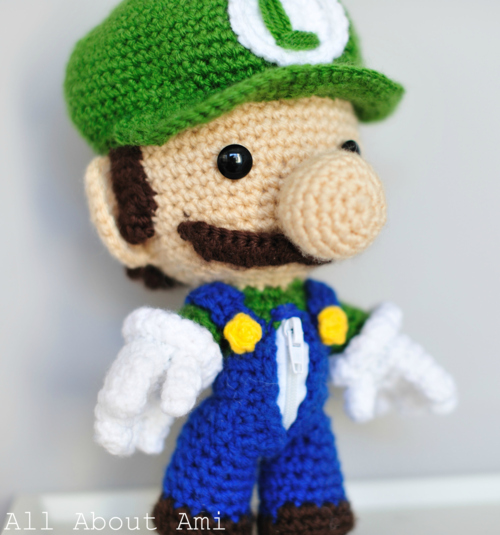
Love his shiny button eyes, mustache and sideburns too 🙂
I think having the zipper adds such a neat, unexpected look to this Luigi doll. What a great idea to make different characters into Sackboys (Nikki has patterns for a Link, Mario and Sonic sackboy too)!
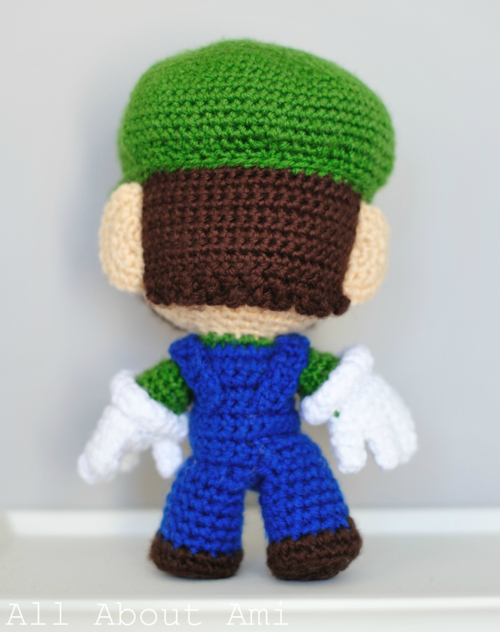
In this back view of Luigi you can get a better view of his hair: the picots add such a lovely effect to give Luigi wavy hair on the bottom!
Even though I love designing my own amigurumi patterns, I still enjoy trying out and following other people’s designs, particularly when I learn new techniques or when I feel like they are taking my amigurumi-making to another level. I felt this way when I made my Link doll (original pattern by Becchin, translated by Tanoshimou) since he had a pivoting head around a ball joint and I learned how to attach hair in a different method.
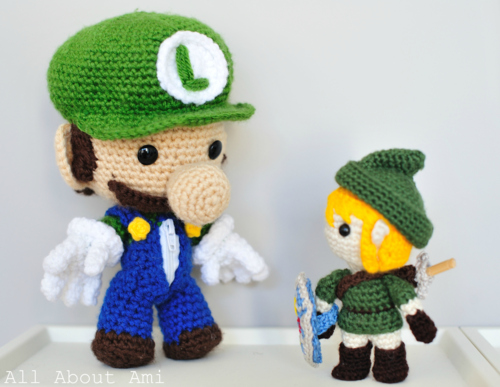
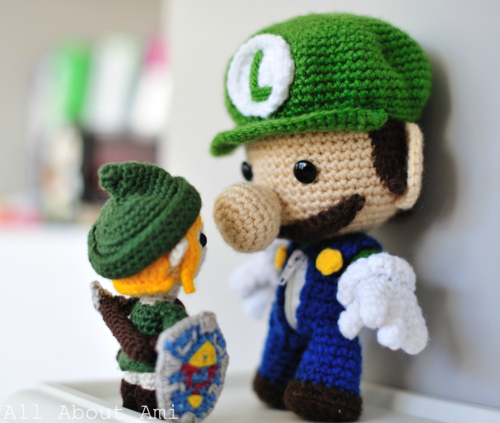
With this wonderful Luigi pattern, I learned how to pick up stitches, how to incorporate buttons and zippers into amigurumi, how to use picots for a wavy look in crochet and how to make fingers in such an ingenious way. I’m so proud of these two amigurumi dolls and how they expanded my horizons in amigurumi technique. Here you can see they’re having a heart to heart 🙂 Link is a curious little one and Luigi is more than happy to impart some wisdom on him!
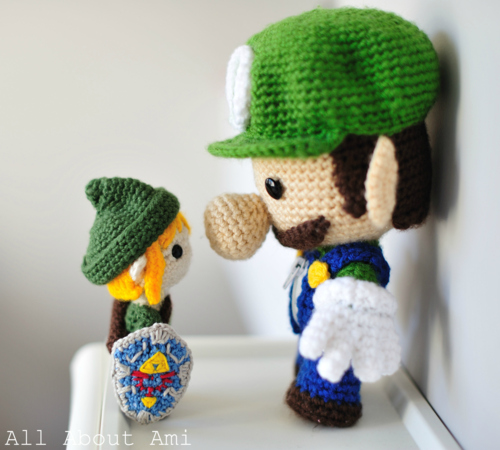
As I mentioned in the sneak peek, they have some things in common: striving to save princesses and defeat bad guys, as well as their love of green and brown 🙂
Luig is one of the biggest amigurumi I’ve ever made (the biggest being my Despicable Me Minion), and I am so proud of how he turned out! My brother Corey, who is a regular reader and supporter of my blog, was so surprised when I presented him with his very own crocheted Luigi! He sits proudly in his room with the rest of Corey’s Nintendo collection. I was very happy that I could make something so meaningful and special for my brother! Just a couple weeks ago we were playing the new “Mario Party 9” on the Wii as a family, and we had such a blast with all the incredibly fun mini-games! It brought back so many memories from when we used to play growing up. As always, Corey chose to be Luigi 🙂
If you have any Nintendo lovers in your life, this would be such an awesome gift! Be sure to check out FullMetalPiglet’s site here for her other sackboy, video game and anime doll patterns which she generously provides for free! The Luigi Sackboy pattern can be found HERE. I hope my step-by-step photos can help you along the way as I know many of you found the step-by-step photos for Link to be very helpful! Keep in mind that I made this Luigi more than half a year ago back in October, but I will try my best to answer any questions that you may have…of course, you can always ask the original artist as well! Keep challenging yourselves in trying new techniques and expanding your horizons about amigurumi! And as always, feel free to contact me through my facebook page, twitter and e-mail!