***Note: This is the step-by-step blog post for our amigurumi snake! The FREE pattern and more detailed instructions and photos can be found HERE! You can also purchase an INEXPENSIVE AD-FREE PDF of this pattern on Etsy HERE! The printable PDF with step-by-step pictures has been condensed into a total of 5 pages including the cover page!
Can you believe it’s almost been one whole year since we released an original amigurumi pattern/design (Snuggles the Penguin)? Thank you for being so patient with us, particularly since this blog is called “All About Ami [gurumi]” yet we haven’t made many in recent months. Being pregnant for most of last year meant that I crocheted mostly baby-related items, and I had almost no time to crochet during the first couple of months after Myla’s birth! I wondered what our next original amigurumi project would be and was a little nervous about it since we hadn’t embarked on our typical process (sketch, figuring out shapes, writing up pattern) in a very long time!
Once again, Ryan was the great encourager as he said we HAD to make something for Chinese New Year since it was our tradition. The Chinese New Year Doll was our very first original design and last year Ryan was the one who encouraged us to make a Chinese New Year Dragon even though it seemed challenging. Who knew that Dragon would become our most popular amigurumi!
When we excitedly looked up what zodiac animal the year 2013 was, we found out it was the Year of the Snake. There were other amigurumi snakes out there (your typical long, slithery snakes), but we wanted to try to make a cute chibi version that looked different. Making a cute snake was another great challenge as snakes seem to be typically sinister villains in popular culture! Thinking of snakes conjured up images of Voldemort and Slytherin, Orochimaru from Naruto, Kaa from the Jungle Book and Snake Jafar! We knew we had our work cut out for us… We looked up different images of snakes and Ryan came up with this initial rough sketch:
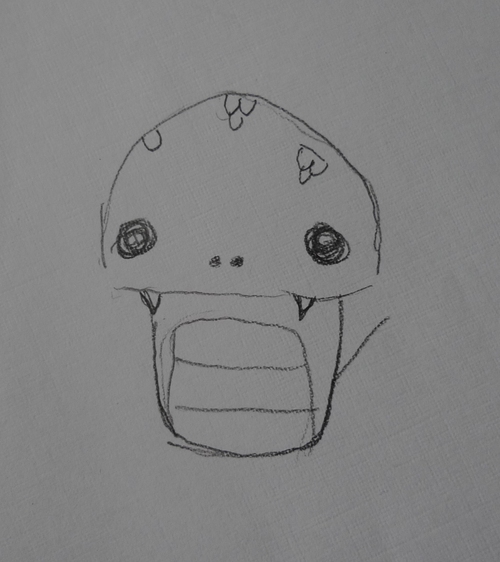
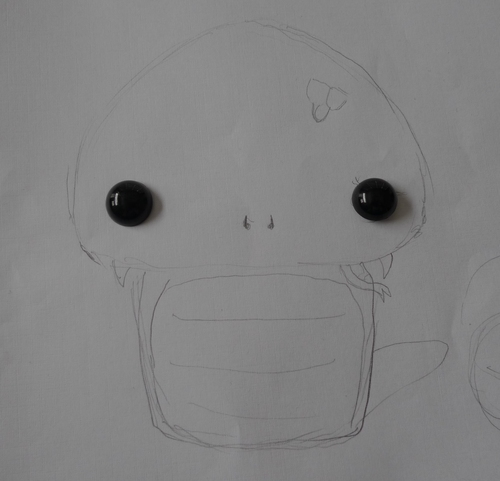
We wanted our snake to have really big eyes, so we even stuck the 12 mm safety eyes in the sketch so we knew approximately how big the head and body needed to be!
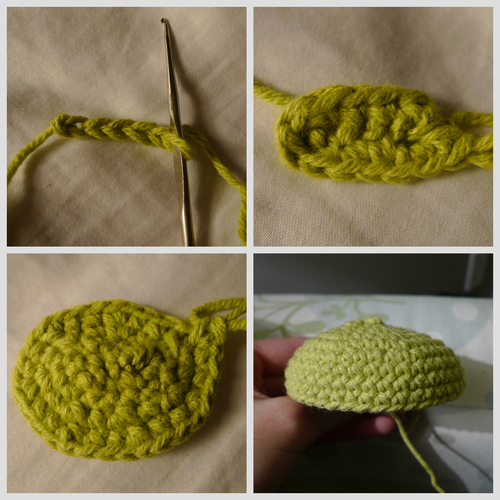
After putting Myla to bed, we began working on our Snake in the evenings! I started off with the head, crocheting around a series of chain stiches to get an oval shape. Typically I crochet my amigurumi heads from top to bottom, but we worked from bottom to top to get a very flat base with a domed top.
We placed the eyes on the short side of the oval…
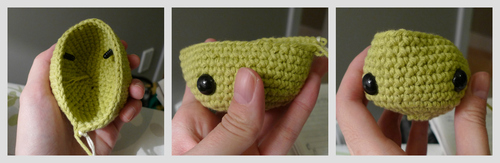
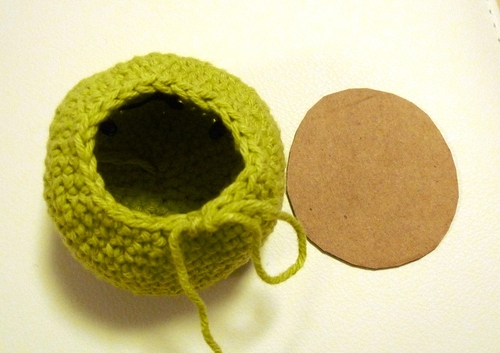
To get a very flat base, Ryan cut an oval shape out of cardboard and placed it on the bottom of the head before stuffing it!
Here is the finished snake head all closed up after the eyes have been positioned, nose has been embroidered (two “L” shapes), cardboard has been placed and head has been stuffed!
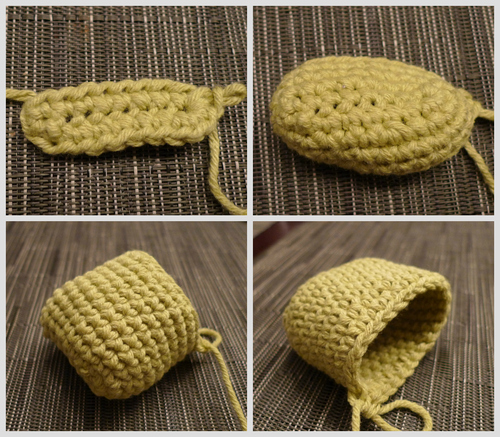
Next up was the body! Once again, I crocheted around a series of chain stitches to get an oval shape. As I was working on it, Ryan said it reminded him of the sock cell phone cozies I made a while ago!
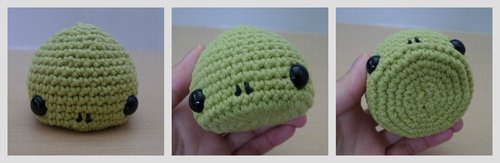
We then stuffed the little body and attached it to the head so that the body was aligned with the back of the head (not in the middle). We wanted the head to be leaning back a bit and not standing straight up at a 90 degree angle.
Once the body and head were attached together, it was time for the tail! This proved to be the most frustrating/challenging part as we had to redo it multiple times to get the correct shape and placement. We wanted the tail to be approximately where the faded oval is in this pic:

Instead of opting to crochet a separate tail and then attach it later, I decided to use the technique of picking up stitches from the body and then crocheting outwards for a more seamless transition so that it appeared that the tail was a continuation of the body. I learned this technique from FullMetalPiglet when I made Luigi. If you’ve never picked up stitches before, you can watch this video here.
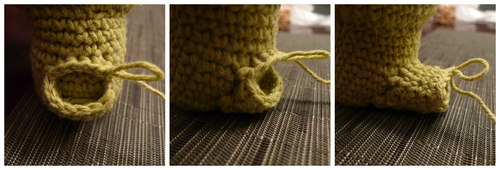
With the Snake’s back facing towards me, I started picking up stitches from the right side and went along the row towards the left. I checked to make sure that Snake could sit by himself at this point just with this row of stitches.
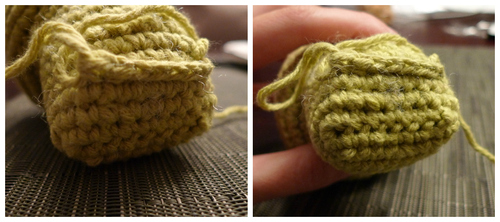
I then crocheted back along the new row, slip stitching along the sides (more detailed instructions will be in the pattern post). As you can see, the oval is forming.
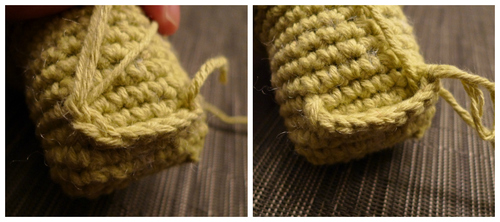
I did this a couple more times to get a solid base so that Snake would be leaning back with this tail…
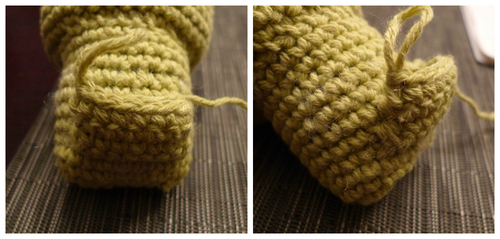
Then I could finally complete the oval by picking up stitches along the sides and top. From there, I continued crocheting around the oval, decreasing along the way to form a pointed tip.
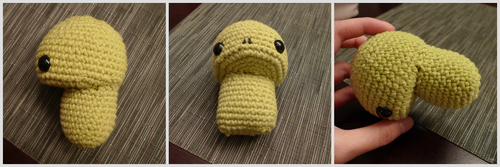
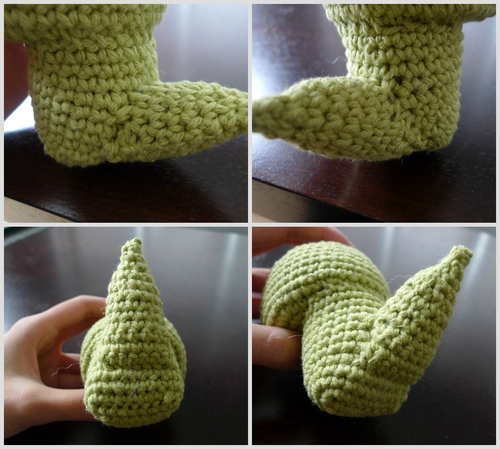
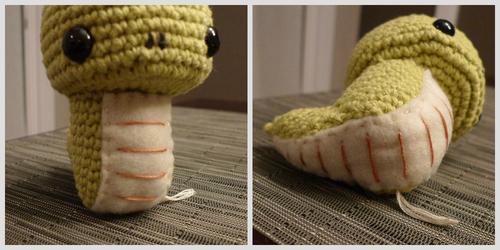
Here are some different views of the tail protruding from the body! Snake is kind of looking like a little green worm here!
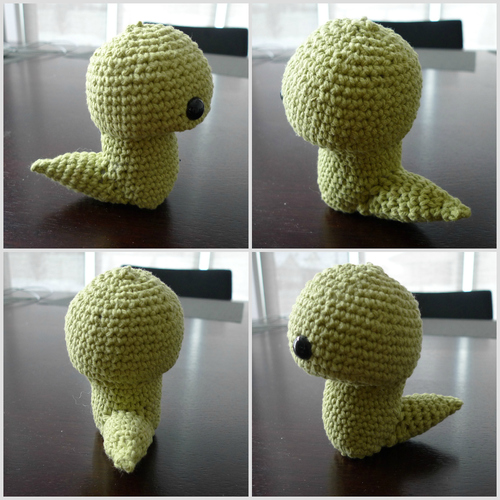
And here are some close-up’s of the tail so you can see the exact shape and approximately where I picked up stitches…
Next up was the detailing! Ryan cut out the shape below out of beige felt and draped it across Snake’s body and tail to make sure it was the correct length.
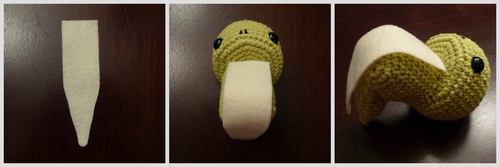
Then he sewed this beige felt piece onto Snake’s body and tail. After that, Ryan added lines of tan embroidery floss to the beige felt for the scaled body, reminiscent of little Dragon’s scaled body!
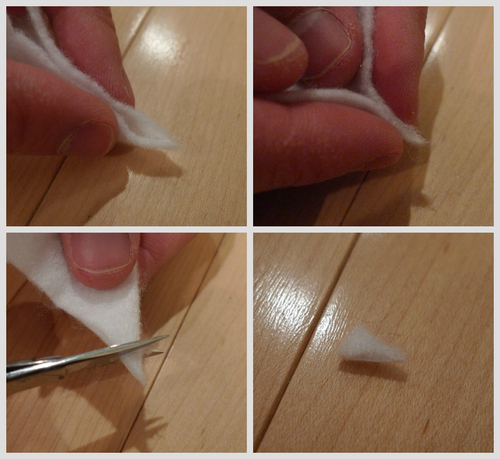
To make the fangs, Ryan pinched a corner of white felt together. He used the glue gun to add a drop of glue to hold the sides together and then snipped the corner off.
He also cut out a long narrow piece of red felt and snipped a “v” at the tip for the tongue. Ryan then glued the two white fangs and red tongue in place!
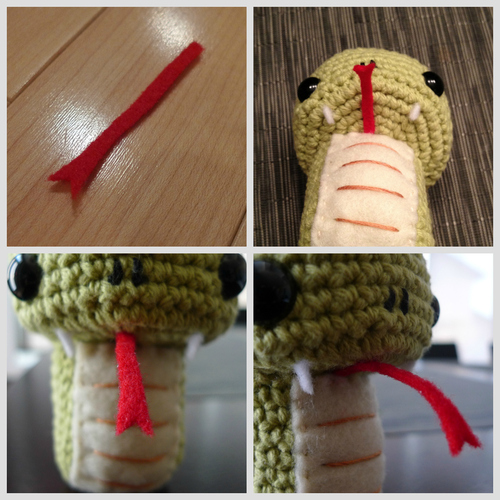
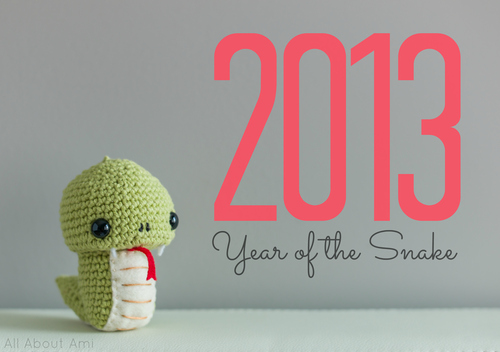
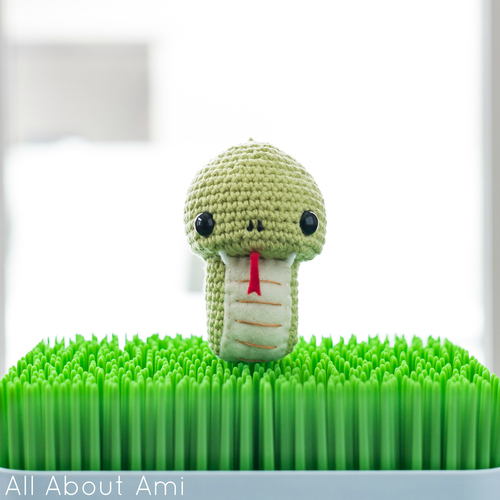
After all the detailing was complete, here was our finished product! May I present to you…*drumroll please*….our Chinese New Year Snake!
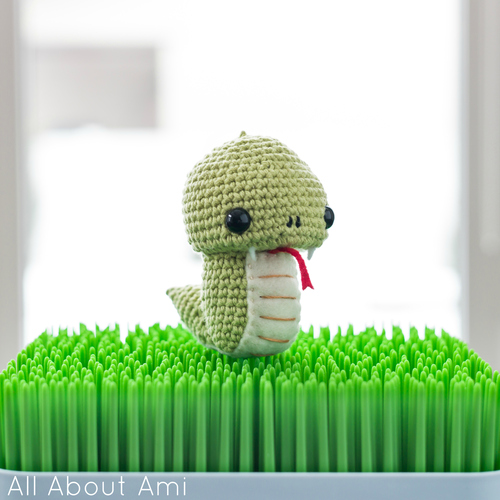
We showed little Snakey to Myla, rocking him back and forth making fiss fiss noises 😉 Myla was definitely intrigued about who this little guy was! We also thought it was neat that the stitches kind of look like scales!
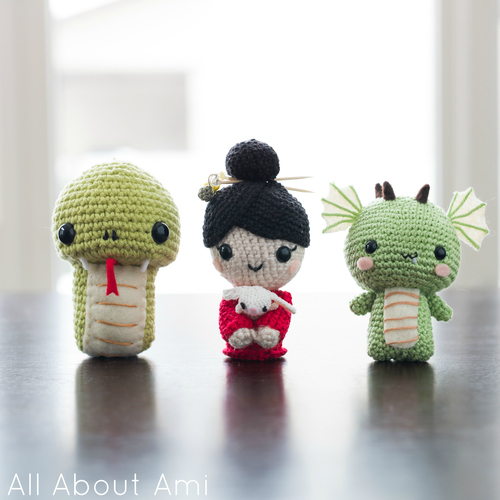
Here are all of our Chinese New Year amigurumi so far 🙂 First we made Chinese New Year Doll carrying a little bunny for the Year of the Rabbit in 2011. Last year we made Dragon for 2012 and of course this year we have Snake for 2013! I know Dragon was a popular gift for many expectant moms in 2012 as they were all having Dragon Babies….including us as Myla is a Dragon Baby! If you know any expectant moms, if you are expecting a baby in 2013, or maybe you yourself are a snake or who have friends who are snakes, our little amigurumi Snake could be a popular gift 🙂 After all, the Year of the Snake won’t come around for another 12 years!
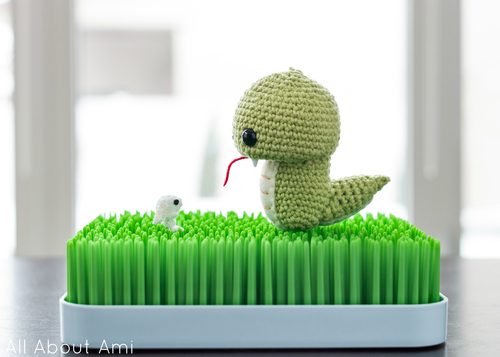
Haha, we just had to pose our tiny bunny with Snake!
Lil Bunny: “You’re a friendly snake, right?…Riiiight?…*shudder*”
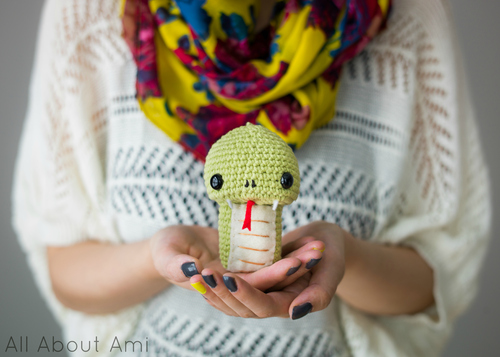
We are very pleased with how this little guy turned out! We tried our best to create a cute, friendly chibi snake that went against the stereotype 😉 It felt good to go about the whole amigurumi designing process again after such a long time, and we hope you enjoyed reading about it!
We wish you a Happy Chinese New Year (officially on February 10th this year)! Does anyone have any special plans to celebrate? We will be having hot pot and eating yummy rice cake (or lian gao, one of my fave desserts)! Thank you for reading, and have a wonderful Year of the Snake!