I’ve absolutely LOVED Ravelry ever since joining a couple months ago. The crochet community is so awesome and supportive, and I always love browsing through other people’s projects and checking out the patterns that are “hot right now” (or “the designs that Ravelers are looking at today”). Last month, I stumbled upon a pattern called “Crocheted Mary-Jane Slippers” by Calypso Gray of “Little House by the Sea”. I saw that this pattern had been favourited many times and that more than 190 people had made them: everyone seemed to agree that it was a great pattern. Best of all, the pattern was free with step-by-step photos! I had always wanted to try crocheting some slippers, so I decided to give this pattern a try!
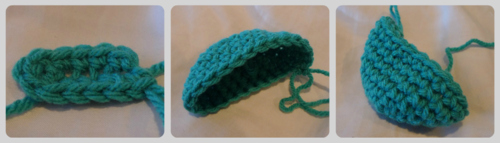
Since I had just finished crocheting Snuggles and had plenty of left-over yarn, I decided to use this beautiful turquoise colour for my slippers. These slippers consist of three basic parts: (1) the toe-cap, (2) the sole, and (3) the upper portion. First I crocheted the toe-cap that was formed by crocheting around a foundation chain (just like the heads of Dragon and Snuggles). This part was crocheted in rounds.
Next up came the sole of the slipper, which was crocheted in rows as you needed to turn your work.
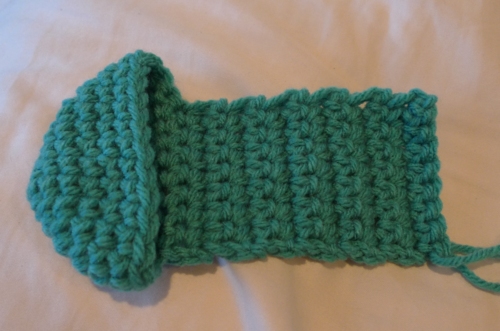
The sole expanded slightly for the heel of the foot…
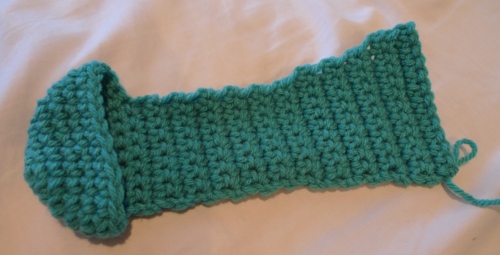
And then tapered off again..

Next came the upper part of the slipper which was again crocheted in rounds.
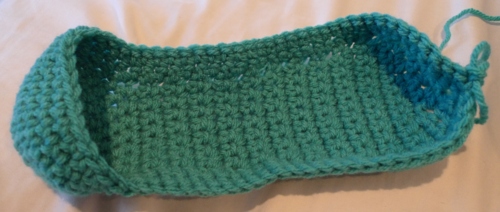
Row upon row was added to make the slipper wrap around the feet.
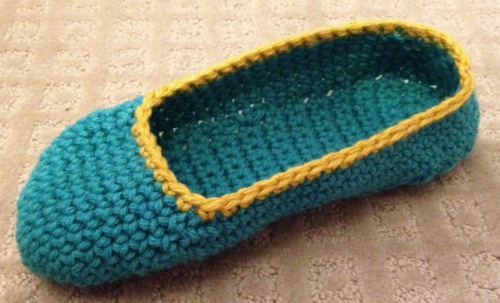
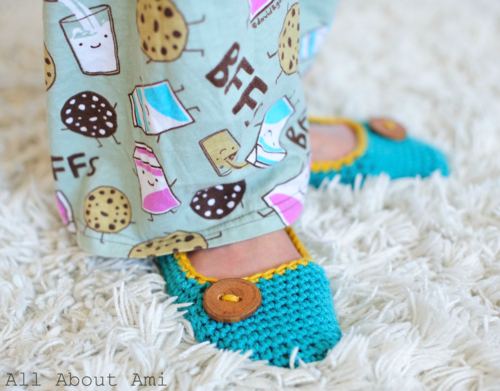
I used a contrasting yellow colour for the last row to give my slipper a nice border!
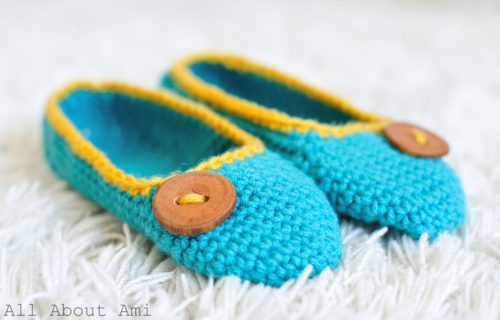
I also added some beautiful handmade wooden buttons I picked up at a Farmer’s Market in Halifax last summer! I’m so happy I finally got to use them in a crochet project. I have such an affinity for wooden buttons- I also used them for my crocheted cup cozies as well 🙂
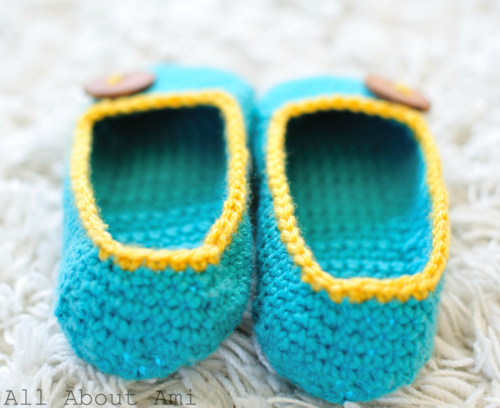
I love how these slippers are crocheted in one piece as no seams are required!
Here is a side view of my new slippers: I really love this colour combination together!
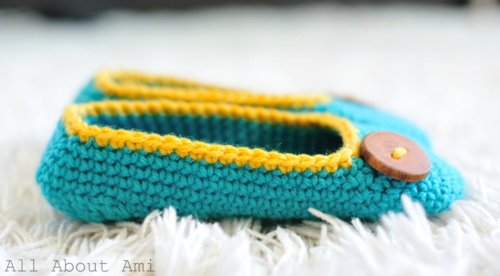
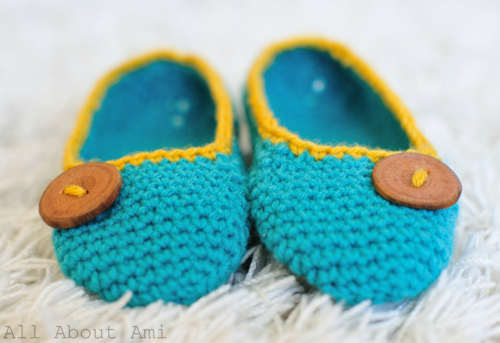
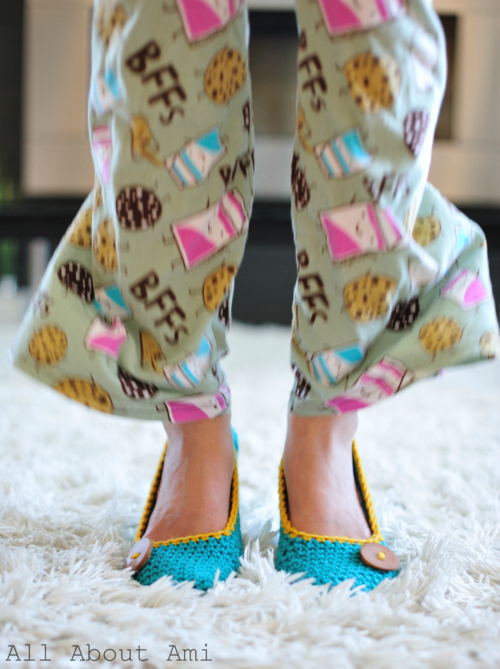
Don’t you just want to slip your feet into these cozy slippers?
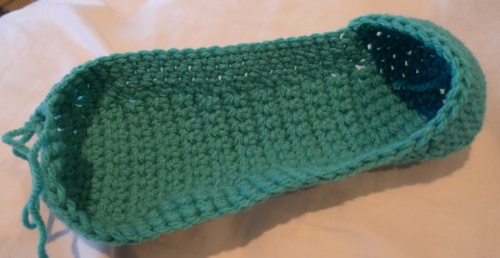
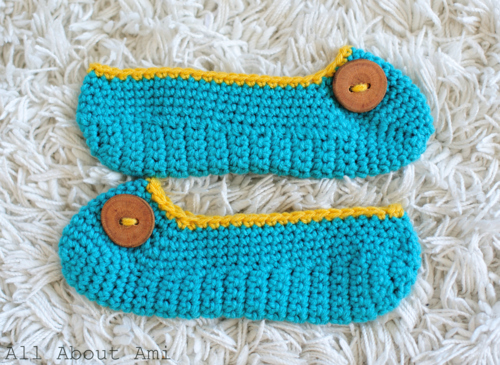
This is what the slippers look like when they are flattened. Don’t they look like canoes? I saw people package them ontop of one another like this with a lovely label attached. These would make such wonderful gifts!
Of course, I was itching to try these slippers on as soon as I finished, and I was delighted that they fit me perfectly! Not too tight and not too small!
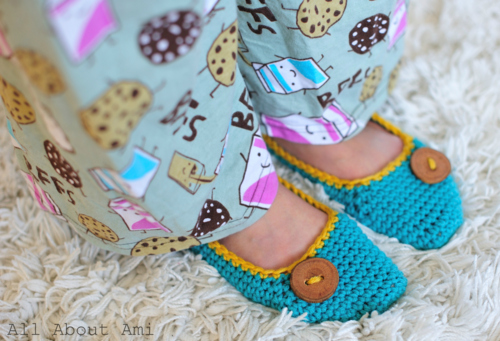
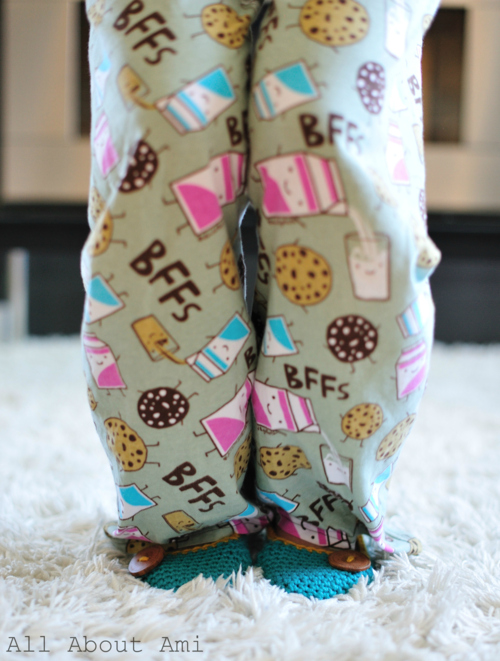
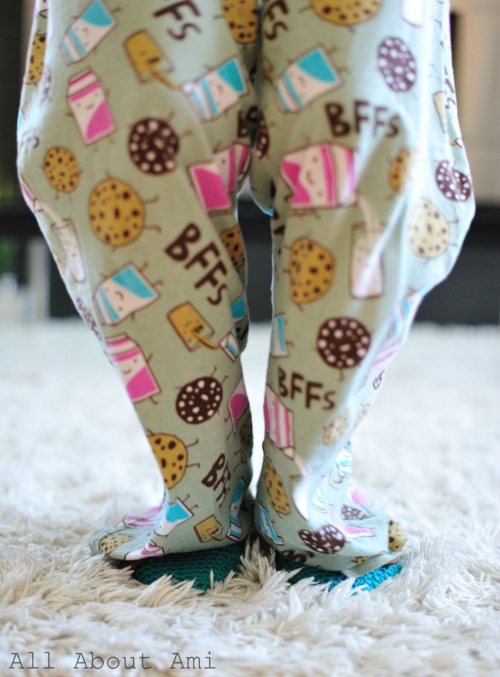
My feet tend to get very cold, so these are perfect for me as they keep my feet warm against our hardwood and tile. And since I’m such a sucker for all things cute, I picked up these David & Goliath pajama pants while on vacation in Maui. Cookies and milk BFF’s with cute faces? How could I resist?
Here are some things to keep in mind when following Calypso Gray’s pattern:
- These slippers are made using single crochets (American English) although the pattern refers to them as double crochets (British English)
- The pattern states that the slippers will fit US size 6.5-9, but I think this is a huge range: I typically wear a size 8. However, I have tried making other slippers using different yarn (same weight but different colours), and almost all of them have turned out a tad too snug. I’ve tried moving up a hook size (from 5 mm to 5.5 mm) and they have fit better. If you have smaller feet, try using a smaller crochet hook.
- When crocheting the “upper” portion of the slipper, I think the stitch count is off by 1 when going around the toe-cap. The toe-cap started with 24 stitches, and then 8 were used to continue the sole. That means there should be 16 stitches left (24-8) rather than the 17 stitches as stated in the pattern. This is really minor as it does not make a huge difference- you simply subtract one stitch when going around the toe-cap for Rounds 1 and above in the “upper” portion.
Here are the modifications I made to Calypso Gray’s pattern to make my own slippers:
- I switched to my contrasting colour (yellow) after Round 5.
- Round 6 was my last round (no Round 7 or 8).
- I did not add straps to my slippers.
- I used the Invisible Decrease when decreasing in Rounds 3-6 in the “Upper” portion so holes were less visible.
I was trying to think of creative ways to photograph my slippers, so I thought of doing some jumping shots! Ryan and I are known to love jumping shots- I have some great ones from when we were on vacation, and even when I graduated from University! They always turn out hilarious 😉 Here I am ready for launch!
Now in mid-air! Don’t ya love seeing the crochet slippers in action?

And now for my *graceful* landing 😉
Jump complete! We had a lot of fun doing these dynamic shots, and Ryan got to put the “burst mode” on his camera to good use!
I absolutely LOVE how my slippers turned out, and after completing this first pair, I went on a slipper-making frenzy. I’m still finishing up some other slippers that I’ve made using my favourite flats as inspiration. I will share them with you once I’ve finished them! Will you be trying out Calypso Gray’s free pattern? Once again, it can be found HERE. They would make great gifts for friends and of course for yourself as well! I love wearing these snuggly slippers around the house 🙂 You can choose really fun colours and beautiful buttons to personalize your slippers! To get some ideas of what colours complement one another and look great together, you can check out some inspiration boards and colour palettes that my friend Melissa of Wedding Obsession has put together here and here. She has a lovely blog and oodles of wedding and design inspiration! Have fun crocheting these gorgeous slippers 🙂
[UPDATE #1: Please check out my blog post “Crochet Slippers Part 2” to see five more variations I made on this basic pattern, including the addition of bows and straps. Some were inspired by my favourite flats!]
[UPDATE #2: I recently found a great way to make these slippers non-slip with a rubber spray coating called “Plasti Dip”! Read all about it HERE!]