Whenever I see a picture of a beautiful hat or scarf on-line, I always immediately check to see if the piece is knitted or crocheted. There have been times when I’ve been disappointed to find out that the free pattern is actually a knit pattern as I have not knitted since I was a little girl. One day as I was browsing through Facebook, I came across a beautiful ribbed hat that had an almost-knitted look on the Lion Brand Facebook page, and I was delighted to find out that it was actually a free crochet pattern on their site (found HERE)! When I quickly read through the pattern and saw how the hat was constructed, I knew I absolutely had to give this hat a try!
I happened to have some worsted weight (4) grey yarn in my stash (Patons Canadiana in “Medium Grey”), so I began right away using my 6 mm crochet hook! I knew that my head was a bit bigger so I started off with more chains than the pattern called for: I chained 41 for this grey beanie. This initial length is the height of your hat- keep in mind that you’ll want to make it longer if you plan to fold over your hat to give a nice rim or if you want it to be slouchier.
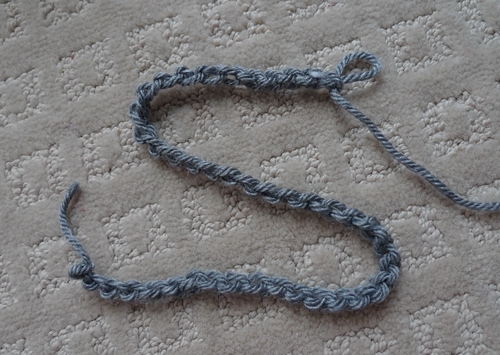
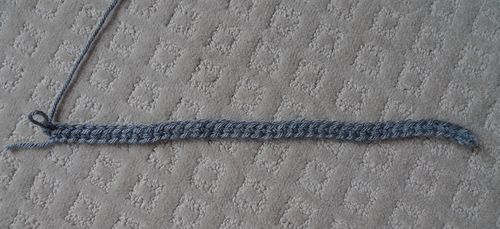
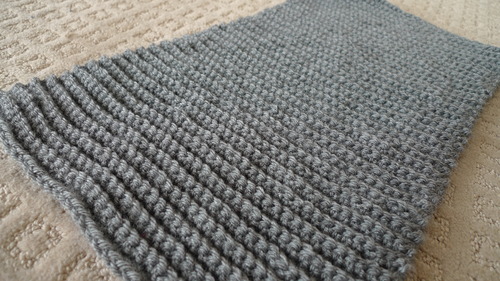
I crocheted the first row as normal. This was my first time crocheting a hat row by row as all the hats I had previously made were crocheted in a circle in rounds! This is what sets apart the construction of this hat and makes it a lot easier for beginners since working in rounds can be more difficult.
The ribbed look is achieved by crocheting in the back loops only of each row. As a reminder, each stitch is comprised of a “v” with two loops: a back loop and a front loop. The back loops are the ones further away from you and the front loops are the ones closer to you!
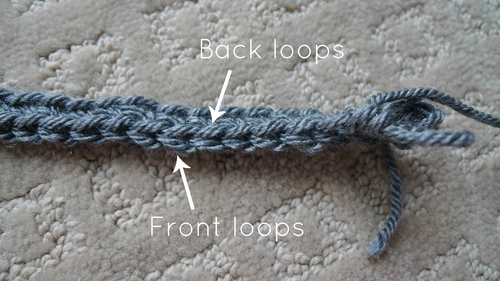
By crocheting in the back loops only, the front loops are left out and are more visible which gives the ribbed effect.
You continue crocheting in the back loops only until your piece can fit around your head! Keep in mind that your piece can stretch quite a bit too. I ended up crocheting 76 rows or until the piece was 17.5″ across.
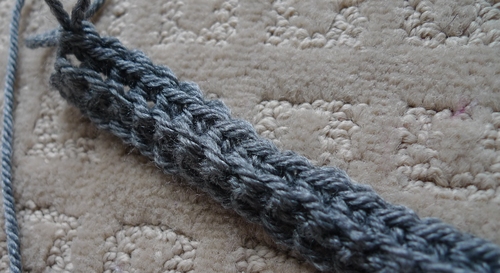
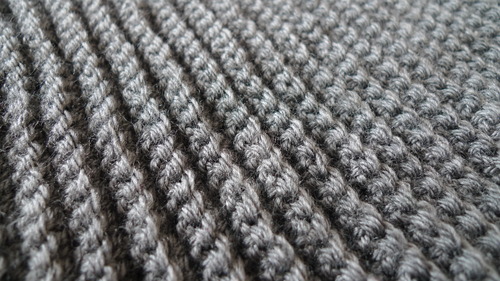
Here is a close up of the beautiful texture!
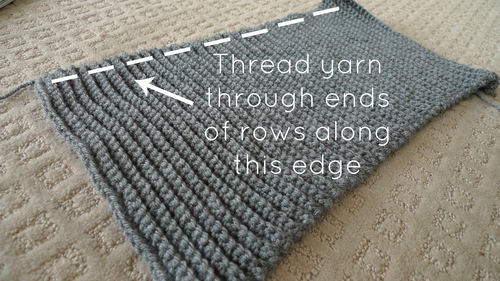
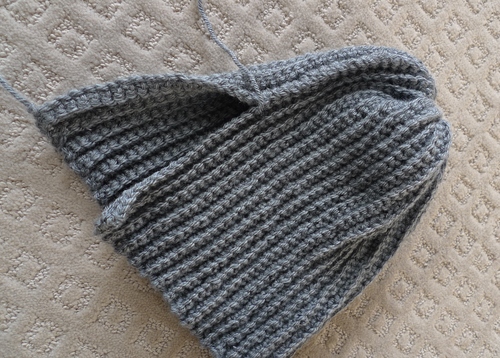
Next, you thread your yarn through the ends of the rows along one of the long edges.
Then you pull the yarn tightly to gather the edges together until the hole at the top gets smaller and smaller! After I tightly tied a knot, there was still a tiny hole visible so I sewed it shut completely.
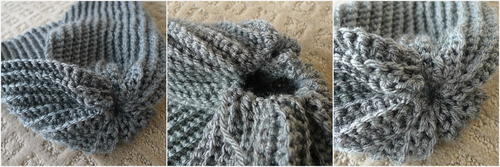
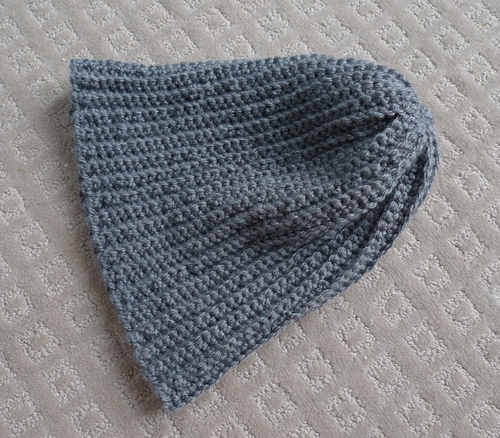
The last step is to sew the short side of the hat together and you’re done! It’s so easy, right?
This grey beanie ended up being 10″ tall, and when I tried it on, it was too short to fold up to give a nice rim. And so, I decided to make another hat, this time a longer one that I could fold up!
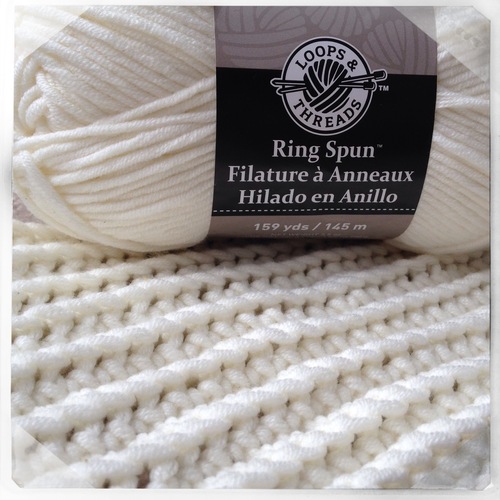
While shopping for yarn at Michaels, Ryan came across this absolutely beautiful yarn by “Loop & Threads” called “Ring Spun”! It is a bulky (5) yarn that is 55% acrylic and 45% cotton- it does not fuzz at all and is so soft. I knew this would be the perfect yarn for my second beanie! I was excited to share this find with you all on Instagram and it was neat to hear that some of you love it too!
Also using a 6 mm crochet hook, I chained 46 initially for this beanie (keep in mind that this yarn is thicker than the grey yarn) and it ended up being about 13″ tall. I ended up crocheting 60 rows until it measured about 18″ across.
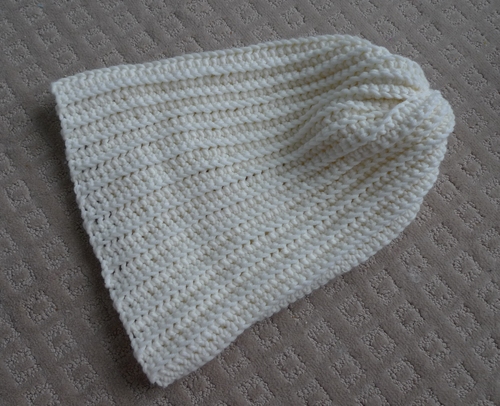
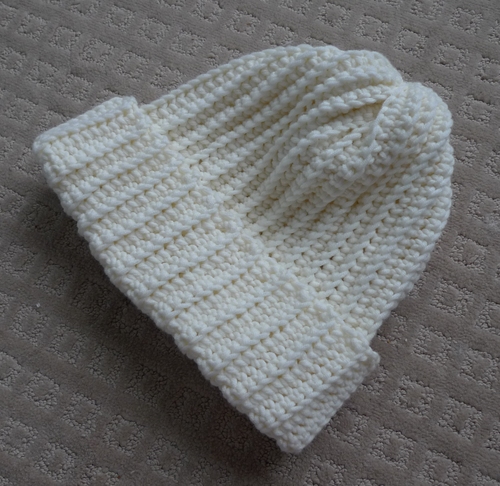
The extra height allowed me to fold up this hat to give a beautiful wide ribbed rim!
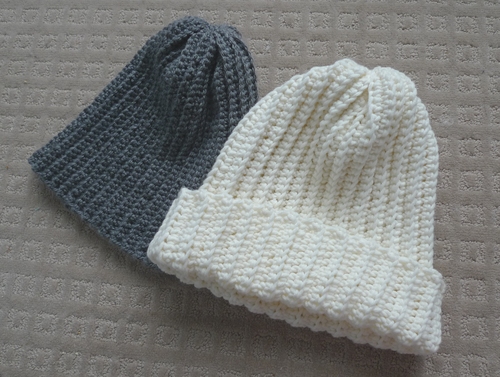
You can see the difference between my grey and white beanies! The worsted weight vs. bulky and no-rim vs. rim help give them very different looks…
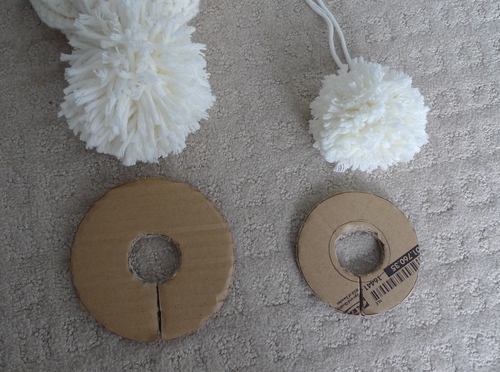
I really wanted to add a pom pom to my white beanie too! We had previously made yarn pom poms for our baby shower a year ago (see blog post HERE) so we still had some of our cardboard circles. At first we made the pom pom on the right but we decided it was too small. And so, we ended up making bigger cardboard circles (diameter of 4 inches) to make a bigger pom pom! Watch this video HERE to see how you can make your own yarn pom poms using cardboard circles!
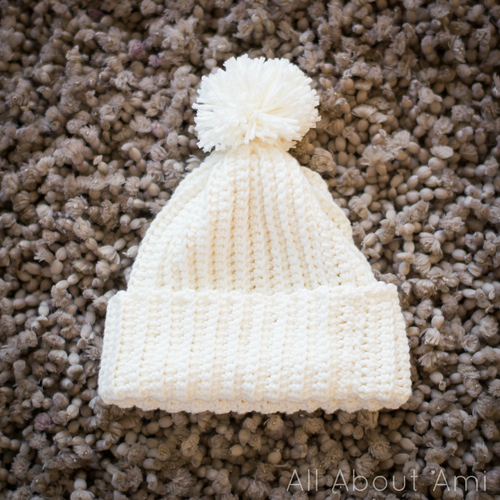
After attaching our big pom pom, my ribbed beanie was complete! These pom pom beanies are incredibly popular right now- if you walk into any clothing or accessories store, you will most likely see them being sold in a wide variety of colours! It’s awesome being able to make your own for a fraction of the cost!
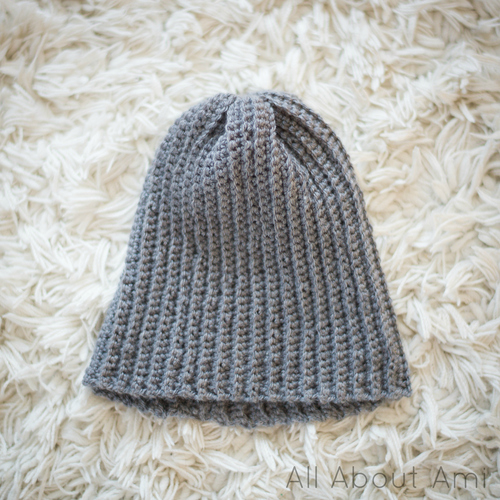
Here is my completed grey beanie too! I used less than one skein of yarn for this grey beanie and a little over one skein for the white beanie!
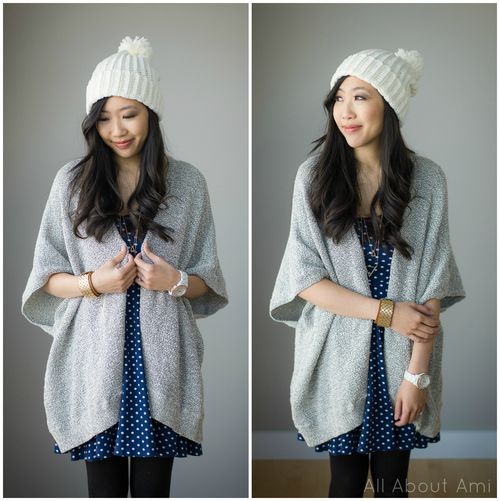
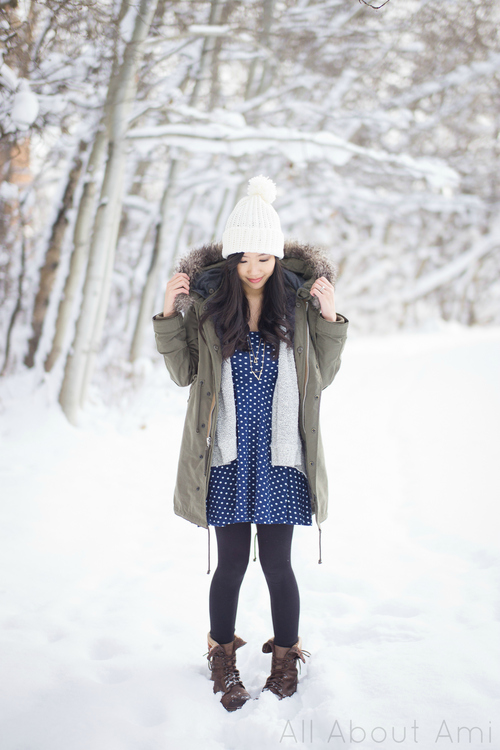
I was SO excited to try on my beanies as soon as I finished crocheting them! The white beanie turned out just as I hoped it would! I love the wide rim and big pom pom- it makes it look so cozy! I can also wear the beanie “slouchier” by making the rim less wide…
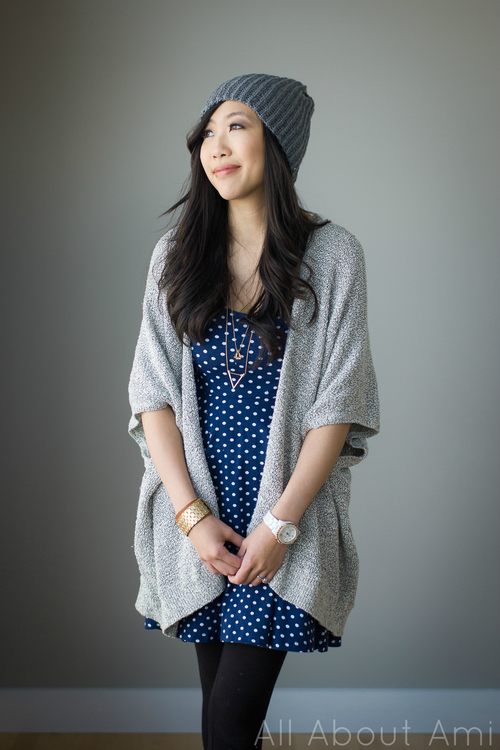
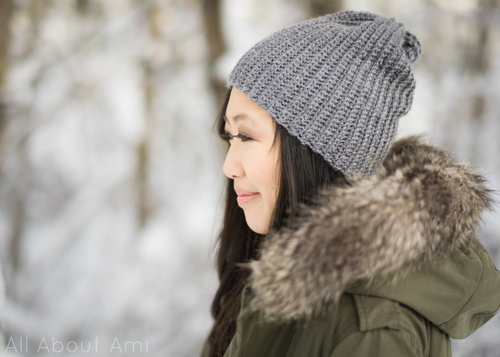
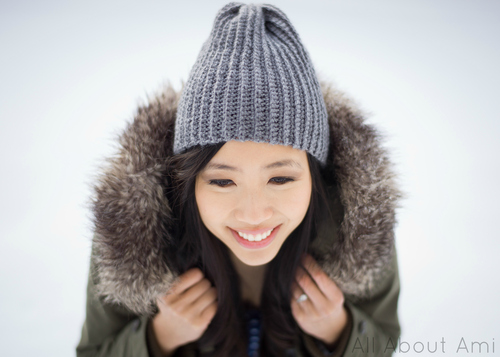
The grey beanie has a different look- I feel like it’s a bit “edgier”! I love wearing it too 🙂
We thought it would be fun to do an outdoors shoot with these beanies since we normally take all our photos indoors! After all, these beanies are meant to be worn outside and to keep us warm! We have been getting quite a bit of snow over the past week, and it was actually relatively warm on the day we did this photoshoot (hovering around 0 degrees Celsius or 32 degrees Fahrenheit). I thought I would try some shots without my jacket but we quickly discovered that it was NOT a good idea and I quickly put my jacket back on, haha! I am definitely used to the cold though having grown up in our cold climate!
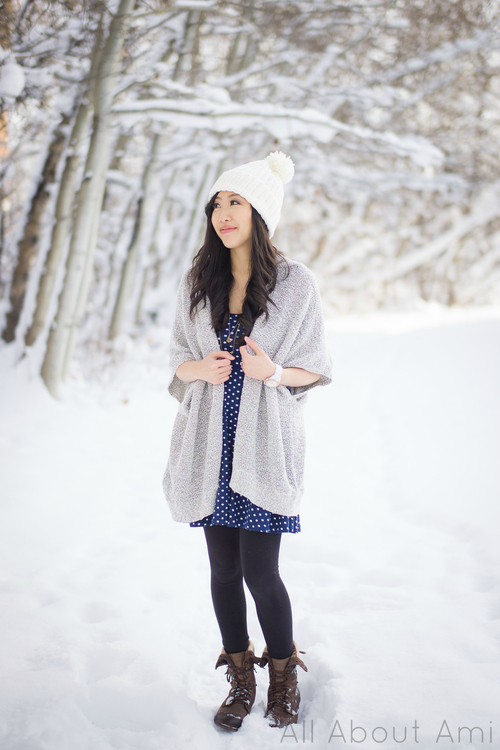
I love how my pom pom beanie looks paired with my parka! For those of you who live in colder climates, I wanted to share a wonderful find with you all: fleece leggings! I adore wearing leggings all year round as they are so comfortable, but sometimes you need that extra warmth in the winter! I’ve actually worn long johns under my leggings before, but I recently purchased some fleece leggings from Simons on a recent shopping trip! They are so incredibly warm and comfortable!
This beanie kept my head very warm- it’s my new favourite hat and I can see myself wearing it A LOT during this winter!

Here I am wearing my grey beanie! We actually did this photoshoot in the same exact spot where we did the “Urban Jungle Slouchy Beanie” photoshoot with my brother and sister two years ago (see HERE). It was fall then so this trail looks very different now covered in snow! I can’t believe how far we’ve come since then….two years ago Ryan hadn’t taken up photography yet, so we used the “Hipstamatic” app on the iPhone to take the Urban Jungle Slouchy Beanie photos!
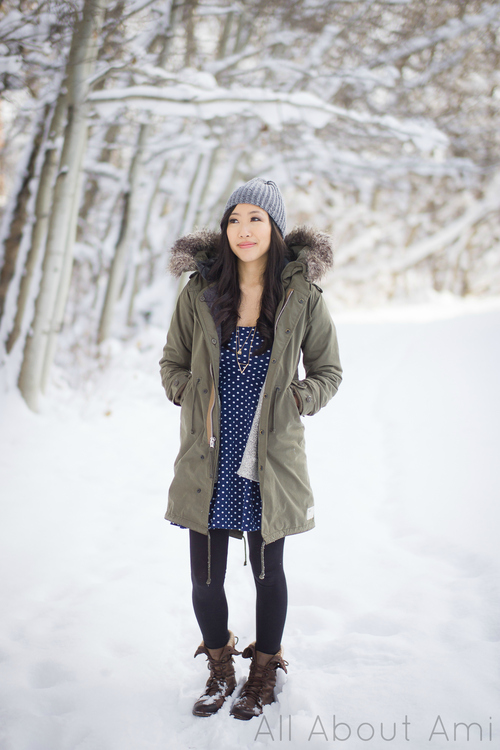
{Parka: Aritzia, Cape: Aritzia, Polkadot dress: Urban Outfitters, Fleece Leggings: Simons, Boots: Steve Madden, Beanies: Me!}
If you want your beanie to be slouchier, be sure to crochet more chains at the beginning to give the hat more height! This pattern is very versatile and adaptable as you can use any yarn, make your hat slouchier, chunkier, striped, etc.
I had been searching for a hat pattern like this for a while, and I am so excited that I found one! This would make a great project for people who are interested in learning how to crochet as it is so easy to make and the results are beautiful!
Once again, you can find the free pattern on the Lion Brand website HERE! When my sister Ashley saw how cute my hat was, she immediately requested one too- I think I will definitely be making more of these in the future….will you? I’m even thinking of making a matching pom pom beanie for Myla as well! They would make great Christmas gifts! If you end up posting your projects on Ravelry, you can find the entry HERE as it is under “Adult’s Easy Crochet Hat” by Lion Brand! I hope you enjoyed reading this post, and don’t forget to connect with me through my Facebook page, Twitter, and Instagram! Stay warm and happy crocheting 🙂
[Update: I ended up making a purple “Easy Ribbed Pom Pom Beanie” for my brother Corey using the exact same pattern I used for my white beanie! These beanies look great on guys too!
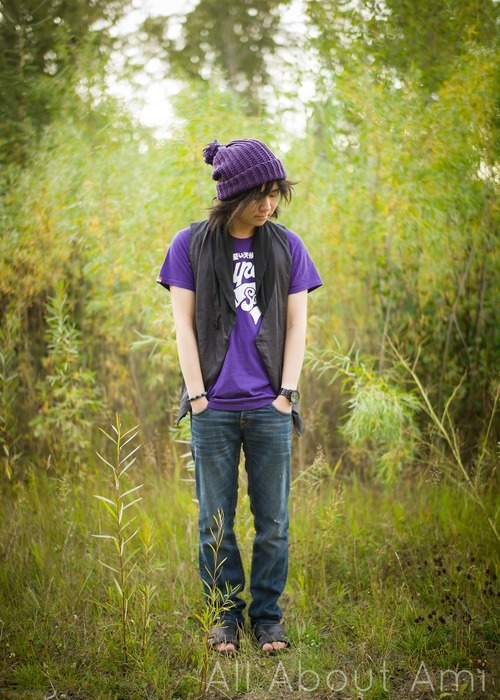
Check out more photos of Corey’s beanie HERE!]