***Note: This is the step-by-step blog post! The free patterns and more detailed illustrations for the P.J. Teddies can be found HERE and for the Baby P.J. Teddy HERE. You can purchase an INEXPENSIVE AD-FREE PDF of this pattern on Etsy HERE. The printable PDF with step-by-step pictures has been condensed into a total of 5 pages including the cover page and contains the pattern for the Adult P.J. Teddies and Baby P.J. Teddy!
I wanted to make something special for some family friends who have two very sweet young girls. When their mom told me that they liked teddy bears, I was thrilled as I absolutely love making teddies (see Valentine Teddy, Mini Cupcake Bear, Graduation Teddy and Teddy Bear Keychains). I myself used to collect teddies when I was younger, and my siblings and I would act out elaborate storylines with them 🙂
I loved how Link’s legs were crocheted together and then continued row after row to form his body. This was different than my usual method of crocheting a separate body and legs, and then attaching the legs onto the body. I wanted to try this new technique on a teddy bear, so we had the idea of creating teddy bears wearing onesie pajamas in bright colours!
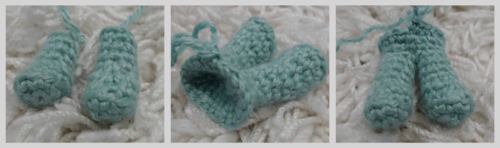
I started off by crocheting a small ball for the hands and then switching colours and decreasing to form the sleeves.

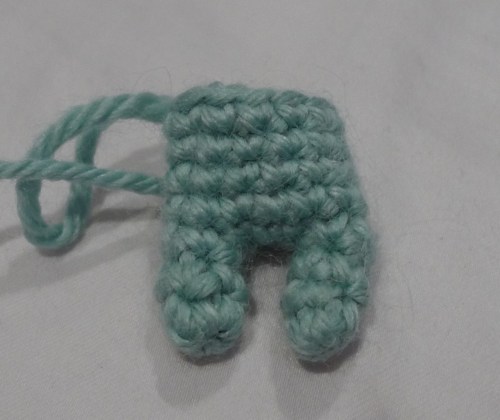
For the feet, I created an oval shape by crocheting around both sides of a chain. I am used to decreasing evenly around a circle (e.g. after every x amount of stitches, decrease), but I wanted to create more of a foot or “boot-like” shape. And so, the decreases were concentrated at the tip of the oval to create this indent on one side (instead of an even tapering).

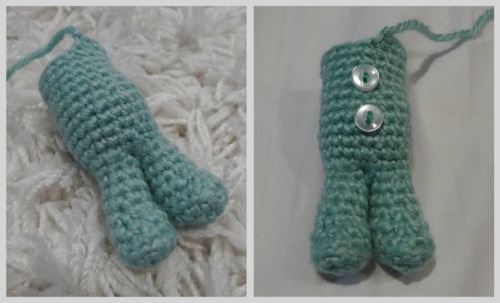
Once both legs were completed, I joined them together and continued to crochet around to form the upper body.
Once the body was complete, these cute dainty buttons were added.
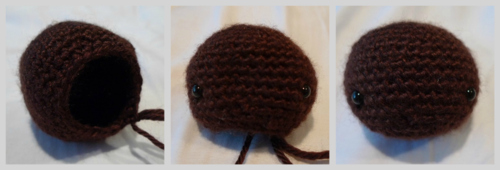
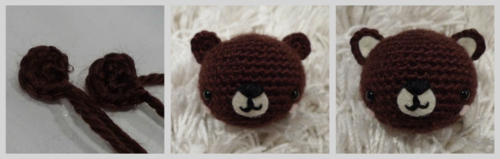
Next I worked on the head…
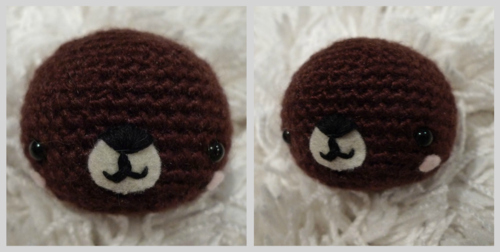
This teddy has some different features compared to my other teddies: the nose is embroidered differently on the felt (V-shape embroidered at very top of felt vs. in the middle of the felt) and the two pink cheeks are oval-shaped.
I crocheted very small ears, attached them to the head, and then lined them with beige felt.
Ready for assembly! He sure is a cutie already =D
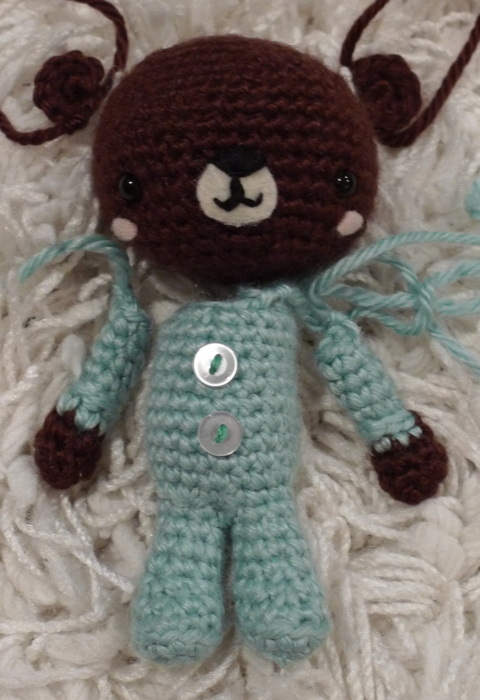
I love that this teddy’s legs are already attached to the body. The only things left to attach are the arms!

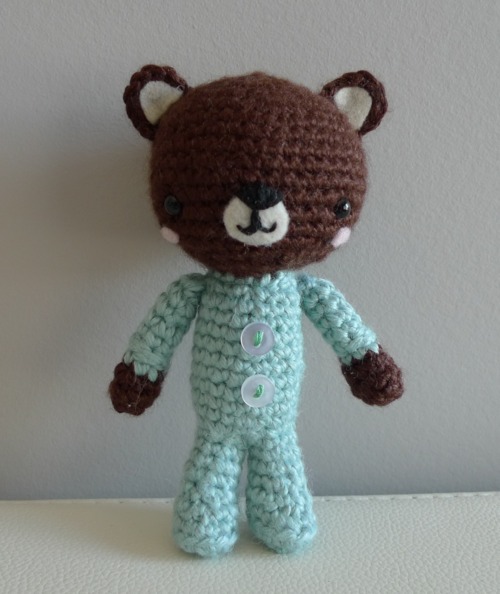
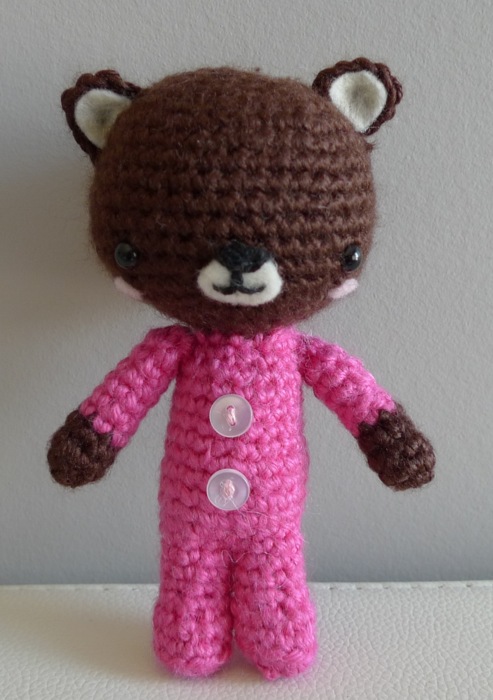
Here is P.J. Teddy all complete! He is my first standing teddy as all my other ones sit down…
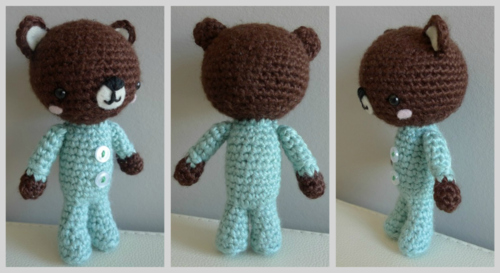
Side and back views: love the pink cheeks from the side!
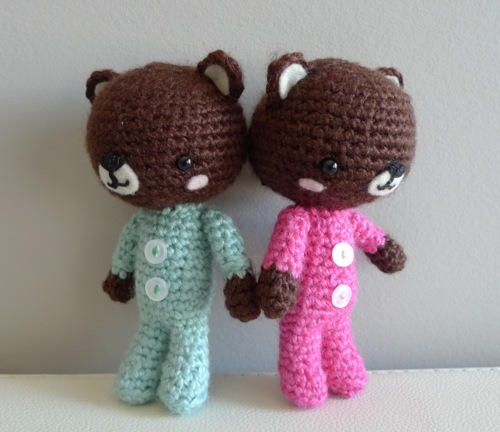
Here is another P.J. teddy with bright pink p.j.’s:
They’re a cute pair, no?
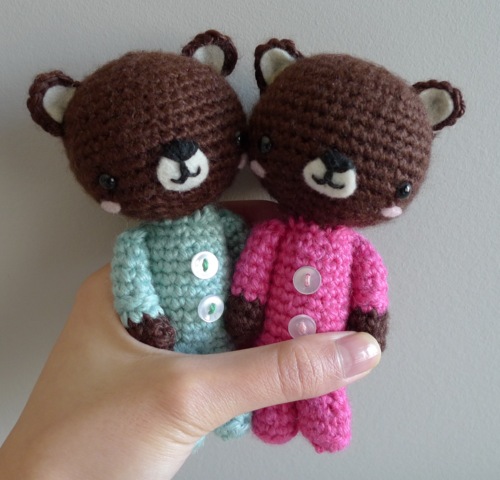
Holding hands…

And back to back
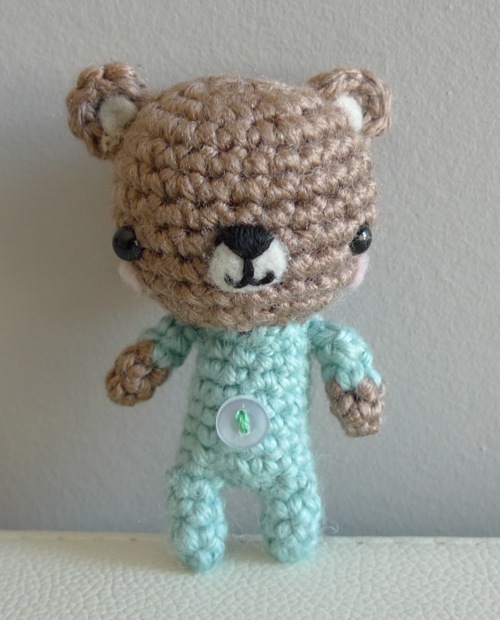
I wanted to create a miniature version of these guys, so I began working on a Baby P.J. Teddy. I did his feet/legs differently by spacing them apart (connected by chains). Look how tiny his body is!
I also used a different brown to see how the features would show up on this teddy 🙂 He gets a single button on his onesie!
Side and back views
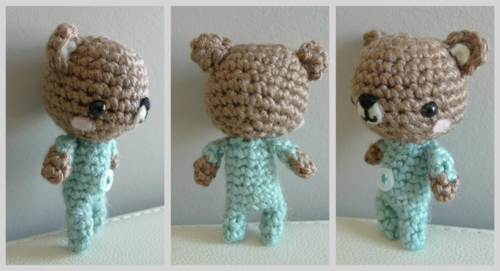
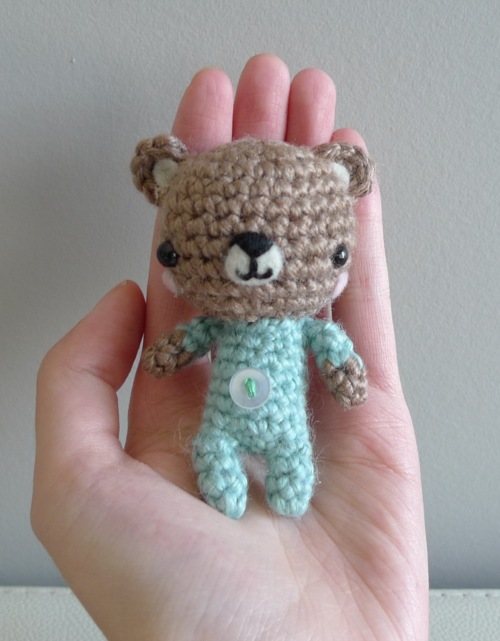
Baby P.J. Teddy is quite small!
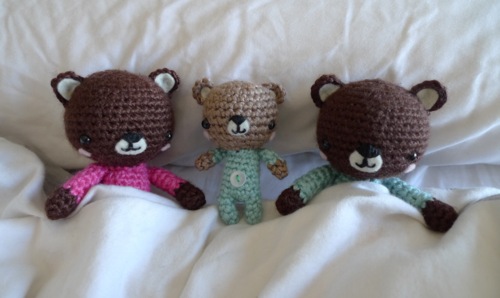
The whole P.J. family together…
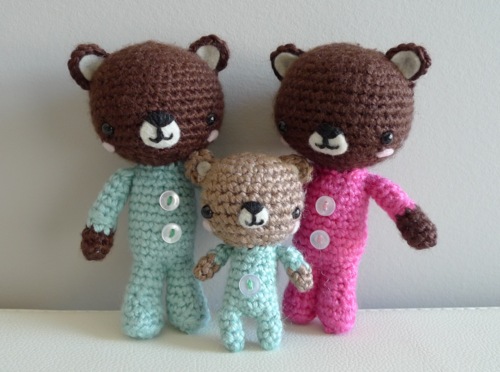
And ready for bed!
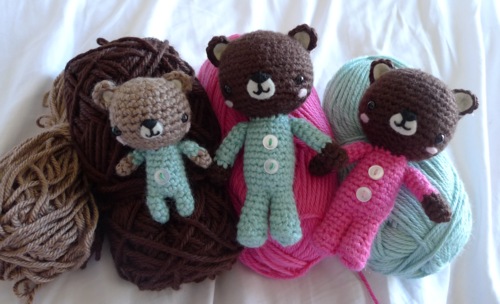
These are the different yarns I used. I love how there are endless possibilities as to what balls of yarn can be used to create! The girls’ faces lit up when they took these teddies out from their gift bags. They shyly said thank you and I later saw them playing with their new friends 🙂
I hope you enjoyed reading about these special teddies donning pajamas! Once again, the free patterns and more detailed illustrations for the P.J. Teddies can be found HERE and for the Baby P.J. Teddy HERE!