A while back, someone requested that I do a nose tutorial for amigurumi. I thought this was an excellent idea since the noses are such a key feature for stuffed animals. Different noses make amigurumi look happy or sad, and the placement of the noses greatly affects the overall look of their faces! In this tutorial, we will demonstrate how to embroider a nose using felt, embroidery floss and a needle. We will also show examples of various noses and where we generally like to place our noses on a face.
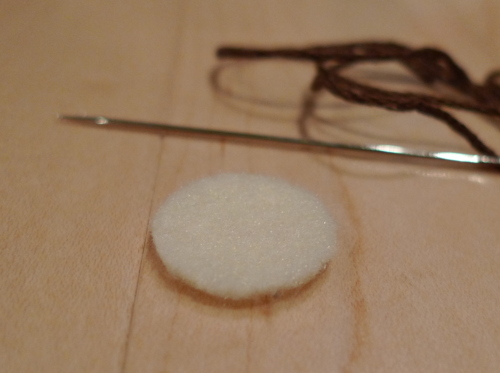
Here are some step-by-step photos showing how we make one particular nose. Start off by cutting a small circular piece of felt and get your needle and embroidery floss ready!
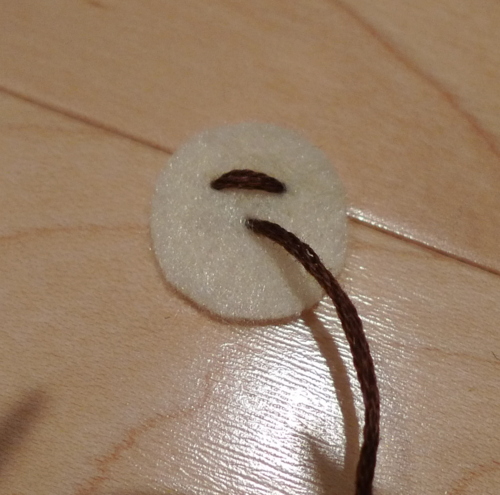
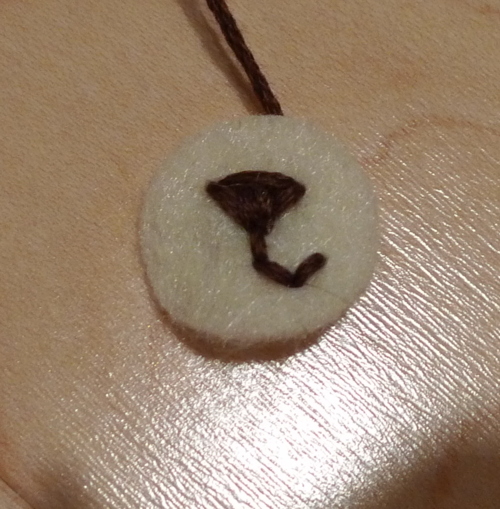
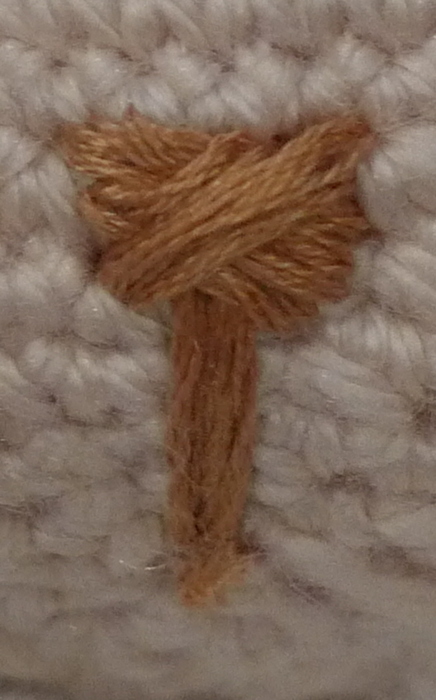
Start from the back side of the felt so that your knot will be hidden underneath. We will be creating a triangle for this particular nose. As illustrated in the photo below, stitch one line across at the top and then poke your needle below at a point that is halfway between the top line.
Join the sides of the triangle.
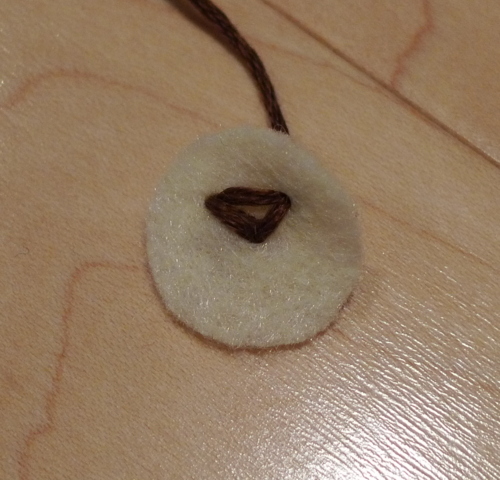
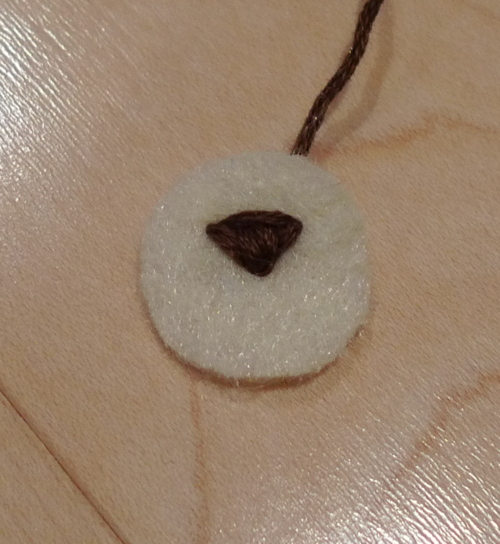
Fill in the triangle.
Stitch a line straight down.

Then stitch two small lines to create a “v” on the right side.
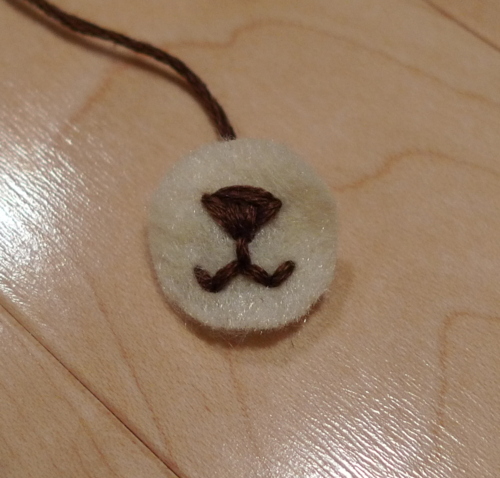
Next, stitch a “v” on the left side. The nose is complete!
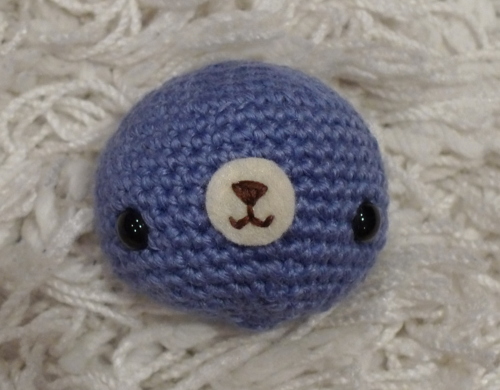
The next important step is placing the nose on the face. This is definitely personal preference, but I will show you how I like to place the noses based on my experience. This nose is placed too low…
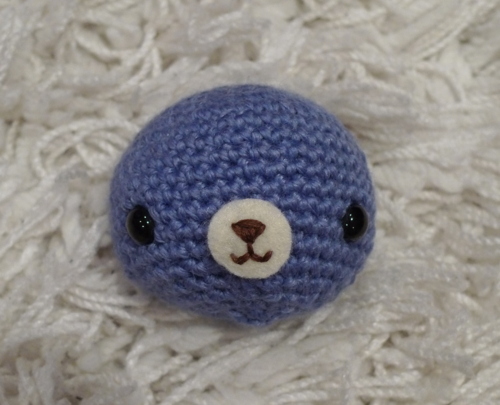
This nose is placed wayyyy too low…
This nose is placed a little too high…
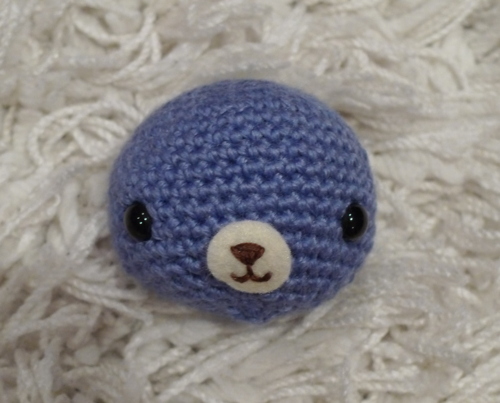
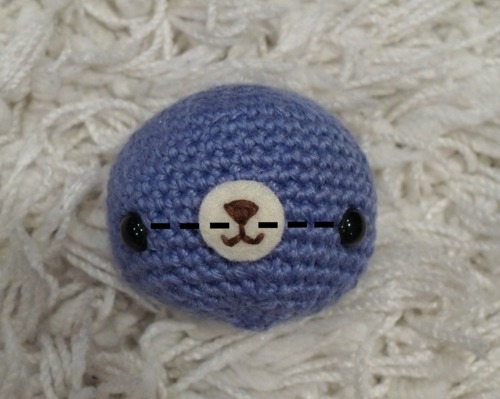
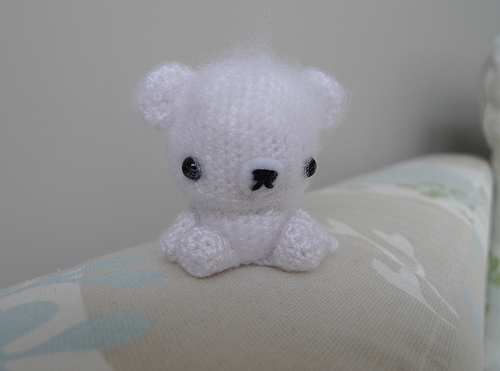
I prefer to place my noses as shown in the picture below. The middle of the nose lines up with the middle of the eyes (as shown by the dotted line). Once again though, this is really personal preference.
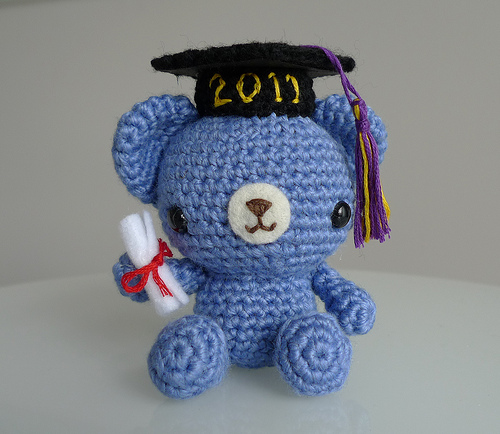
This nose was used for Graduation Teddy (pattern found here).
Next, I will show you some close-ups of various noses we’ve made. Click on the name of each amigurumi to see the full step-by-step blog posts . When the noses are upturned (bottom lines curve upwards), they make the amigurumi look happy. Here is another example of an upturned nose.
This was for Cupcake Bear.

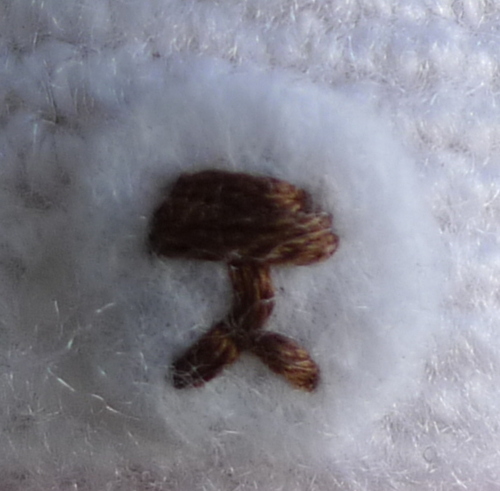
This nose is simple with a cute little smile.
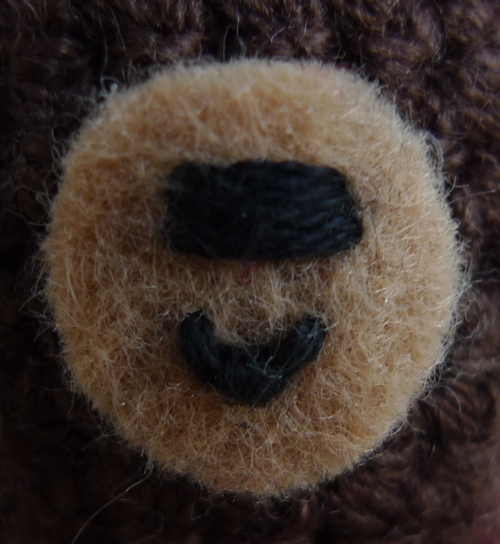
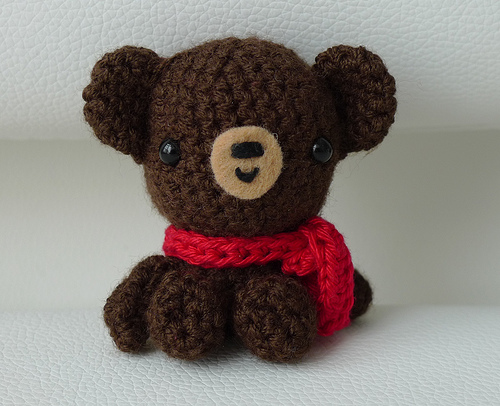
This was for Brown Bear with Scarf.
This next nose has a triangle shape with a small smile.
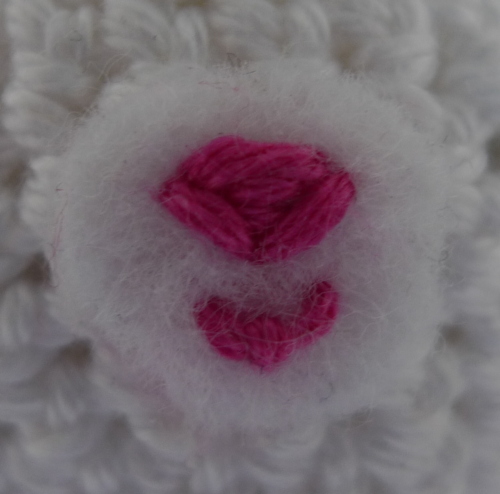
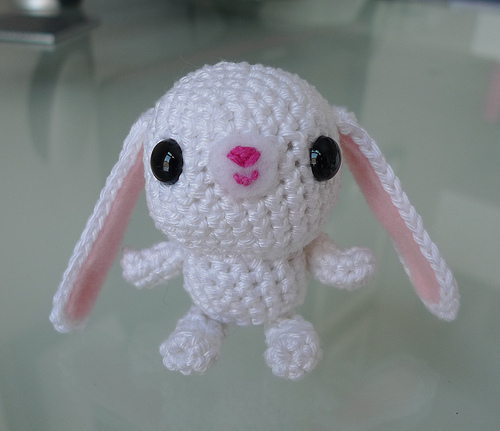
This was for Bunny.
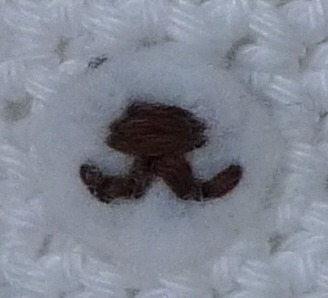
The next series of noses are all downturned (bottom lines go downwards), making the amigurumi look a little sad. There’s just something about these noses that make them look adorable though!
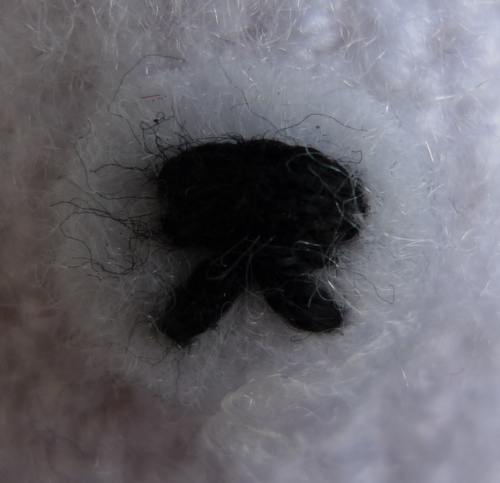
This was for Fuzzy White Bear.
Here’s another one…
This was for Mini Cupcake Bear (pattern found here).

This nose is similar to the one above except there’s no line going straight down.
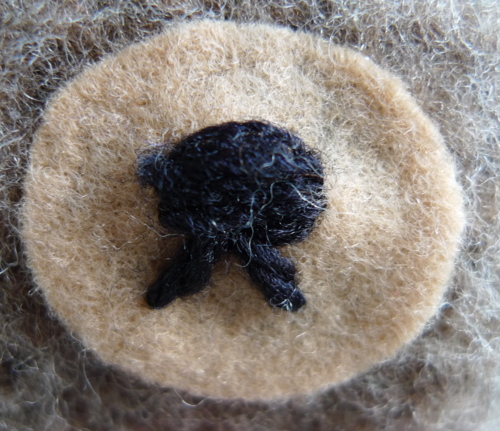
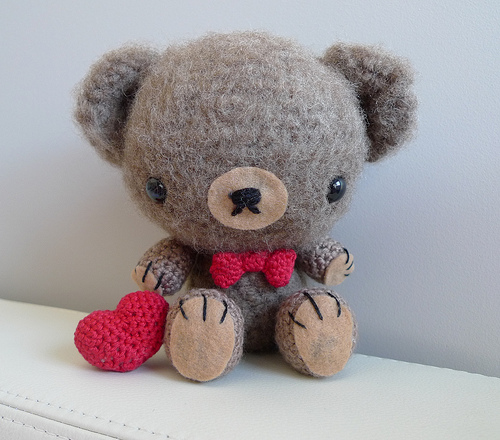
This was for Valentine Teddy (pattern can be found here).
This nose was very different and was stitched directly onto the face (no felt used). A step-by-step tutorial for this nose can be found here.
Another variation of a nose stitched directly onto the face can be found HERE also from the Spring Bunnies! This nose consists of two lines running perpendicular to one another!

Here are a variety of noses, including upturned, downtowned and neutral to depict different expressions:
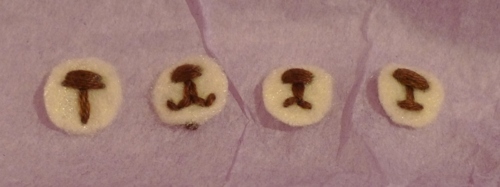
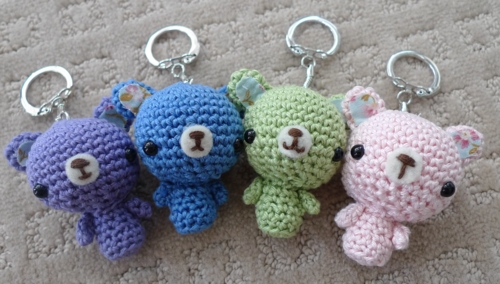
These were for my Teddy Bear Keychains in my first giveaway!
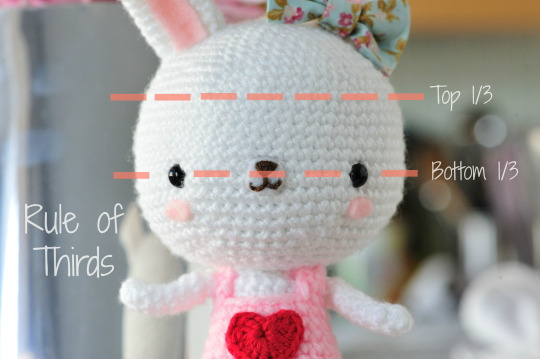
Furthermore, we generally like to follow the “Rule of Thirds” in which we place the eyes and embroider the features along the bottom third of the head (see image below with Sweetheart Bunny)!
I will continue to add noses to this post as I make more amigurumi. There are many different ways to make noses, but these are just some of the ways that we’ve made them. You can stitch the noses directly onto the face or stitch them onto felt and then sew or use a glue gun to attach the felt to the face. Try out these different noses and make up your own styles! Keep your eyes out for cute expressions when watching cartoons or when you see other stuffed animals at toy stores. They really help give amigurumi different personalities and looks!
