I am delighted that so many of you have joined me on my knitting journey by taking part in my “Simple Knit Series” and given me such wonderful feedback! In the first installment HERE, we learned how to cast on stitches using the long tail cast-on, do the knit stitch (garter stitch), and cast off stitches. We used these techniques to create the stunning “Simple Garter Stitch Scarf” that many of you have tried!
![]()
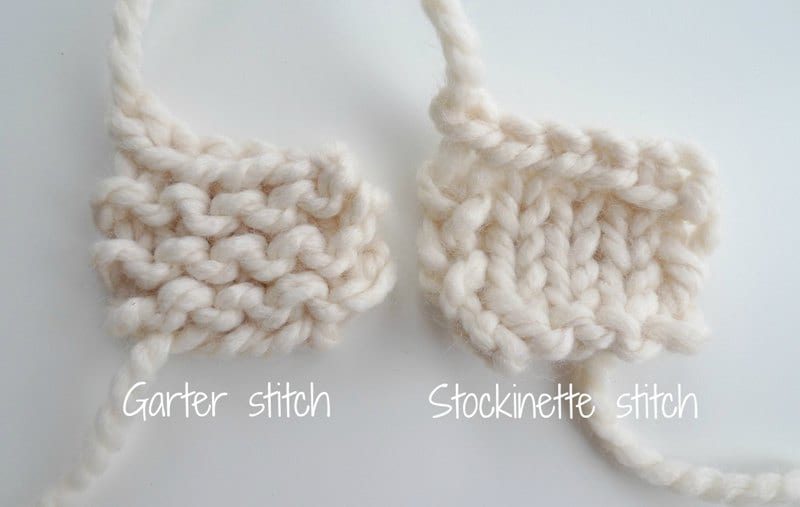
Now, we will begin the second installment of the series: learning how to knit the stockinette stitch! The garter stitch (left in pic below) is created by doing row after row of the knit stitch. The stockinette stitch (right in pic below) is created by alternating knit stitches with PURL stitches row by row. The stockinette stitch creates those lovely V’s that are iconic of knitting, and it’s such a beautiful and classic pattern!
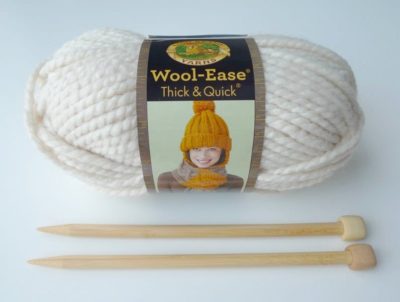
For this tutorial, we will be using Lion Brand Yarn’s Wool-Ease Thick & Quick Yarn and Clover Takumi 9 mm needles.
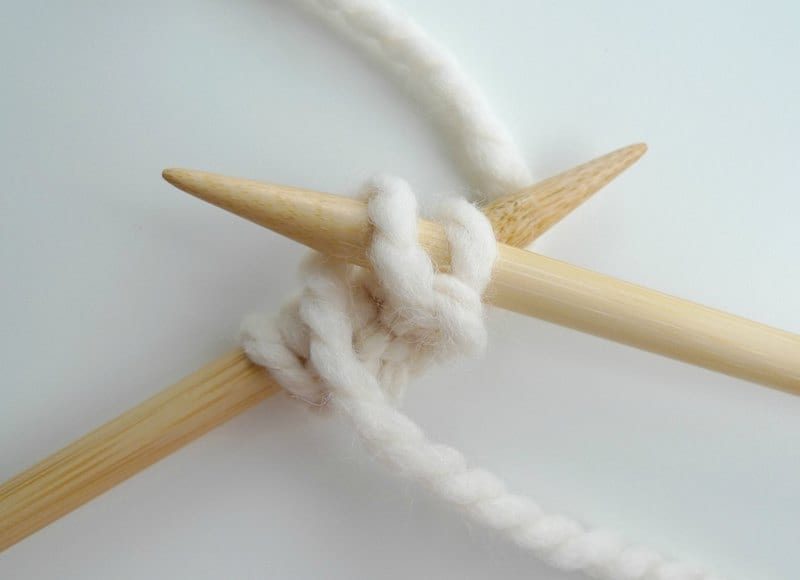
This tutorial assumes that you already know how to cast on stitches and cast off stitches, but the video tutorial walks you through these steps again. After casting on your stitches using the long tail cast-on (which technically counts as the first row of knit stitches), it is time to learn how to work purl stitches.
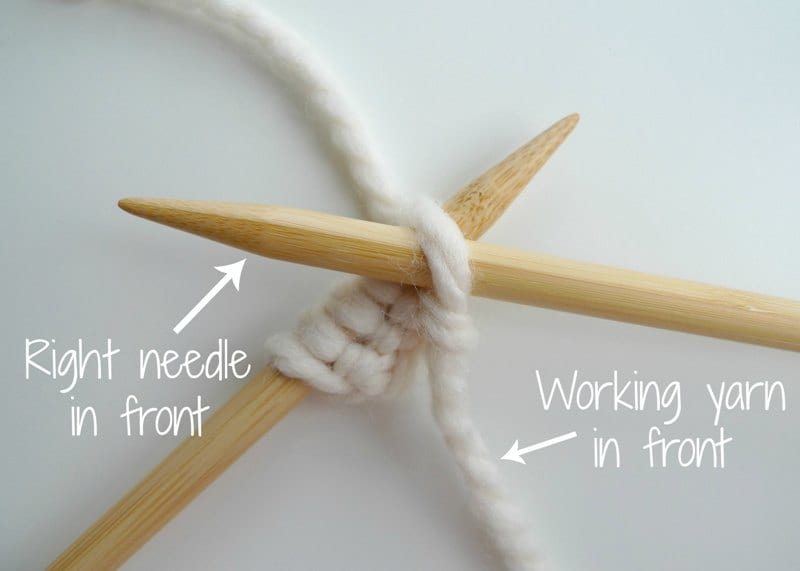
You insert your knitting needle downwards and in front of the other knitting needle rather than upwards and behind the other knitting needle as you do with the knit stitch. Your working yarn should be positioned in front of the needles rather than behind the needles as it typically is with the knit stitch. It takes some practice getting used to orienting your needle and wrapping the yarn this way!
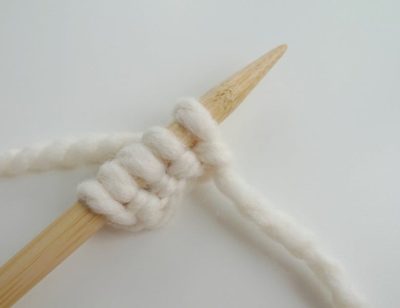
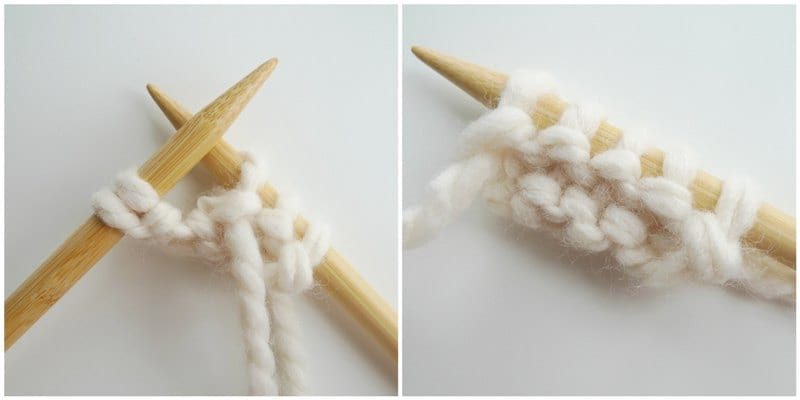
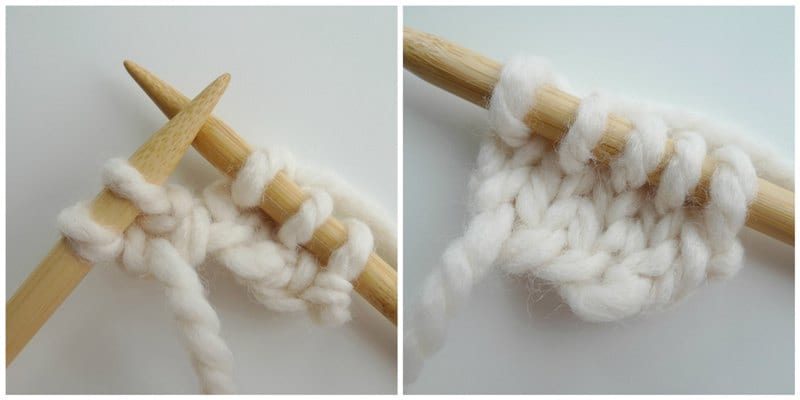
You wrap the working yarn around the right needle as pictured below. After you pull the working yarn through the loop, one purl stitch has been completed!
After working this same purl stitch across, you are done your first row of purl stitches! You can see that this side is “bumpy” with all these little ridges.
You then flip your work to show the other side which has a completely different look to it!
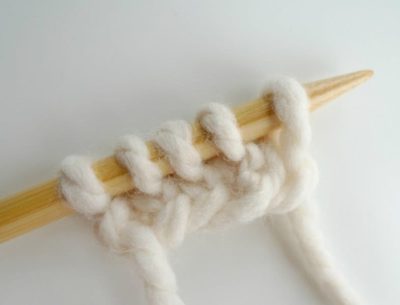
Since you have just completed one row of purl stitches, it is now time to work one row of knit stitches. We learned how to do the knit stitch in our first installment of this Simple Knit Series HERE! As a reminder, the right needle goes behind the other needles, and the working yarn is behind both needles.
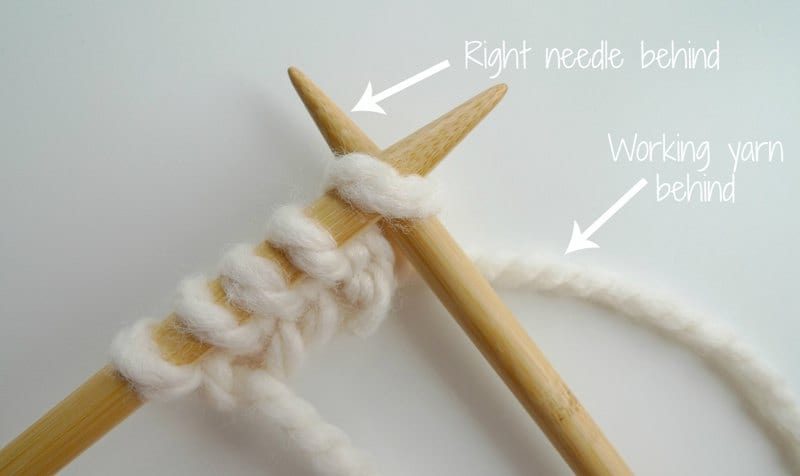
Work knit stitches across the entire row. Notice those beautiful V’s that are beginning to develop?
Once you know how to do the purl stitch, you can create the beautiful stockinette pattern as it is simply alternating rows of knit stitches and purl stitches! If you ever forget whether you’re on a row of knit stitches or purl stitches in stockinette, look for these clues: if the little “bumps” are facing you (left in pic below), then you need to do a row of purl stitches. This pattern is called reverse stockinette. If the V’s are facing you, you need to do a row of knit stitches- this pattern is called stockinette. You’ll notice that pieces made with the stockinette stitch tend to curl (see this informative Craftsy blog post HERE), so don’t worry if you notice this happening to your work- this is normal!

There you have it! Now you know how to knit the classic stockinette stitch by simply adding one more stitch to your knitting repertoire: the purl stitch! Check out my detailed video below showing you how to cast on stitches using the long tail cast-on, work alternating rows of purl and knit stitches, and casting off! You can also view this video on YouTube HERE!
Once you have this technique down, you can knit my “Simple Stockinette Hat” that is worked flat and then seamed along the sides and at the top! It is an extremely simple hat pattern as there are no increases or decreases, and you can practice alternating your knit stitches and purl stitches row by row! The FREE PATTERN can be found HERE! Have fun practicing the classic stockinette stitch, everyone!
![]()
Note: Thank you to Lion Brand Yarn for sponsoring the yarn and Clover USA for sponsoring the knitting needles for this series!