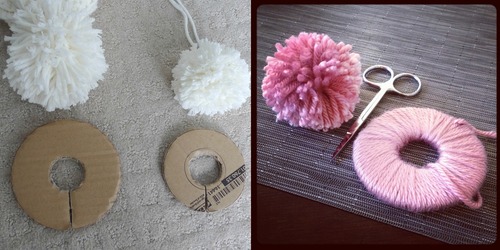
I’ve done my fair share of yarn pom pom making in the past as I love adding pom poms to hats (see my “Easy Ribbed Pom Pom Beanie” HERE) and we hung yarn pom poms from manzanita trees as decor for our baby shower two years ago (see HERE)! We cut out two doughnut shapes out of cardboard to serve as our pom pom makers, and they were quite effective although the cardboard started to fray and become flimsy over time.

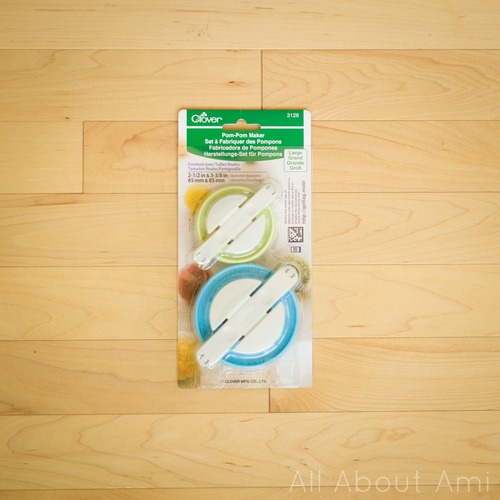
I was always intrigued by the plastic pom pom makers I had heard about and seen on-line, and I was delighted when I saw the Clover pom pom maker being sold at my local Michaels! I’ve loved using my Clover Amour crochet hooks as well as my Clover stitch markers, so I was excited to try this particular Clover tool. I waited for a 50% off coupon and managed to snatch the last pom pom maker two weekends ago- it’s about $10 regular price, so it was only $5 with the coupon. Since you get two different sizes in one package, each pom pom maker came out to be only $2.50 which I thought was a great deal!
I purchased the Large set seen below which makes pom poms with diameters of 2 ½ inches/65 mm & 3 3/8 inches/85 mm. The Small set makes pom poms with diameters of 1 3/8 inches/35 mm & 1 5/8 inches/45 mm. On the package it says that “actual size will vary depending on type of yarn used and thickness”. I knew the Large set was more appropriate for me since I would mostly be making poms poms for hats!
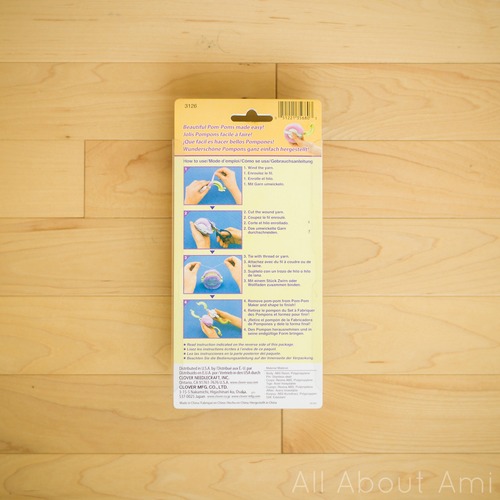
The back of the package includes some instructions on how to use the pom pom maker, but I did not find them very comprehensive or thorough. I later discovered that there are more in-depth instructions on the inside of this package, but by then I had already found out how to use the Clover pom pom maker by finding a very helpful video on-line (I’ll link to it at the end of this blog post)! I thought I would show you some step-by-step photos of how to use this pom pom maker as you might be interested in how it works too 🙂
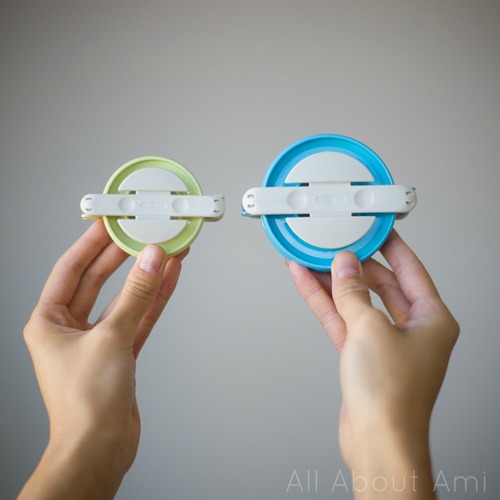
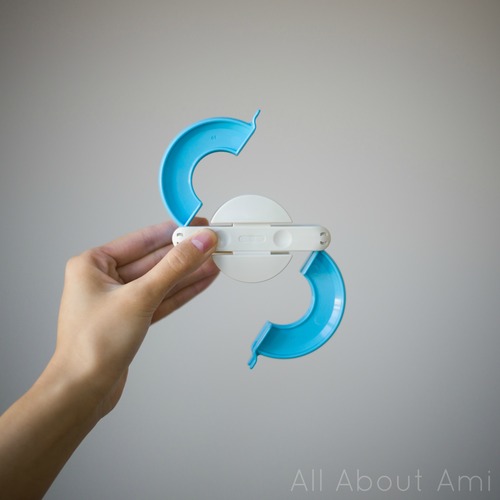
These are the two pom pom makers that come inside the package. I love the bright, vibrant colours!
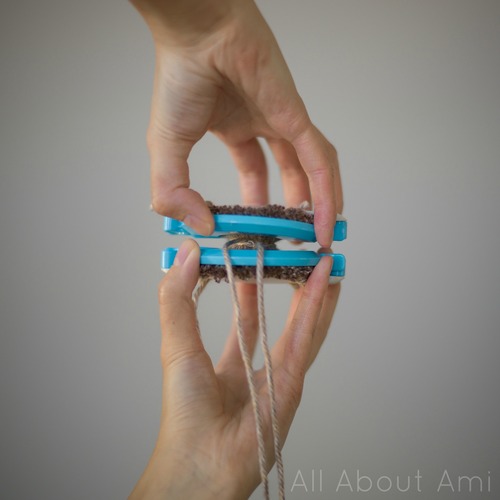
The two arches of the pom pom maker can swing apart like so…
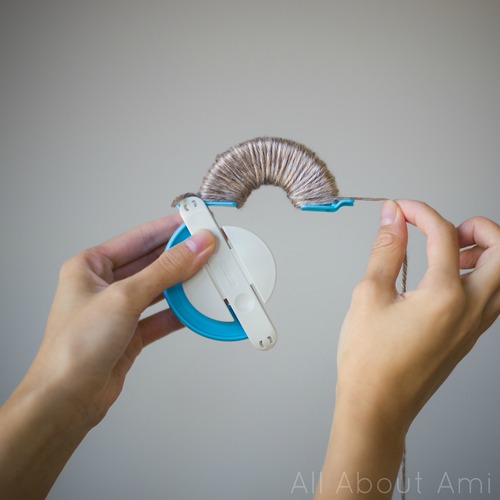
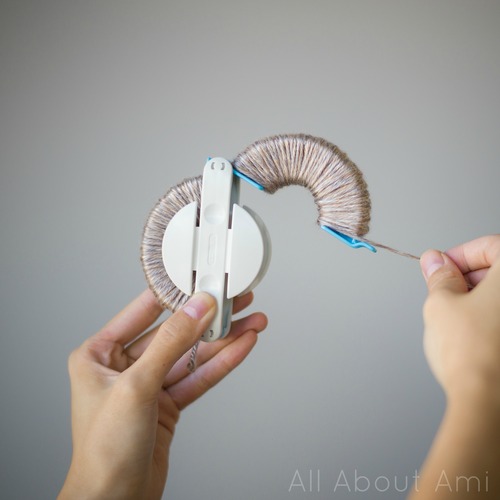
You begin winding the yarn around one arch starting from the left side and moving towards the right.
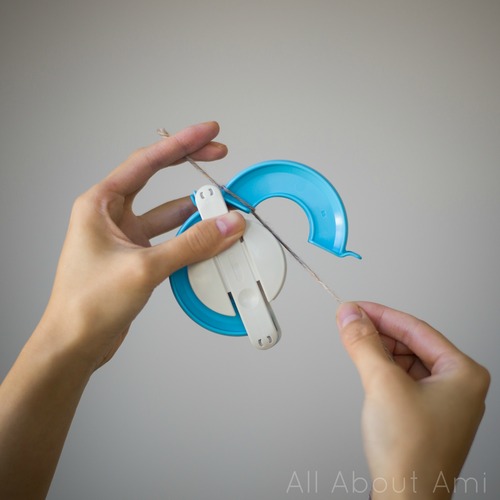
Be sure to hold the arches tightly together so that they’re aligned (both top and bottom arches are comprised of two separate arches that are side-by-side).
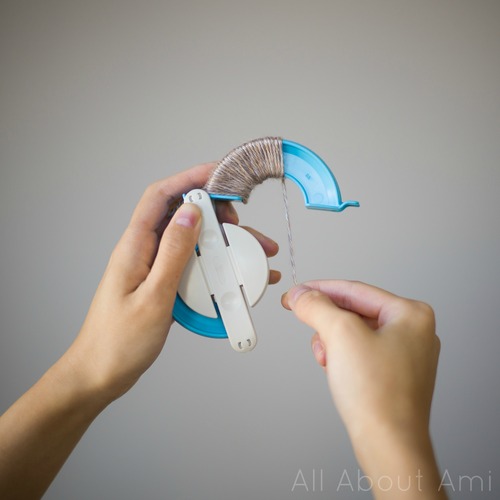
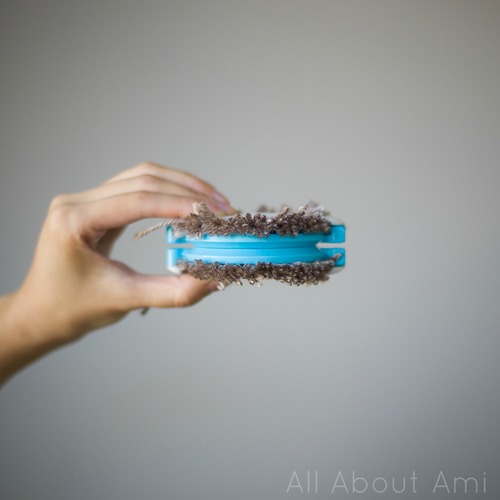
When you’re winding the yarn, you want to make sure that absolutely no colour is visible (i.e. the blue of the arches). How much yarn you wind around the arches will determine the thickness and fullness of your pom pom! Once I hit the right side, I actually wind more yarn by going towards the left side and then go back towards the right side again (going across arch three times).
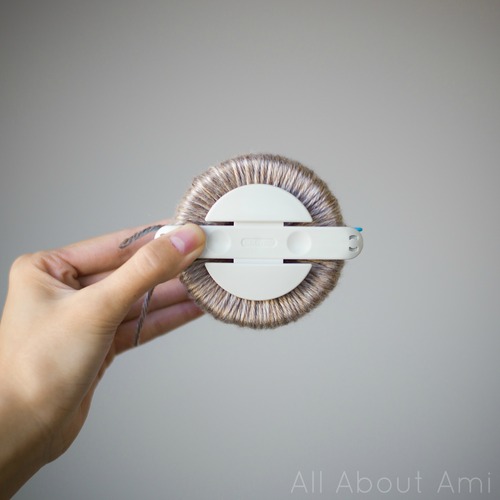
After all the yarn winding, you want to end with the strand pointing towards the right side…
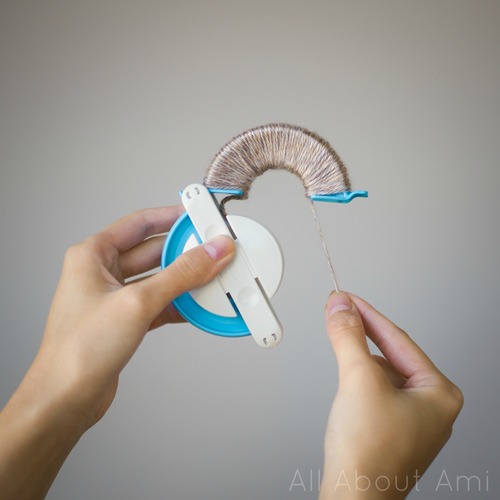
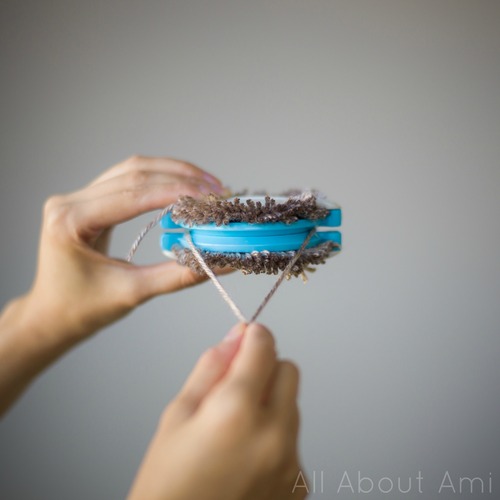
You then feed the yarn through the gap between the two top arches and two bottom arches.
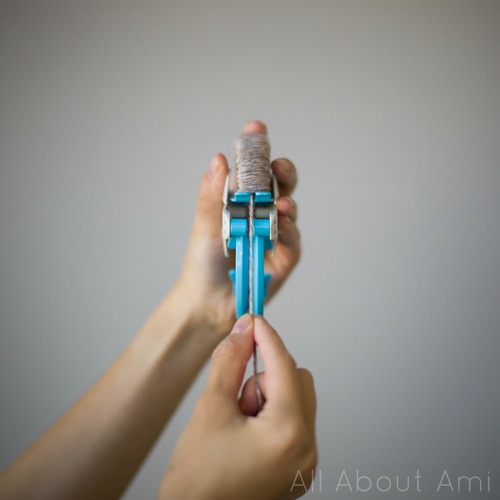
Next you begin winding the yarn around the two bottom arches. This little piece of yarn that is connecting the top and bottom arches will be cut later on!
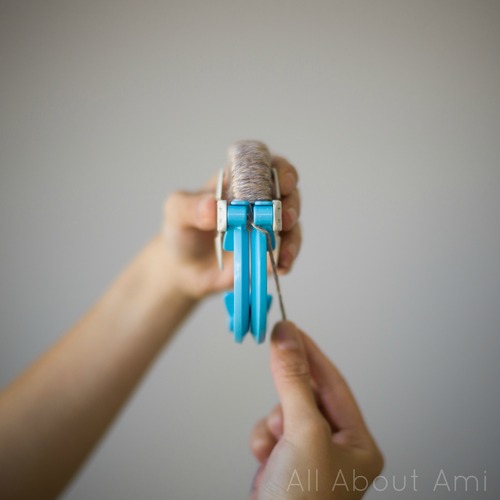
Time for some more winding!
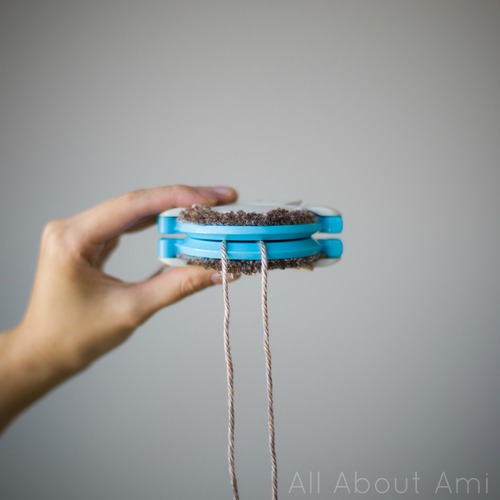
Once you’ve wound enough yarn on the bottom arches (I also did it three times), you can cut off the yarn.
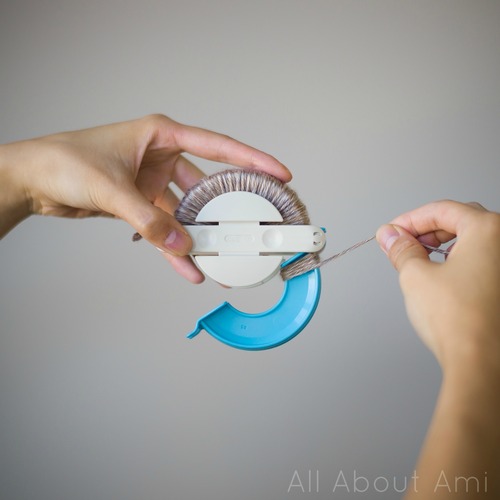
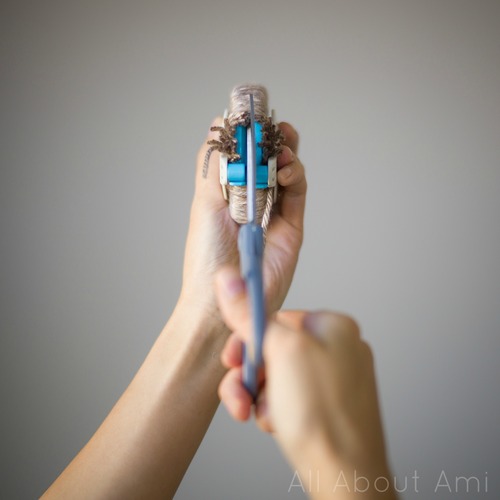
You push the arches together and then get a pair of sharp scissors ready!
You place your scissors in the gap between the arches and begin cutting…

This cutting is a very smooth process as the groove between the arches helps guide your scissors and the yarn begins to splay towards each side.
Once your scissors have made its way around the entire circle, you are left with this!
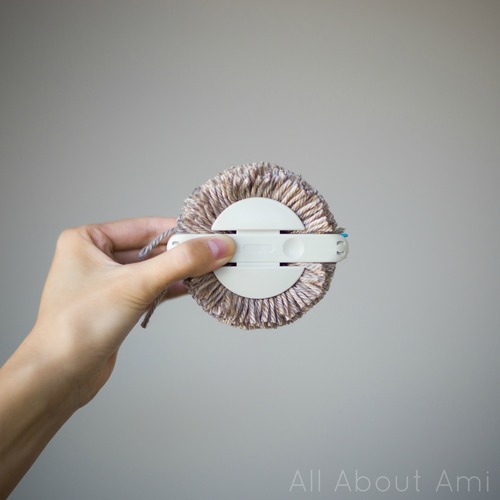
Here is a picture showing the top view and the groove that your scissors are supposed to follow. This picture made me think of a macaron…random I know…
Next you cut a long piece of yarn and thread it through the groove. You will be using this strand to tie a knot to secure your pom pom. I always make this strand extra long since I use it to attach the pom pom to my hats as well!
Be sure to tie your knots very tightly as you do not want your pom pom to fall part! I tie a double knot on one side, then swing the ends towards the opposite end and tie a double knot on the other side as well.
Then you are ready to take the top and bottom parts apart to release your pom pom!
Almost there!

Then you fluff and shape your pom pom to its desired shape. You trim the long pieces with a pair of scissors. I find that with using this pom pom maker, not much trimming and shaping is needed (especially compared to my previous cardboard template method).
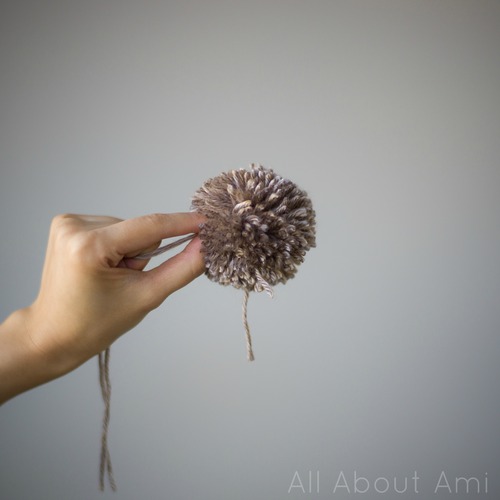
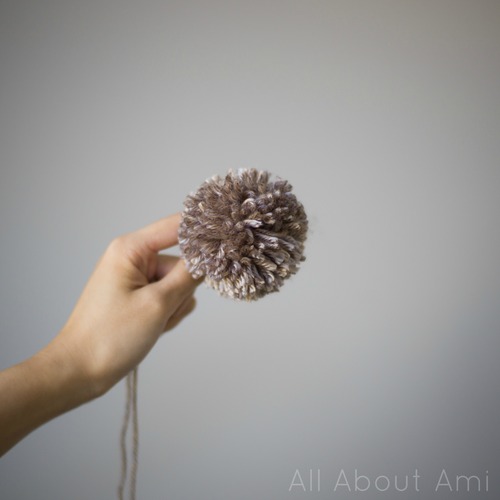
Here is my finished product! I kind of wish that I had done more winding to make an even fuller pom pom. This was only my third pom pom made using this Clover pom pom maker, so I am still learning. When in doubt, just wind some more as a fuller pom pom is better than a limp pom pom!
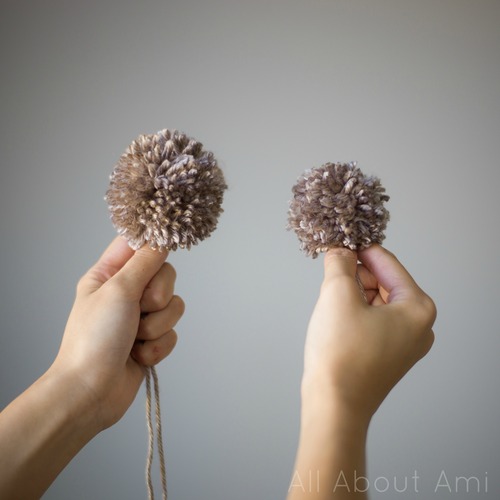
Here are the two pom poms I made using the two sizes included in the “Large Clover Pom Pom Maker” package. If you’re wondering what this beautiful yarn is, it’s Lion Brand’s “Heartland” yarn in “Grand Canyon”. This yarn is incredibly soft and this particular colour is gorgeous as it has a beautiful sheen to it with hints of browns, greys and golds in it. I will actually be blogging about a new design I made using this yarn shortly, and it includes these two pom poms! Be on the look out for a sneak peek of it later this week!
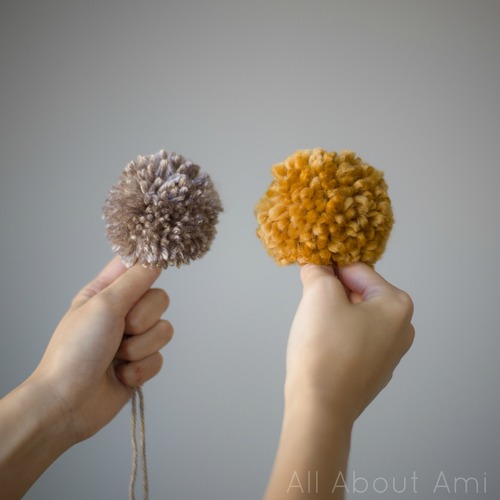
Here is a comparison of using a medium (level 4) yarn versus a super bulky (level 6) yarn with the largest pom pom maker! The finished pom pom definitely depends on the type and thickness of the yarn.
I have created a video tutorial for you to see how to use the Clover Pom Pom Makers in action! There are actually 7 different sizes currently available, and I have blogged about all the different sizes in this blog post HERE!
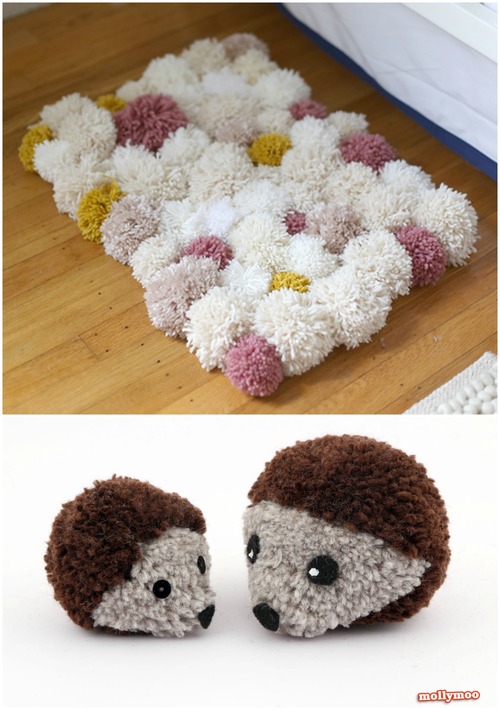
Here are some other beautiful ways in which you can use yarn pom poms besides attaching them to hats! Liz of “Say Yes” made this gorgeous pom pom rug that looks so fluffy and soft on the feet! Check out her tutorial on how to make this HERE. Michelle of “MollyMoo” made these adorable pom pom hedgehogs using the large Clover pom pom maker with different yarn colours and some clever trimming, shaping and felt. Check out her tutorial HERE.
I had a lot of fun learning how to use my new pom pom maker and I am so glad that I made this purchase. It was a great deal, and I know that I will be putting this to good use in the future! I shared my purchase on Instagram and was delighted to hear that many of you have also had great experiences with the Clover Pom Pom Maker and were very enthusiastic about it too! It’s a great tool that helps facilitate the pom pom making process, and I would definitely recommend it to other crafters. You can actually purchase the Clover Pom Pom Maker on Amazon (Large set on sale for $6.89 HERE and Small set on sale for $4.73 HERE)! I hope you found this blog post informative and helpful, and I wish you happy pom pom making!