***This is the step-by-step blog post of our Chinese New Year Doll. The free pattern can be found HERE. You can also purchase an INEXPENSIVE AD-FREE PDF of this pattern on Etsy HERE. The printable PDF with step-by-step pictures has been condensed into a total of 4 pages including the cover page!
With Chinese New Year coming up, I wanted to create a special Chinese New Year Doll. Ryan and I thought it would be so cute if we could make a little bunny that she could hold since this upcoming year is the Year of the Rabbit! I knew this would be quite the challenge since it’d be my first original design and I wanted to make her quite intricate.
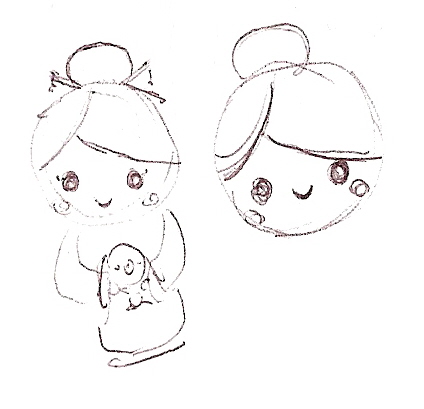
Ryan and I roughly sketched out different designs. Here’s one of them:
My mind was swirling with ideas as I thought about how I’d make each piece, from her hair to her sleeves. I meticulously wrote down how I made each part and wrote out the pattern, which I am providing for free HERE.
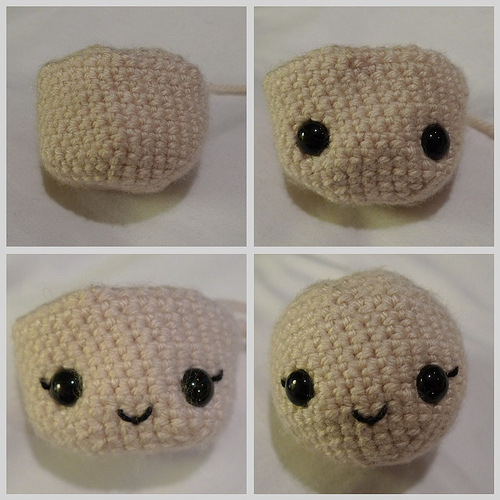
I started off with her head and face, using 9 mm safety eyes and embroidery floss for her eyelashes and her mouth. She looks so funny when she’s bald!
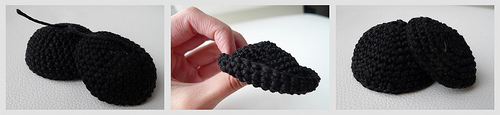
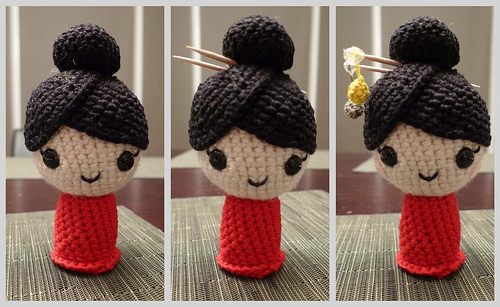
The hair was the challenging part. I wasn’t sure what shape to make and how to position the hair on the head. If I made one big circle and sewed it ontop, it would simply look like she was wearing a hat (or that she had a bowl cut!). I really wanted to make a part in her hair as well. And so, I made two circles of varying sizes and overlapped them to create a side part for her! I flipped the circles inside out (as seen in photo below) since they fit the head better this way.
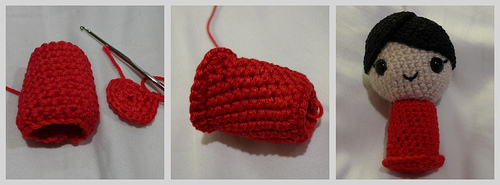
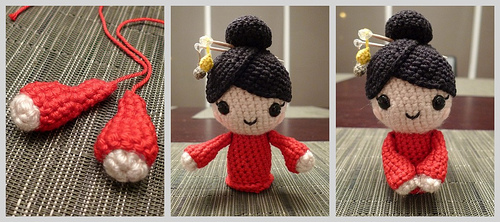
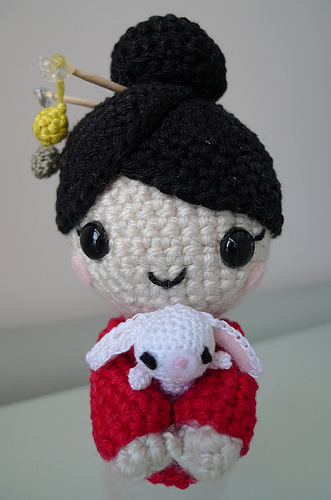
Then I made a red dress (red symbolizes good fortune and joy in traditional Chinese culture, and it’s found everywhere during Chinese New Year) consisting of two parts: a tube and a circle for the bottom. I joined the circle to the tube with single crochets to create a frilly edge for the bottom. We cut out a cardboard circle, placed it in the bottom, and then filled her dress with rice so that she would stand nicely.
Next, I sewed a cute bun ontop of her head. Then we placed toothpicks in her hair (representing chopsticks of course :D) and Ryan used a glue gun to secure a little yellow and grey ball to the toothpicks. The glue gives it a nice oramental look, almost like a jewel or crystal.
I then made sleeves that flair out and two balls for her hands. Ryan helped me glue gun the hands into her sleeves. I attached the sleeves to her dress (doesn’t it look like she’s ready to give a big hug in the second photo?) and then tied her hands together so she’s ready to hold something!
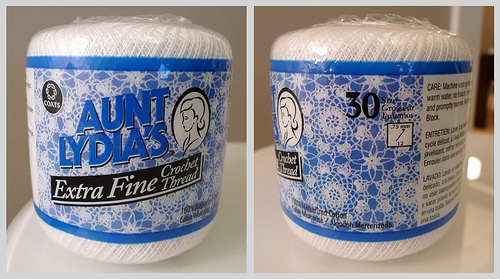
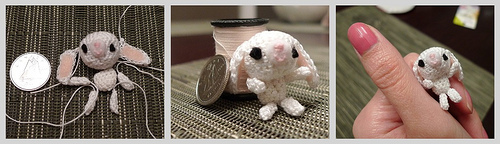
Now onto her little bunny toy! To make such a tiny bunny, I had to get special extra fine crochet thread as seen below:
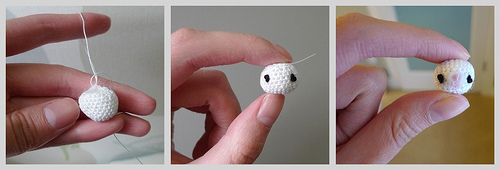
My eyes were going a little wonky when I was making this bunny since the stitches were so tiny! I had to take breaks and work on it bit by bit. I pretty much made this bunny the same way as my other bunny, adjusting the pattern to make it smaller. Look how tiny the head is:
Assembling the little bunny didn’t take too long. She sure is tiny, hey?
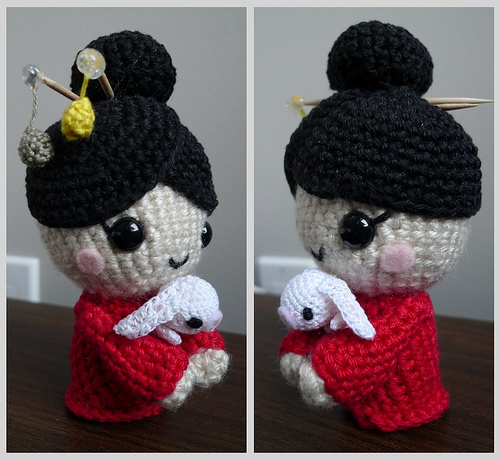
And now to place the little bunny into her arms 🙂
Here are some side views:
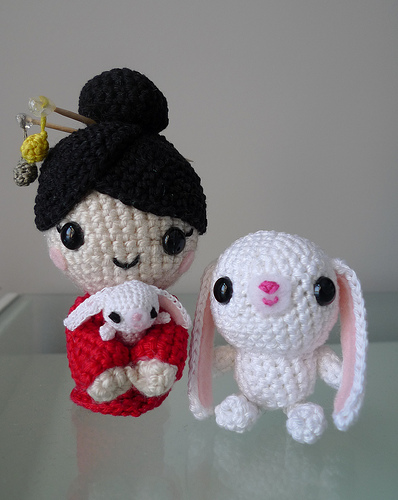
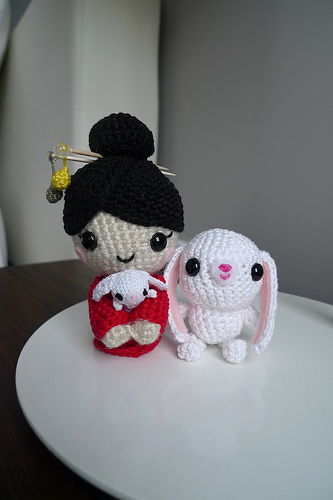
I had to bring out the other bunny too because they look so cute together!

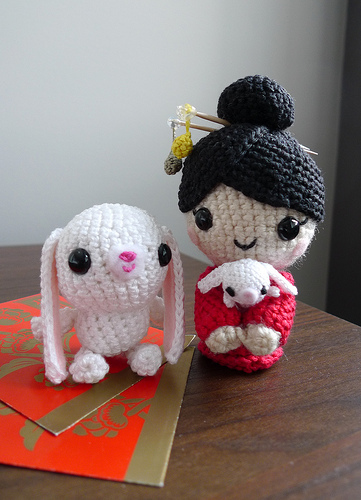
And with some Red Pocket Money 🙂
Have a Happy Chinese New Year, everyone! Let me know what you think of my first original creation 🙂 And once again, the free pattern that I’ve written out can be found HERE!
![]()