Before Brielle was born, I really wanted to crochet a special animal outfit for her newborn photoshoot. I had made Myla a panda hat and diaper cover two years ago (see HERE) and of course I wanted to make sure that her sister had something just as cute as well! I really love bunnies and bears as you can probably tell by the abundance of bunny and teddy amigurumi I’ve crocheted 🙂 A quick perusal of Pinterest showed tons of newborns wearing adorable fuzzy bunny outfits, and I soon decided that Brielle would be a cute fuzzy bunny too!
I had some left-over fuzzy white yarn from my “Cotton” the lamb project (see HERE), so I opted to use Loops & Threads “Country Loom” in White. I originally crocheted the ears how I normally crochet my bunny amigurumi ears, so I started with a magic circle and worked in a spiral upwards to create these two long “pockets” with openings in the middle…
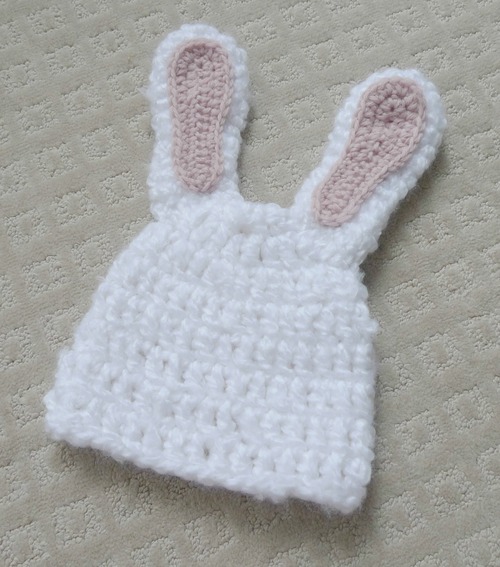
I added some pink lining to the ears and then attached them to the hat. However, a couple of days before our newborn photoshoot, we tried this hat on Brielle and the hat ended up being too big! The ears would also not stay up as they were too heavy. Thus, I had to go back to the drawing board as I undid my work and frantically tried to remake the hat to better fit Brielle and make the ears less heavy…
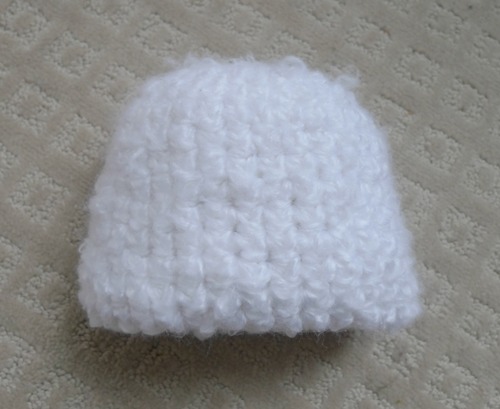
I had originally used double crochets for the hat, but this time I used single crochets to make it smaller. I also left the “wrong” side of the hat facing outwards as this is the fuzzier side (you can read about this HERE).
Next I remade the ears so that they were only a single layer rather than a double layer. I did this by working around a foundation chain and using single crochets and half double crochets to shape them.

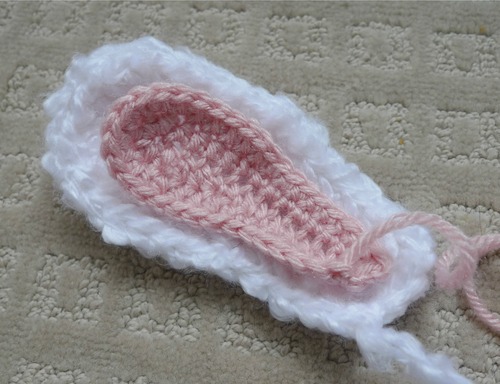
I did the same thing using the pink yarn to create the inner lining of the bunny ears.

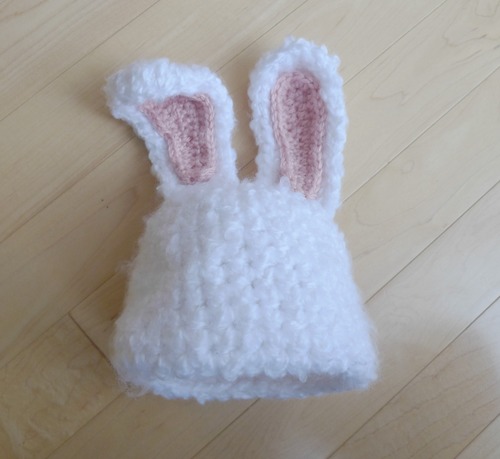
I then attached the pink lining to the fuzzy white ear!
Next up I attached the ears to the hat. I was working frantically to remake this hat in time for the photoshoot while very sleep deprived as Brie was only a couple days old!
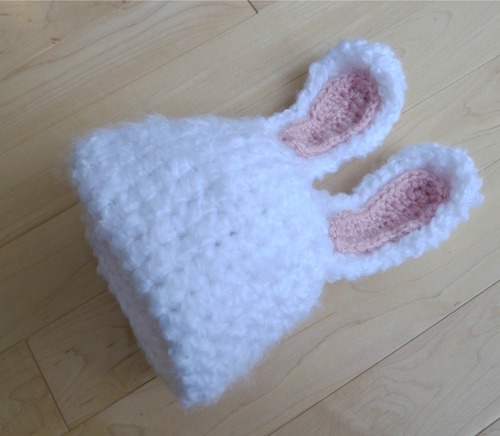
I love how the ears can be bent downwards to give that cute slightly floppy look 🙂
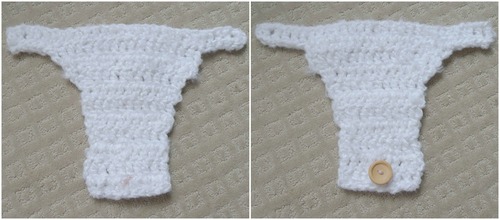
I wanted to make a diaper cover using the same thick fluffy yarn that I used for the hat. Thus, I referenced the pattern that I used to make Myla’s diaper cover (see HERE), but I had to adapt it since that pattern was for worsted weight yarn, and not bulky yarn. As an aside, if you want a more polished look, you could single crochet around the edges of the diaper cover, but I just left my cover as pictured below.
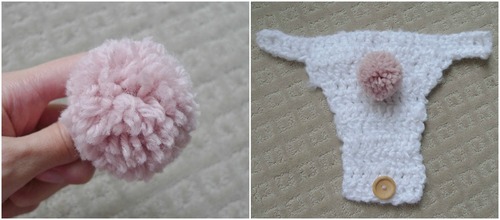
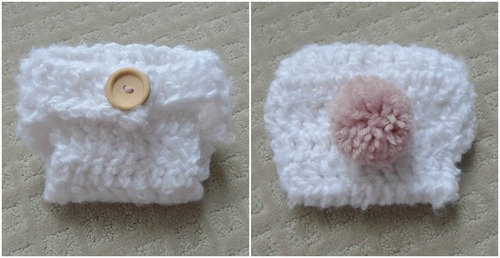
After attaching a wooden button to the bottom of the diaper cover, I then made a fluffy pink pom pom for the tail using my Clover Pom Pom Maker! That tool was such a great purchase as I have used it to make pom poms for so many items, such as hats, decorations, and now diaper covers! Read my review of the Clover Pom Pom maker HERE!
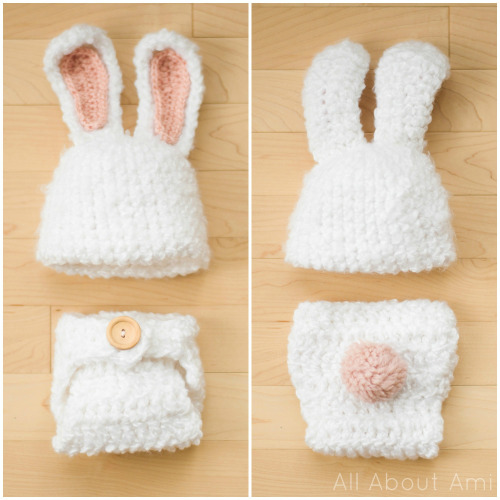
This is the fuzzy diaper cover from the front and the back! It’s nice how the wooden button can go anywhere between the double crochets of the front flap, making it adjustable!
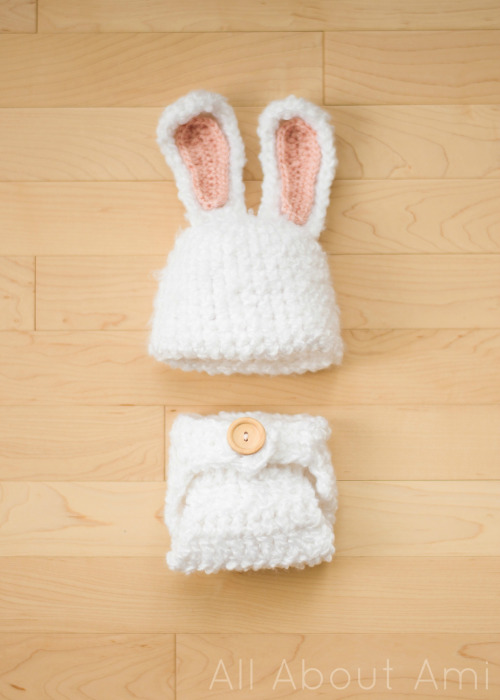
And here is our finished Fuzzy Baby Bunny Outfit: a cute hat with floppy ears and a diaper cover from the front!
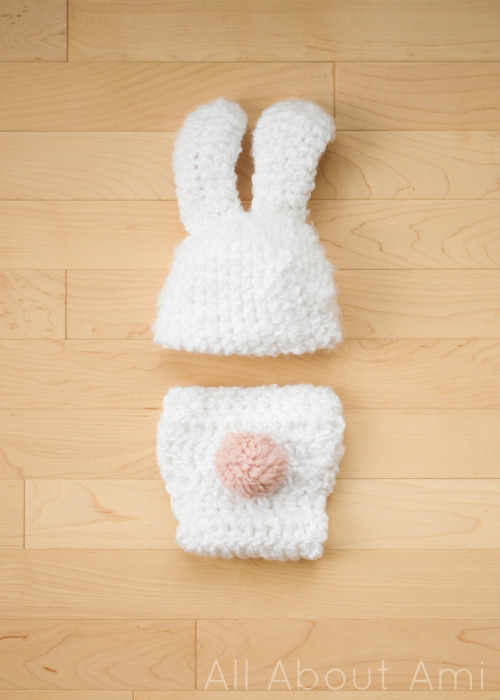
And now from behind with the adorable pom pom tail:
*****************************************
Here is the pattern for my “Fuzzy Baby Bunny Outfit”! Note that this is a pattern for a newborn, but even newborns vary greatly in size! This outfit fit my newborn Brielle when she was born, but you may have to adjust this pattern for your own babies 🙂
Materials:
- Fuzzy super bulky white yarn, level 6 (I used “Loops & Threads Country Loom Baby in White”)
- Worsted weight pink yarn, level 4 (I used “Lion Brand Yarn’s Vanna’s Choice in Pink”)
- 4 mm Clover Amour hook (with pink yarn) and 6 mm hook (with bulky yarn)
- Yarn needle
- Button for closure of diaper cover
HAT
Using 6 mm hook and white bulky yarn,
R1: 10 sc in Magic Ring. Join with sl st to first sc, Chain 1. (10 sts)
R2: 2 sc in each sc around (including st that has Ch 1). Join with sl st to first sc, Chain 1. (20 sts)
R3: *Sc, Inc*, rep 10 times. Join with sl st to first sc, Chain 1. (30 sts)
R4-12: Sc 30. Join with sl st to first sc. Chain 1 (30 sts).
Switch to 5 mm hook (optional- I did this to make the rim a little bit tighter to stay on Brielle’s head),
R13: Sc 30
Fasten off and weave in end.
***Note: If you want to make this hat larger, you could go with the original hat that I made but had to frog since it was too big for my baby: I used a 6 mm hook and followed the above pattern from R1-8 using double crochets instead of single crochets!
EARS (make 2)
Using 6 mm hook and white bulky yarn,
Chain 12 (this is the foundation chain)
R1: Starting from second chain from hook and in back loops of foundation chain, Sc 6, Hdc 4. 4 hdc in last chain. Turn and Hdc 4, Sc 6 in front loops of the foundation chain [we are making an oval by crocheting around the chain] (24 sts).
R2: Sl to next stitch, Chain 1, Sc 1 in same stitch. Sc 5, Hdc 5. *2 hdc*, rep 4 times. Hdc 5, Sc 4, Sl st to last st (28 sts).
EAR LINING (make 2)
Using 4 mm hook and pink yarn,
Chain 15 (this is the foundation chain)
R1: Starting from second chain from hook and in back loops of foundation chain, Sc 9, Hdc 4. 4 hdc in last chain. Turn and Hdc 4, Sc 9 in front loops of the foundation chain [we are making an oval by crocheting around the chain]. (30 sts).
R2: Sl st to next stitch, Chain 1, Sc 1 in same stitch, Sc 8, Hdc 5. *2 hdc*, rep 4 times. Hdc 5, Sc 7 (34 sts).
Fasten off and leave long end for sewing. Attach pink lining to white ears.
DIAPER COVER WITH TAIL (adapted from this pattern HERE for bulky yarn)
Using white bulky yarn and 6 mm crochet hook,
Chain 30
R1: Dc in 3rd ch from hook and in each chain across (29 sts)
R2: Sl st 6, dc 17, leave rest unworked (17 sts)
R3: Chain 2, turn. *Dc dec*, rep 2 times. Dc 9. *Dc dec*, rep 2 times (13 sts).
R4: Chain 2, turn. Dc dec, dc 9, dc dec (11 sts).
R5: Chain 2, turn. Dc 11.
R6: Repeat R5.
R7: Chain 2, turn. Dc dec, dc 7, dc dec (9 sts).
R8: Chain 2, dc 9 (9 sts)
R9-11: Repeat R8.
***Note: For a more polished look, you could single crochet around the edges of the diaper cover just as they did HERE!
Attach button to bottom of diaper cover. Use pink yarn to make pom pom tail (see my Clover Pom Pom Tutorial HERE) and attach to diaper cover.
*************************
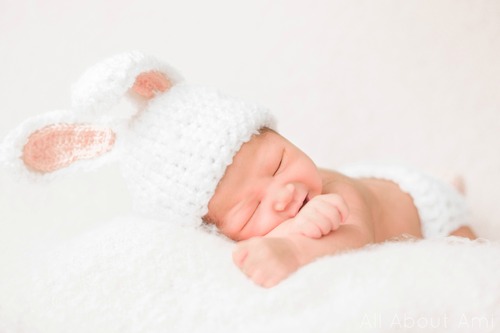
It was so exciting dressing our little Brielle in the fuzzy bunny outfit that I had crocheted for her! Isn’t she so sweet? We were trying to take sleeping newborn photos but she would not go to sleep hehe…she was very calm and quiet though as we snapped these photos! Can’t believe she’s only 6 days old here!
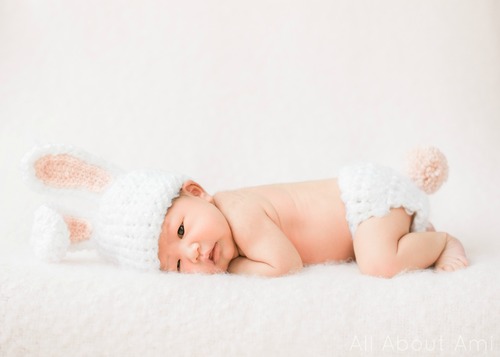
Here she is lounging on her soft pink blanket…
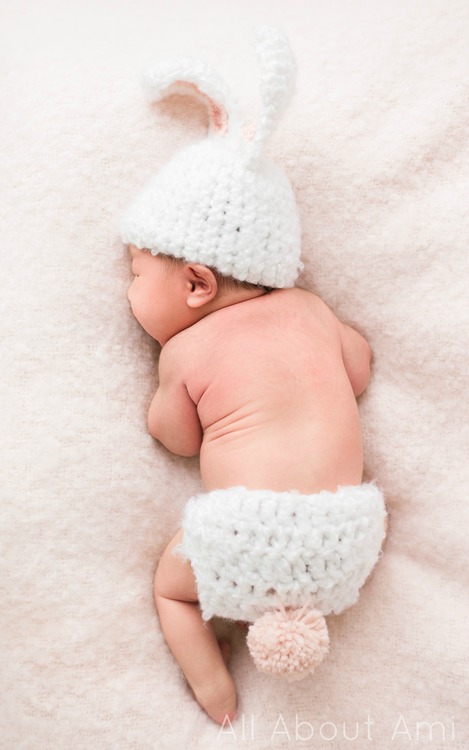
And here is a top view showing her little pom pom tail!
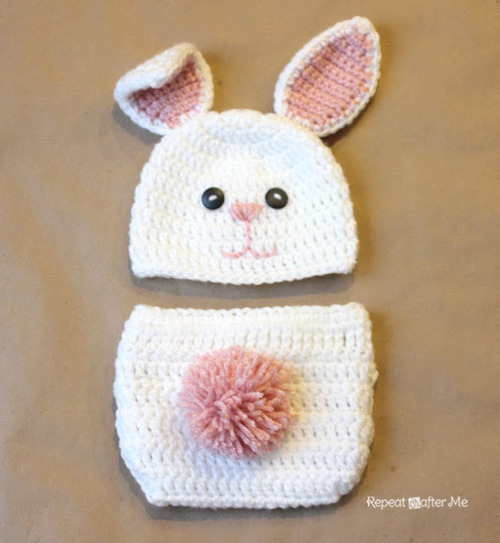
Have fun making your own fuzzy bunny outfits! If you’re interested in using worsted weight yarn (or you don’t like working with fluffy yarn), check out Sarah of Repeat Crafter Me’s adorable free bunny pattern HERE!
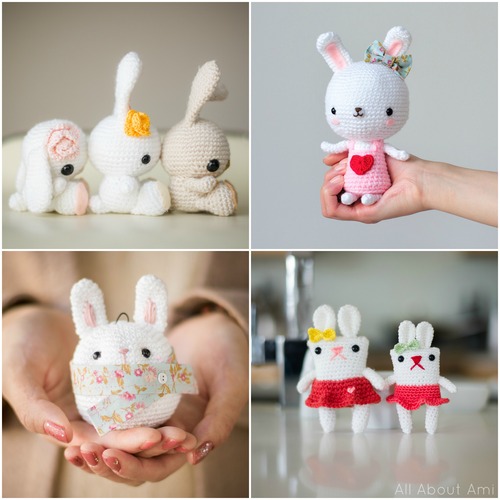
Furthermore, if you’re interested in crocheting an amigurumi bunny for your little ones or for yourself, then check out these cuties that I’ve blogged about in the past :Spring Bunnies, Sweetheart Bunny, Bunny Ornament & Boxyskirt Bunnies ❤
I can’t wait to see all your baby bunnies! I’m so glad that we have these newborn photos to look back upon as the girls grow up. Brielle is already three months old now and no longer a newborn…she’s changed so much since these photos! It’s incredible how much growth occurs in the first year of life, and we’re trying to savour and cherish each every moment!
This pattern is an original pattern by Stephanie Lau of All About Ami. Please do not claim this pattern as your own. If you wish to share this pattern, you may link to this pattern but please do not reprint it on your site. You may keep a copy for your own personal use but please DO NOT sell the pattern or distribute it.
You may sell products made from this pattern but please clearly credit the design to me, Stephanie Lau of All About Ami, and provide a link to my blog www.AllAboutAmi.com. Permission is NOT granted for mass production or factory manufacturing of any kind. Thank you for being respectful and for your understanding!